
GnomeHat is a free and open source tool for automatic experiment version control.
Deep network training and other data science jobs take a long time, and when you run a lot of them it's easy to lose track of which version of your code produced which results.
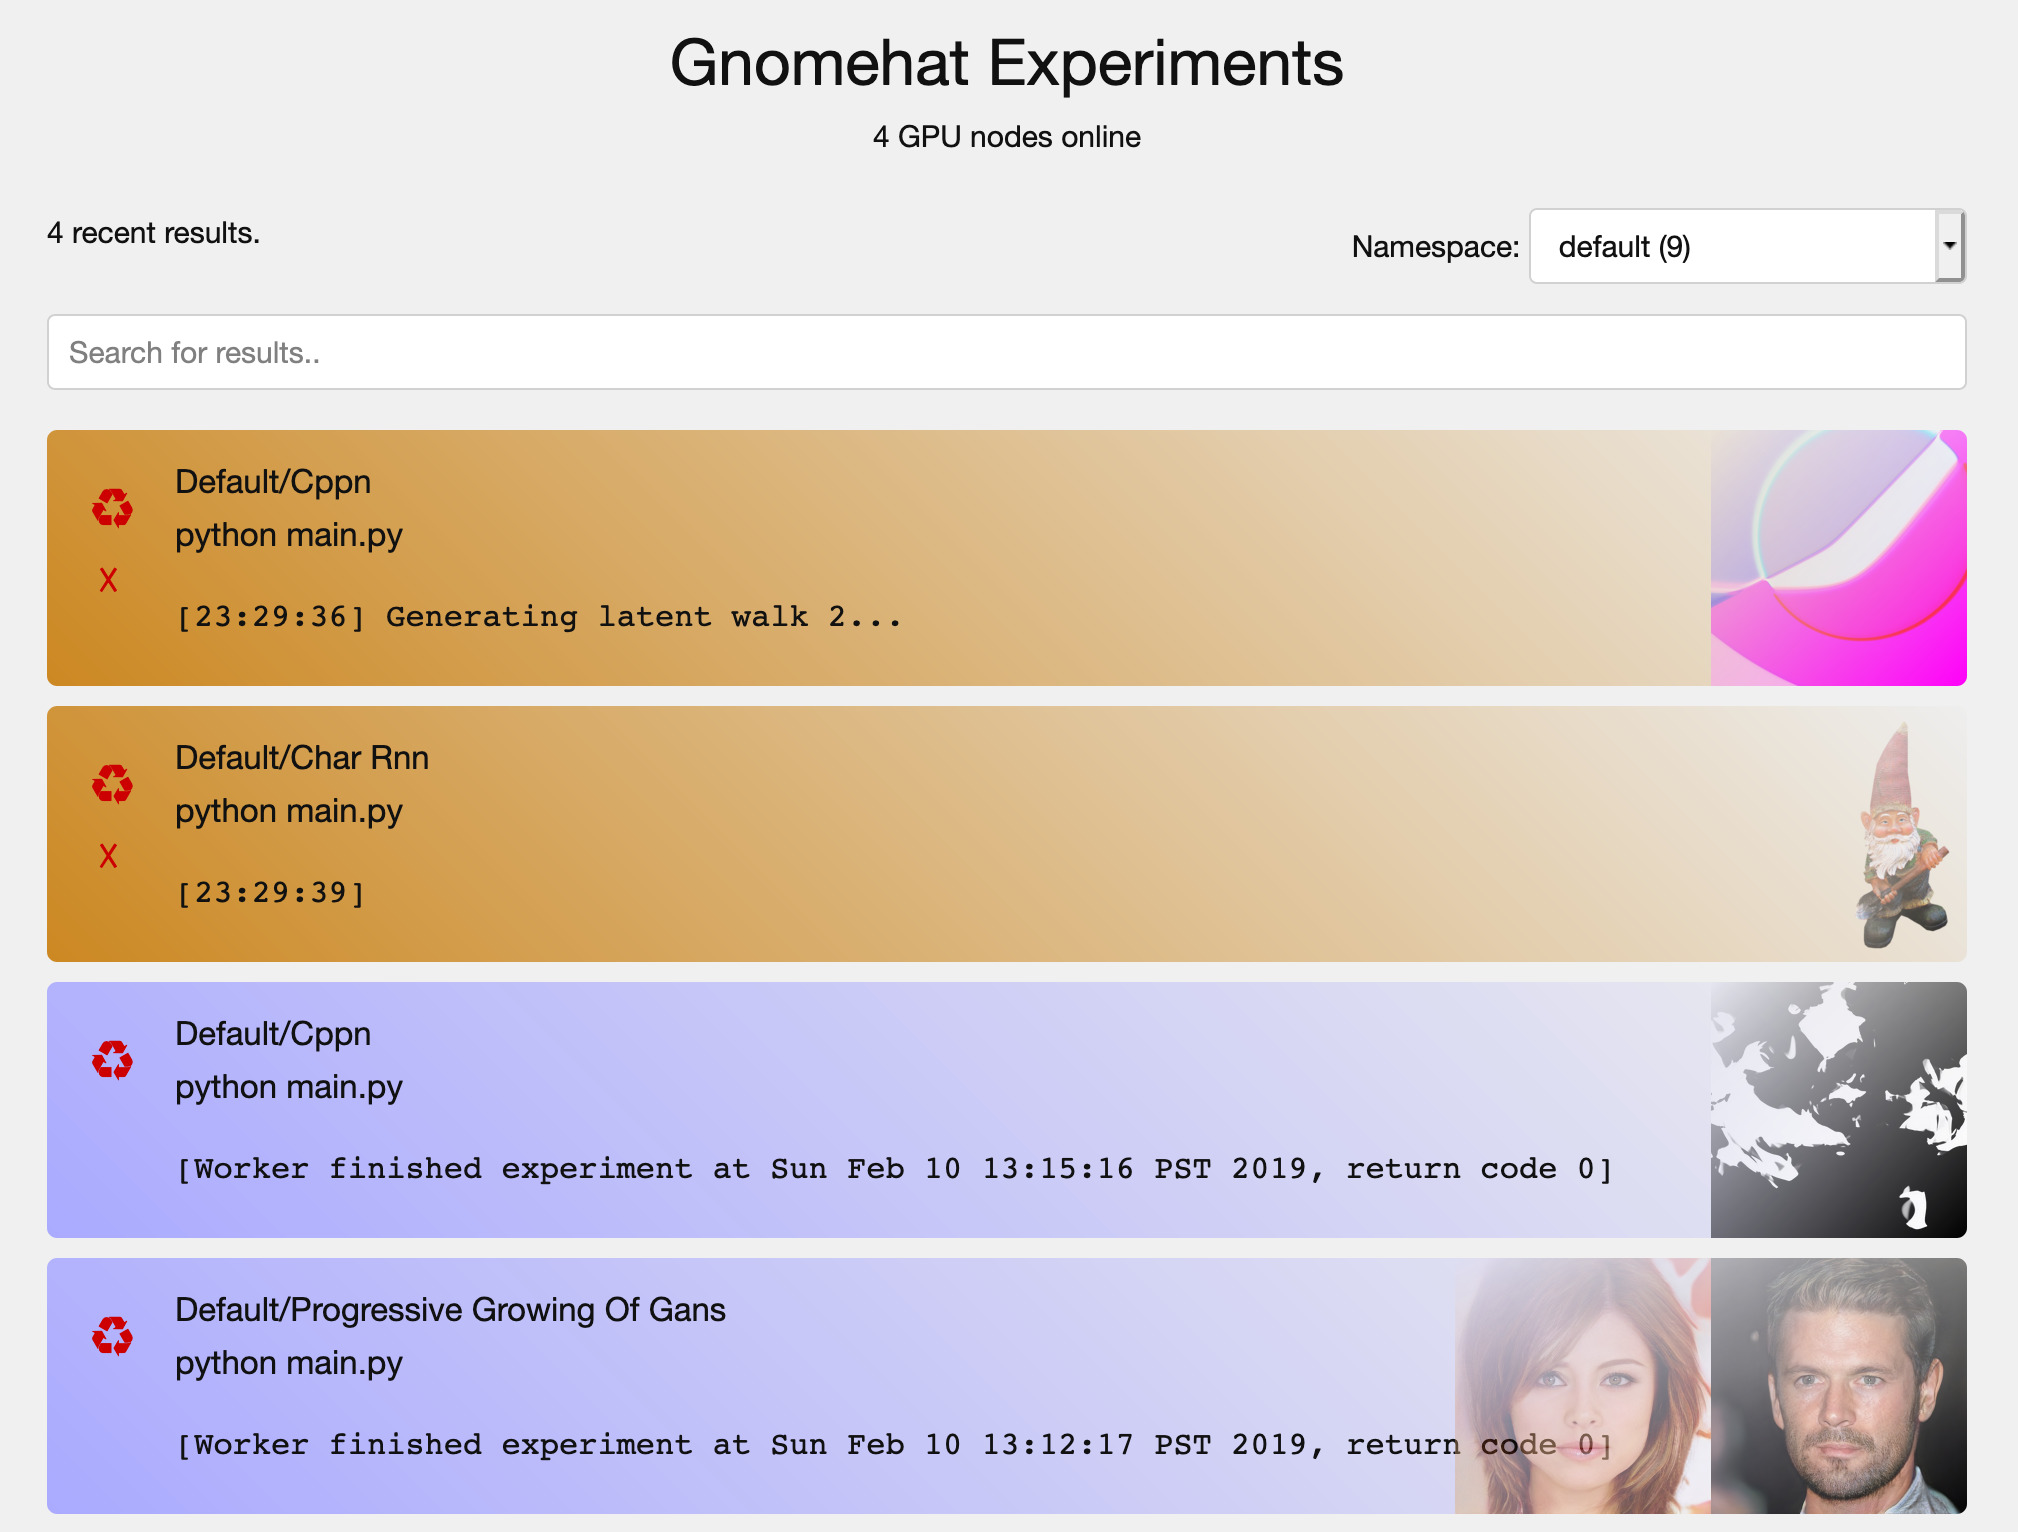
Gnomehat stores every image, figure, saved model and log along with a snapshot of your code, so you can search all your old results and see exactly what code produced them.
Gnomehat makes your experiments organized and reproducible, so you can focus on doing the science!
Install it with pip:
pip install git+https://github.com/gnomehat/gnomehat
gnomehat start

GnomeHat UI is now running at:
    http://localhost:8086/
Start it with gnomehat start and follow the on-screen directions.
Then run any PyTorch, Tensorflow, or other Python command:
cd my-cool-experiment
gnomehat python train_network.py

Running my-cool-experiment version Tue Feb 29 01:23:45 PDT 2019
See results at:
    http://localhost:8086/my_cool_experiment_acd86cb7
The gnomehat command will make a snapshot copy of your source code and run it in the background.
All output files written by your program will be stored in a directory along with the code that produced them.
While it runs, you can edit your code and start new experiments.
gnomehat -m 'Baseline version' python train_network.py

vim train_network.py  # Comment out the eggs() command
gnomehat -m 'Version without eggs' python train_network.py

vim train_network.py  # Add vikings
gnomehat -m 'Added vikings to train faster' python train_network.py -mode spam
GnomeHat will run one experiment in the background per GPU in your computer. If you start more experiments than that, the extra experiments will remain enqueued until a GPU becomes available.
GnomeHat runs on Ubuntu 16.04 or higher and requires one or more NVIDIA GPUs.
To use GnomeHat, you should be able to run the command nvidia-smi without errors.
You don't have to import any library or change anything in your code.
The gnomehat command is a stand-alone tool and can work with any shell command.
However, to use GnomeHat correctly your code needs to follow a few conventions:
- Every file required to run your experiment must be checked in to git.
- Any data files that your experiment reads from should be specified globally (eg.
/home/bob/data/imagenetnot../data/imagenet). - Your output results and log files should be written somewhere in the working directory
Do you have trouble organizing your experimental results? Do you forget which figure came from which neural network, or which version of your code produced a particular result? Or do you just want an easy way to run your experiment many times on separate GPUs?
GnomeHat makes experiment versioning easy.
If you're like many researchers, your day might look like this:
python train_network.py --size 100
# ... wait for an hour while your network trains ...
mv output.txt outputs/friday/output_size_100.txt
mv figure1.png outputs/friday/figure1_size_100.png

python train_network.py --size 200
# ... wait for an hour ...
mv output.txt outputs/friday/output_size_200.txt
mv figure1.png outputs/friday/figure1_size_200.png

vim train_network.py  # Oops! There was a bug. Re-run the experiments.

python train_network.py --size 100 -mode spam --eggs=True
# ... wait for an hour ...
mv output.txt outputs/friday/output_size_100_fixed_bug.txt
mv figure1.png outputs/friday/figure1_size_100_fixed_bug.png
# ...With GnomeHat, there's a better way. Just run your experiments with gnomehat, like this:
gnomehat python train_network.py --size 100
gnomehat python train_network.py --size 200
gnomehat python train_network.py --size 300 -mode spam --eggs=True
Every command that you run with gnomehat will run in the background, in its own sandbox.
Images, logs, network checkpoints and other output files for every experiment are saved in an easy-to-search database that shows you exactly which code produced every result.
gnomehat_run assumes that your current working directory is a git
repository.
It creates a shallow clone of that git repository in a directory
determined by your ~/.gnomehat configuration file (default:
/home/yourname/experiments).
If any files have pending changes in git status, it copies those files
as well.
Finally, it writes a shell script, gnomehat_start.sh containing the
command to be run, into the cloned repository.
The configuration file for gnomehat_run is ~/.gnomehat.
gnomehat_worker is a daemon process that searches the experiments
directory for experiments written by gnomehat_run.
When an experiment is found, the worker process runs
./gnomehat_start.sh until the command is complete.
Each gnomehat_worker is bound to one GPU, and will not begin a job
unless its GPU is idle.
If available, gnomehat_worker will use the version of Python installed
in the experiments directory (default: /home/yourname/experiments/env).
gnomehat_server and gnomehat_websocket are HTTP daemons that serve
the browser-based GnomeHat user interface.
You can view and manage experiments by connecting to this UI with your
browser on the gnomehat_server port (default: [http://localhost:8086]).
If you are running GnomeHat on a remote machine (for example, a server
or a workstation connected via VPN) then you will need enable access to
the local network during setup, and then navigate to the IP address of
your GnomeHat server (example: [http://192.168.1.123:8086]).
Server configuration is stored in
/home/yourname/experiments/server_config.json.
The gnomehat_start command will start server and worker processes on
the current machine.
One worker process is started per GPU.
GnomeHat workers communicate with the server through files written to
the experiments directory.
To start workers on another machine, mount the experiments directory
as a shared drive on both machines, then run gnomehat start on each
machine.
Multiple users can write to the same gnomehat experiments directory if file permissions are set correctly. Alternatively, each user can run their own gnomehat instance with separate experiments directories, using the same GPUs. Each worker will wait for its GPU to become idle before running.
When you run gnomehat start, the server will be started if it is not already running, and one worker will start per GPU available on your machine.
To list all running GnomeHat processes, run gnomehat status.
To stop the server and all workers, run gnomehat stop.
If workers crash or you want to restart the service, run gnomehat restart.
Each GnomeHat experiment is assigned to a namespace.
Set the namespace of an experiment with the -n parameter. Example:
gnomehat run -n mynamespace mycommand
Or change the default namespace for all experiments by editing the
NAMESPACE value in ~/.gnomehat.
GnomeHat is an early beta tool.
Interfaces and functionality may change at any time.
If you encounter bugs, crashes, or incompatibility, check the output of
gnomehat logs and post in the Github Issues page above.