This isn't really an extension of nburrus' nestk library - I forked so that I could easily merge any future commits to the original library. IE: don't expect to find any improvements to nburrus' original library here - this is just a terribly hackish project I did for fun (oh, and for class too I guess =]).
Happy hacking! =]
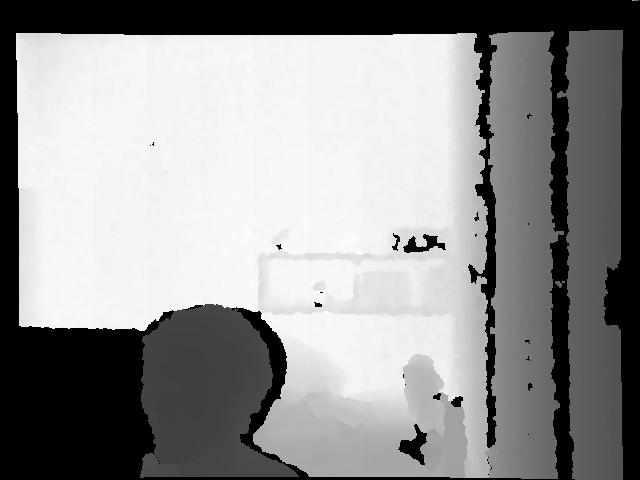
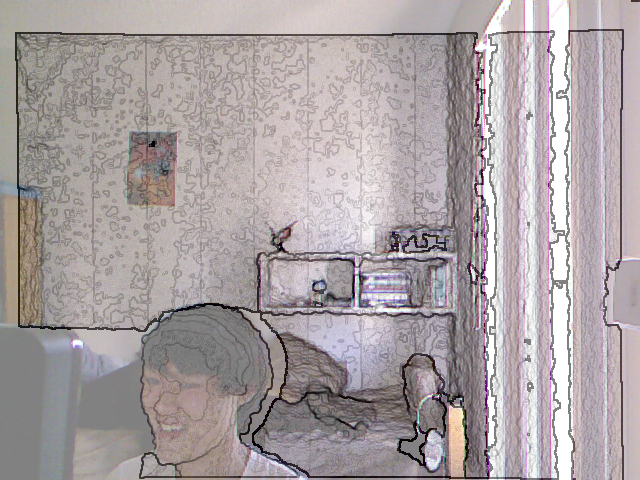
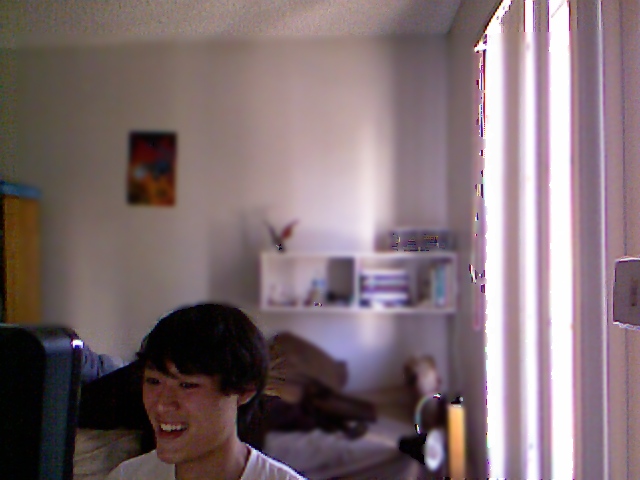
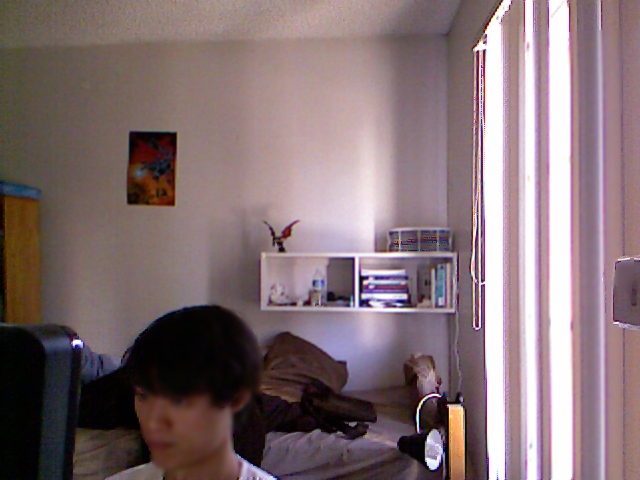
This code uses the Microsoft Kinect to render real life images with arbitrary depth of field settings. In other words - it does that pretty thing that big fancy cameras (technically lenses) do by keeping things in focus sharp and blurring things out of focus.
- Kinect color and depth image alignment (thanks to the Nestk library!)
- Fairly realistic depth of field simulation
- Focal point selection using mouse
Right here in this github repo.
Originally, I tried to extend nburrus' rgbdemo, but couldn't get it to compile. In the end, I finally got nburrus' nestk library to compile by following his demo instructions and simply modified one of the test apps to do my DoF processing.
Please read this entire section before starting! It will make your life much better/easier if you do. =]
You'll want to follow the nburrus' instructions on Windows installation. The QT binaries for MSVC 2008 worked for me in VS 2010. I never did get the QT bin path to work - I simply copied any QT .dll's I needed into the same directory as my binaries (hackish, I know...).
In my case I used:
- Microsoft Visual Studio 2010
- OpenNI Win32 1.1.0.41-Dev
- NITE Win32 1.3.1.50-Dev
- QT Win Opensource 4.7.2 VS2008
Nestk uses CMake to configure the project and output MSVS projects. Point CMake to the nestk directory and configure it as you'd like.
- Make sure NESTK_BUILD_TESTS is checked.
- Make sure NESTK_USE_OPENNI is checked.
- I used NESTK_USE_EXTERNAL_OPENCV because I already had OpenCV 2.2 installed.
- Make sure NITE_INCLUDE_DIR and NITE_LIBRARY_DIR as well as the OPENNI_INCLUDE_DIR and OPENNI_LIBRARY_DIR actually exist and have the necessary files. In my case, this was an issue because they were linking to the x64 libs (in c:/Program Files/....) instead of the x86 libs (in c:/Program Files (x86)/....). Make sure this is set correctly for your architecture or you will get build/link problems. Also make sure the directories pointed to actually exist! The original CMake config had an extra space in the path "Prime Sense" instead of "PrimeSense" I think...
I've tried compiling the code under these environments:
- MSVS 2008 (failed)
- Ubuntu VM (failed, but probably due to VM OpenGL issues - when trying the Ubuntu Kinect motor responds to commands, but don't see any grabbed image frames, might work for you)
- MSVS 2010 (works - grab it for free if you're a student at Microsoft Dreamspark)
You'll also need a nestk /config folder in the same directory as your binary. You can either download the config I use from here, or grab the config directory from nburrus' binaries.
My demo is just a modified version of test-nite.exe. Make sure you copied the config/ folder to the same directory as the binary and run test-nite.exe. You might have to copy some .dll's if you were lazy like me and didn't correctly setup the QT lib location... =P
- Wait for new frame
- Get color image and depth data from Kinect
- Run custom depth of field (DoF) code
- Show images
- Get argument values
- Focal length and F-stop are built-in as constants
- Focal length of 35mm chosen, because it approximately matches a 35mm film camera's field of view at with a 35mm lens. (Non-photography buffs: note that a "35mm film camera" doesn't mean the same thing as a "35mm lens")
- F-stop of 1.4 chosen based on photography experience. Usually things are blurred pretty well at f1.4 =].
- Update focal distance if necessary if the user clicked on a new focal point.
- For each pixel in the color image...
- Calculate Circle of Confusion based on pixel distance in the depth image and lens parameters. See Determining a circle of confusion diameter from the object field on Wikipedia. This returns the circle of confusion in millimeters.
- Calculate blur size in pixels. The Circle of Confusion value previously obtained is for an image projected onto 35mm film in millimeters. Here we scale the 35mm film to our 640px Kinect image.
- Either render a Gaussian blur on the image corresponding to our blur size or use a previously rendered memoized value (to save on rendering time). If the blur size is 1, don't do any blurring, just use the original image.
- Set the output pixel to the blurred image pixel.


- Fix memory leaks. Oh, I guess I forgot to mention that this entire program is a never-ending memory leak that leaks ~7mb/s until terminated. =P I'm so spoiled by GC languages... =P
- A way to adjust lens parameters on the fly. Currently, you can only adjust the focal distance by clicking on your desired focus point in the image. Ideally you'd be able to adjust the lens f-stop and focal length on the fly.
- Solve the depth image occlusion issue. Some parts of the depth image don't have depth values because they are shadowed/blocked by things in front of them. Implement intelligent depth image hole filling by partitioning holes with color image edges and then filling in edges with the appropriate depth.
- More realistic depth of field by ordering blur pixels. See the "Edge Cases" section of Real-Time Depth of Field Rendering in Starcraft II on p155 and Figure 15 on p156. We'll have to change rendering from using Gaussian blur to individual kernel convolutions in this case (or probably just pixel-by-pixel averaging).
- Faster bluring - currently the code runs at ~0.9fps (takes about 1100ms to render a frame on a Lenovo x200 2.4ghz c2d, Intel GMA 4500MHD). Ideally this would be 15/30fps or 33/66ms a frame (AKA, wtb x30 speedup =]).
- Use the higher res 1280x960 15fps color capture mode on the Kinect.
- Depth of Field on Wikipedia
- Circle of Confusion on Wikipedia - Especially the section on Determining a circle of confusion diameter from the object field
- Real-Time Depth of Field Rendering in Starcraft II - See section starting on p153
- Practical Post-Process Depth of Field in Call of Duty 4: Modern Warfare
Thanks to Prof. Dodds at Harvey Mudd College for teaching the excellent Computer Vision and Robotics class! =]
