These instructions describe how to use Adobe Analytics Triggers to notify you of Adobe I/O Events, including the behavior of your site's users. Follow the instructions below to try the solution yourself.
Triggers is a Marketing Cloud Activation core service that enables marketers to identify, define, and monitor key consumer behaviors, and then generate cross-solution communication to re-engage visitors. For more information on triggers, see the Triggers Help Page.
Before setting up and using Adobe I/O, you will need to do the following:
To complete this solution, you will need authorization to use the following services:
- Adobe Analytics, including Triggers
- Adobe Marketing Cloud Activation Core Services
- Adobe Experience Manager (AEM), or an external website that connects to Analytics
- An Adobe ID, if you do not have one already
You will also need administrative permissions for the following:
- Adobe Analytics
- Your enterprise organization
- AEM, if using that service to connect to Analytics
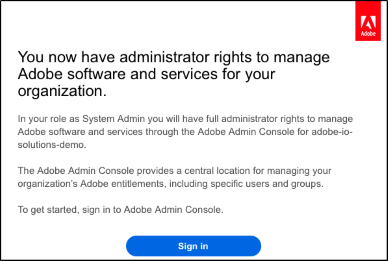
If you do not have administrative permissions, please contact [email protected]. After requesting administrative permissions, watch for an email from Adobe Systems Incorporated, as shown:
To set up Adobe products for this solution:
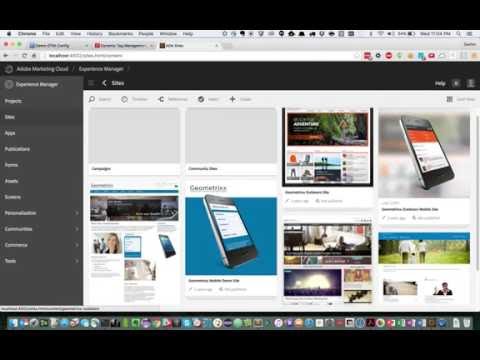
To set up AEM with Analytics Triggers and Dynamic Tag Management (DTM), follow the step-by-step documentation for that configuration. You can also follow the video shown below:
To set up Analytics:
To get access through the Adobe Admin Console:
-
Sign into the console by clicking the Sign in button on the administrator rights email you received from Adobe and then providing your credentials.
-
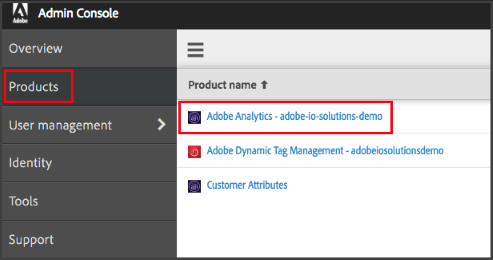
On the main screen of the Admin Console, click Products.
-
On the Products page of the console, verify that your requested products have been added to the site and then click the Adobe Analytics icon.
-
Click the Configuration Details tab and do the following:
-
Verify the Name of your configuration.
-
Provide a Description, if applicable.
-
Verify the display name that will show on the Products page.
-
Under Enabled Services, select the option for Triggers.

-
-
To give permissions to users who want access to Adobe services in the cloud:
- Click User management and then click Users.
- Click on user's name.

- For the user's Access and rights, provide Product Access and Admin Rights from the drop-down for the available products and services.

To configure reporting for Triggers:
-
On the Marketing Cloud home page, click the App button on top right corner.

-
Click on Analytics Launcher.

-
On the Admin tab of the Analytics home screen, click the Report Suites option. You must have administrative privileges for the Admin tab to appear on your screen.

-
On the Reports Suites Manager page, click Create New and select Report Suite. Configure the new report suite so that it is accessible in Adobe Analytics.

To configure DTM:
-
On the Marketing Cloud home page, click the Apps icon and then click Activation.

-
On the Activation page, click Dynamic Tag Management.

-
On the Overview tab, click the Settings icon.

-
On the Settings page, set the variable as follows:
-
Expand the Global Variables section.
-
Click the Evar name drop-down and select eVar3.
-
Select the Set as option.
-
In the Set as field, type the following URL element:
%window.location.host%%window.location.pathname% -
Click Save eVar.

-
-
On the Approvals tab, click the Approve button.

-
On the Overview tab, click the Publish Queue button.

You can specify triggers for many events on your site. For example, in this case, we will set notifications to be sent when carts are abandoned. We will set a trigger for sessions when the user visits either a cart.html, checkout.html or order.html page, but never reaches the thank-you.html page within a ten minute session. The trigger indicates that the user added products to the cart, and was about to make a purchase, but later decided otherwise, or forgot to complete the purchase.
To specify a new trigger:
-
On the Marketing Cloud home page, click the Apps icon and then click Activation.

-
On the Triggers card, click the Launch button.

-
On the Triggers page, click the New Triggers button and select Abandonment.

-
On the New Trigger box, specify a Name and provide a Description for your trigger. Select the Report Suite that you previously setup from the drop-down field.

-
On the Triggers Settings page, define the business rules for your trigger. You can drag a dimension/metric box from the left panel to the right side of the screen and then specify the business rules for what must happen and what must not happen in a session. In this case, we set the trigger to fire after 10 minutes of inactivity after the rules are met.

-
Click the Save button.
Once you save the trigger, any event in your report suite that meets the defined business rules criteria will cause a trigger to fire. You can view the status of triggers on the Triggers page.

Use Adobe I/O by creating a new integration with the Console. To do this:
-
After signing in to the Adobe I/O Console, click New Integration.

-
Select Receive real-time events and click Continue.

-
Select Analytics Triggers as an event provider and click Continue.

-
Click Continue to move on to the next page without making any changes.
-
Provide the Name and Description for your integration.

-
Generate a public certificate. To do this:
-
Open a terminal and execute the following command:
openssl req -x509 -sha256 -nodes -days 365 -newkey rsa:2048 -keyout private.key -out certificate_pub.crt -
Upload the public certificate by clicking the Select a File link and then by selecting the certificate from your computer:

-
-
Add Webhook details and Click Save. For information on creating and registering webhooks, see Introduction to Webhooks.

Your enterprise may have its own tool that you can use to subscribe and listen to webhook events. Alternatively, you can use the following procedure to set up notifications with Slack. To watch your trigger work on Slack:
-
Clone the repository and follow the setup described on https://github.com/hirenshah111/webhook_server.
-
Modify the Slack details in webhook_server/public/javascripts/app.js according to how you want to see the notifications.
-
Run the application and create a triggers2 listener, then click Connect.

Trigger messages are received as POST requests on this thread.
- John Wight @johnwight.
Please help make this solution as useful as possible. If you find a problem in the documentation or have a suggestion, click the Issues tab on this GiHhub repository and then click the New issue button. Provide a title and description for your comment and then click the Submit new issue button.


