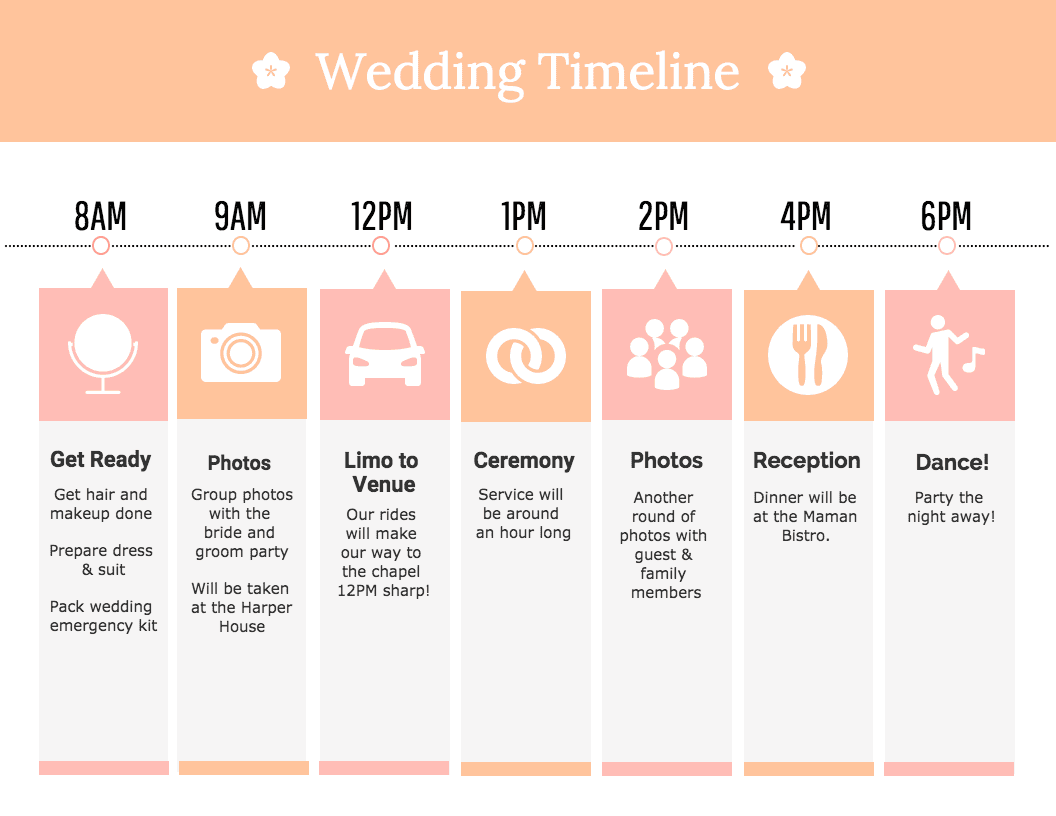
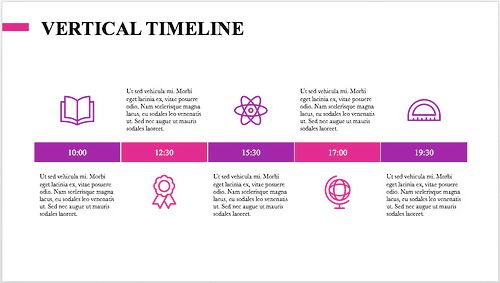
Google "timeline template" and check out the images!
Wireframe the website with pen and paper, keeping the following in mind:
Include at least 5 major events in this person’s life
The person’s birth does NOT count towards this
The events should be displayed in chronological order
Each major event should have a short title of the event and a longer explanation about the event and its significance.
You’re free to create your own description or copy it from an online source.
It’s easy to get caught up writing content, but the point of this project is to focus on how to arrange (HTML) and display (CSS) the content more than the content itself!
Once done, present your wireframe to your instructional team for approval.
If your wireframe is not approved, make any necessary revisions and try again.
Once approved, use command line to create a new project folder called "fanTimeline"
Navigate into the folder and create your required files (index.html, style.css)
Make sure to properly reference the css file in the "index.html" <head> tag
Feel free to include additional files according to your needs
Create the basic HTML structure with the text content filled in.
Try referencing the image via file (you’ll have to download it into your folder)
Try referencing the image via url (it should end with .png, .jpg, .gif, or other image extension)
Include a custom font from Google Fonts or via a font you’ve downloaded (see @font-face for how to use it)
Color schemes (perhaps provide for now)
Create a "script.js" file and reference it in you "index.html" (in a <script> tag at the bottom of the <body>).
Have the script execute a simple console.log("testing") command
In the browser, open Developer Tools (Ctrl+Shift+I or right click and "Inspect" ) to see the "Console". You should see the result of your code executing.