This is a note in Section 19: Web Development with Python , Complete Python Developer in 2020: Zero to Mastery,The environment I use is windows 10
1.使用 sublime,創建 index.html, script.js, style.css,此三個檔案放在同一個資料夾
2.會使用到Flask可以參考官方文件
3.創建專案資料夾(此例為knowtecq_website) -> 到該資料夾 -> 建立 python virtual environment -> 啟用虛擬環境
$ mkdir knowtecq_website
$ cd knowtecq_website
$ python -m venv knowtecq_website/
C:\Users\PeterFan\Desktop>knowtecq_website\Scripts\activate.bat
接著要activate 該虛擬環境,各OS下執行的檔案不一樣,依實際OS為主
| Platform | Shell | Command to activate virtual environment |
|---|---|---|
| POSIX | bash/zsh | $ source <venv>/bin/activate |
| fish | $ . <venv>/bin/activate.fish |
|
| csh/tcsh | $ source <venv>/bin/activate.csh |
|
| PowerShell Core | $ <venv>/bin/Activate.ps1 |
|
| Windows | cmd.exe | C:\> <venv>\Scripts\activate.bat |
| PowerShell | PS C:\> <venv>\Scripts\Activate.ps1 |
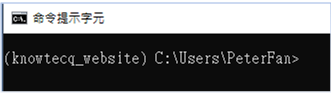
啟用後會出現(knowtecq_website)在teminal的前頭
4.在 virtual environment 安裝 Flask -> 先檢查自己python的版本後再安裝Flask
$ python –version
$ pip install Flask
5.參考 flask 官方文件中的Quikstart
在knowtecq_website資料夾中建立server.py,可以參考初步的語法
from flask import Flask
app = Flask(__name__)
@app.route('/')
def hello_world():
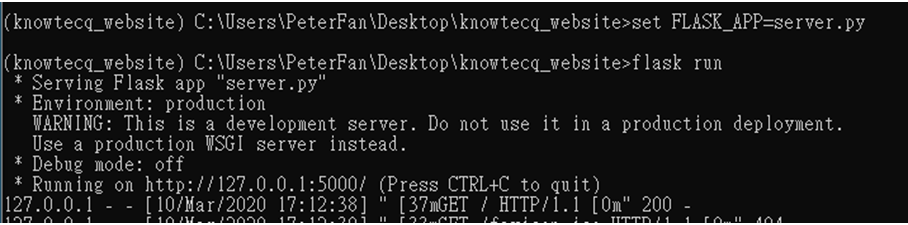
return 'Hello, World!'6.如果要啟動flask的app,則要指定程式名(此狀況下為非開發模式)
$ set Flask_APP=server.py
$ flask run
執行後如下圖 :
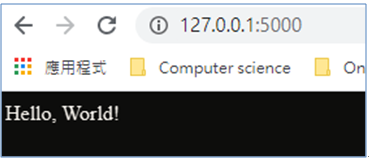
在瀏覽器下輸入127.0.0.1:5000即可看到測試的結果
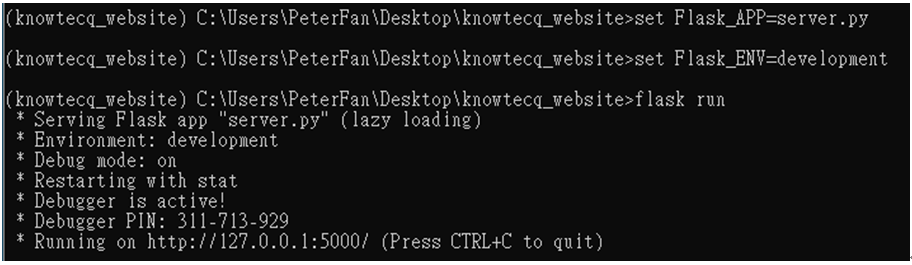
7.Debug mode : 此為建議的模式,因為在開發期間才可以從命令提示字元上面看到抱錯,當然如果有bug,flask也會在瀏覽器上顯示錯誤的訊息
$ set Flask_APP=server.py
$ set Flask_ENV=development
$ flask run
執行後如下圖 :
注意 : 如果要使用flask的 render_template,則要新增名稱為templates的資料夾,把需要用的html file 放進去
1.Static file : css, javascript
2.建立static 資料夾將css, javascript放進去
3.下載favicon,可以找一些免費的favicon來使用
-
產生的.ico檔也要放在static資料夾中
-
可以參考如何套用favicon flask favicon document

4.Flask 的 variable-rules
-
Flask 有內建jinja所以可以用url_for
-
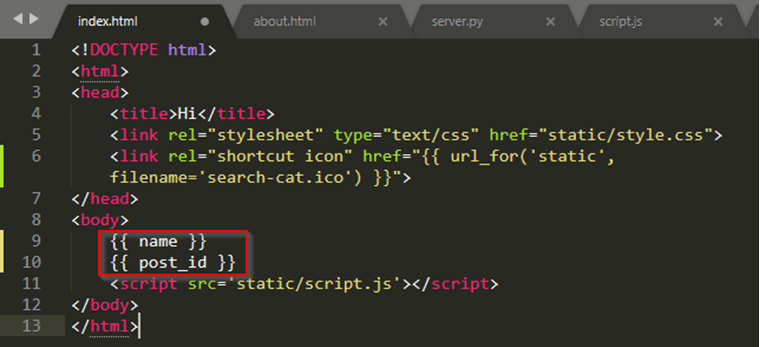
在 server.py的程式碼中,可以使用flask的變數規則,此目的是讓url的輸入值丟到後台在呈現到網頁上來使用。測試如下 :
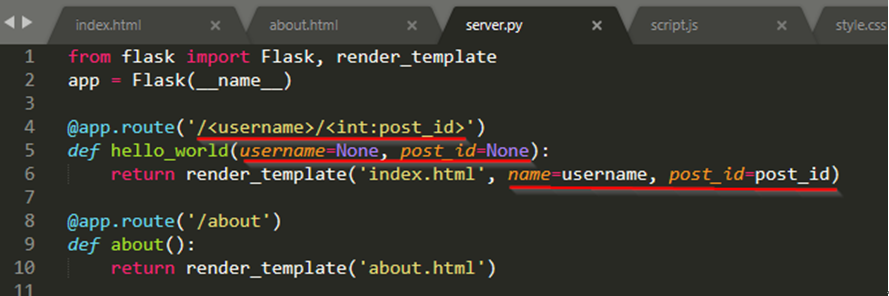
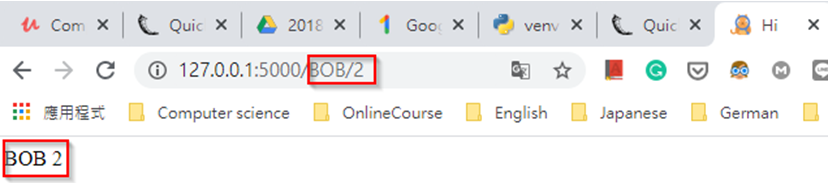
5.在上面的程式碼中 /<username>/<int:posr_id>是使用MIMI type,可以參考介紹
6.下載free templates以及保留要的資料並放到適當的資料夾中
(1) download -> 選擇HTML
(2) 將用不到的先刪除
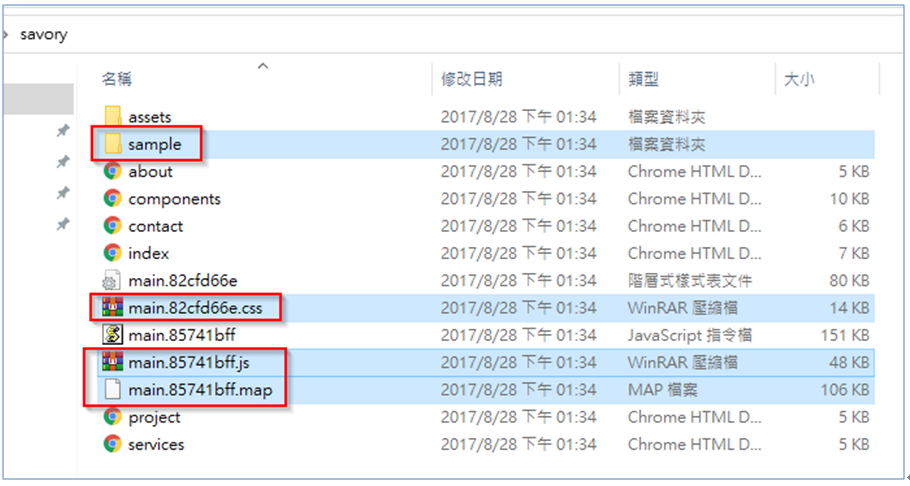
(3) 把原本在練習的index.html, style.css, script.js 刪除,將下載下來的資料屬於html的放在專案資料夾的template資料夾中,屬於css, javascript, assets(圖片),放在static資料夾中
(4) 將index.html中有assets的前面都加上./static, 因為目前資料都放在./static/assets路徑底下將你的favicon改名為favicon並移到static/assets路徑底下,同樣的index.html中有使用的css與javascript也要在./static/assets路徑底下
(5) 接下來,將各個html有使用到的assets的路徑都改成./static/assets路徑底下,有使用的css與javascript也要在./static/assets路徑底下
> 小技巧:  https://www.makeuseof.com/tag/sublime-text-keyboard-shortcuts-cheat-sheet/
- MAC : command + control + g =>可以將選取的字串,只要是同樣的文字,修改時會全部一起修改
- Windows : Alt +F3 =>可以將選取的字串,只要是同樣的文字,修改時會全部一起修改
(6)下載檔案中components.html 的主要功能是,如果有需要用的element,可以從這邊複製使用目前components.html用不到,可以刪除,另外,可以將各頁面的navigation中的components.html的list刪除
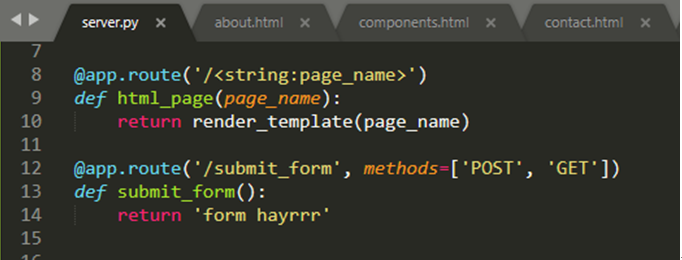
7.Flask accessing request data
(1)參考: flask accessing request data
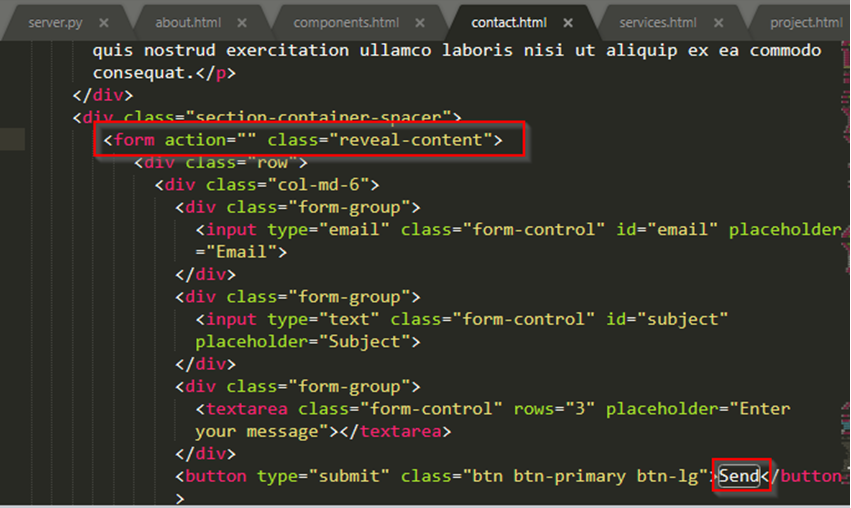
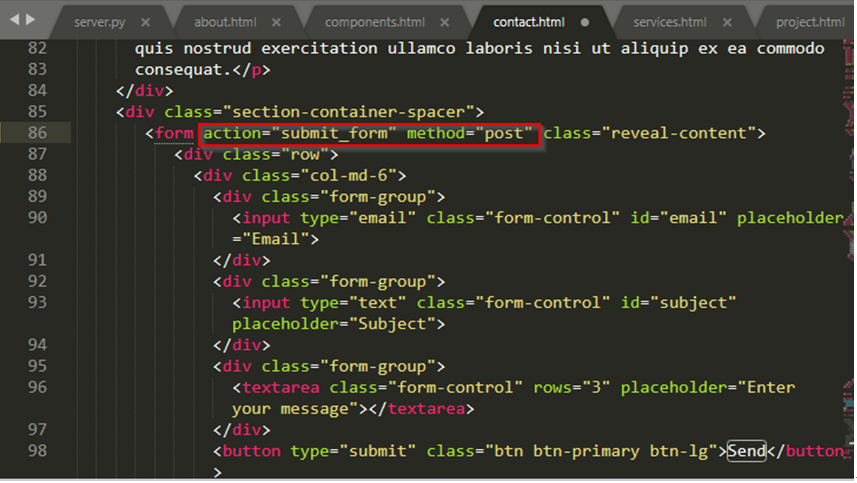
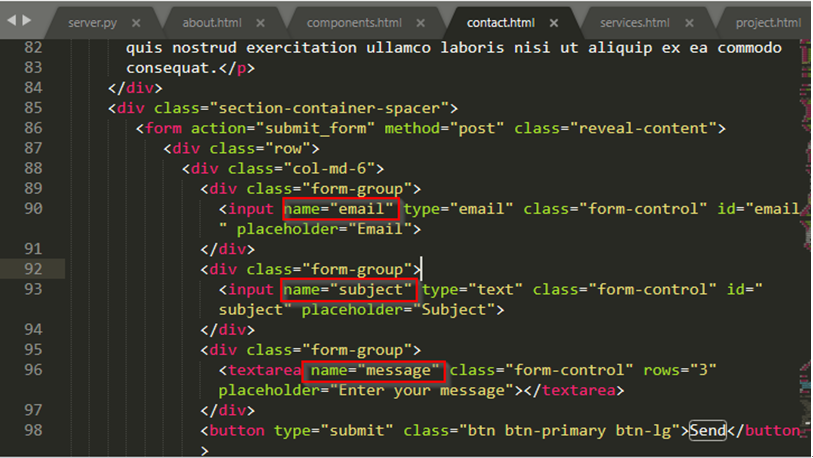
(2)找出 contact.html中的文字為Send的button,再找出它的form標籤,屬性有action,action可以用get, post….,我們改成當按下按鈕時,action是到我們定義的接口submit_form,並加入method=”post"的屬性
-
加入 action=”submit_form” method=”post”的屬性
-
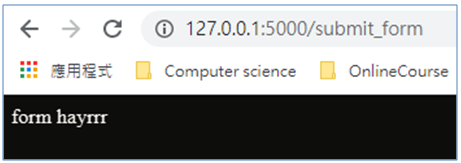
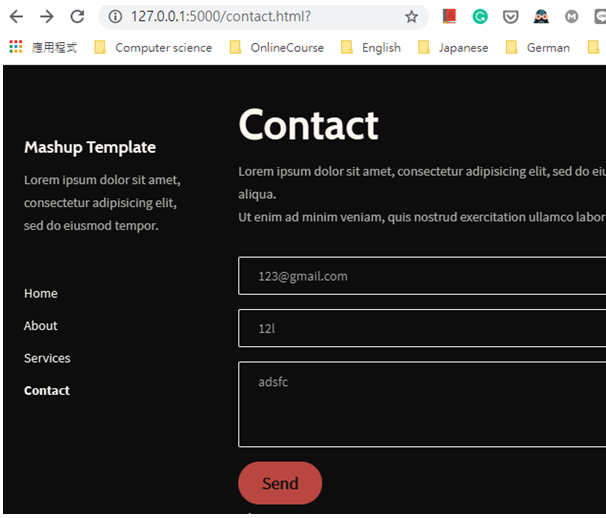
測試
(3)在input(email, text)的elements,分別加上name=”email”, name=”subject”屬性,在textarea 的 element,加上 name=”message”屬性
-
測試
-
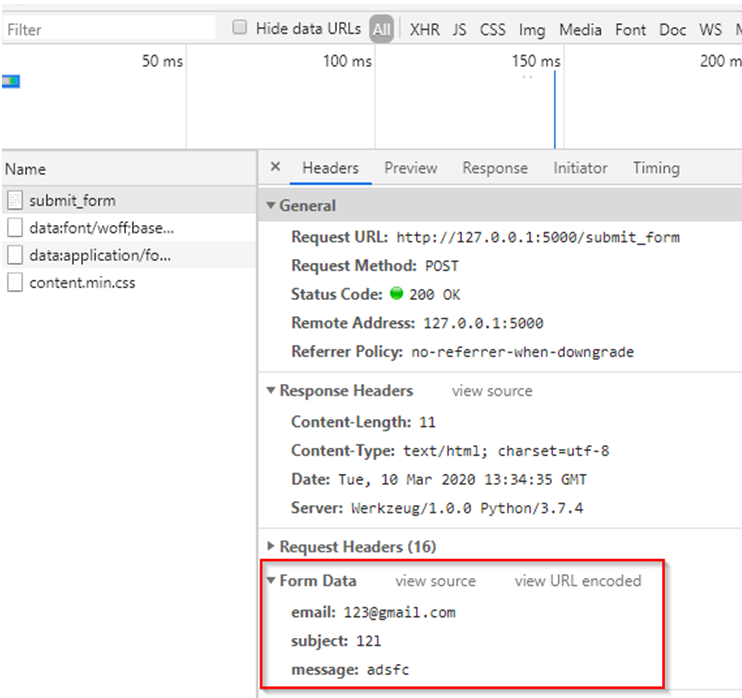
可以chrome使用開發者工具 (按下F12),可以觀察到data
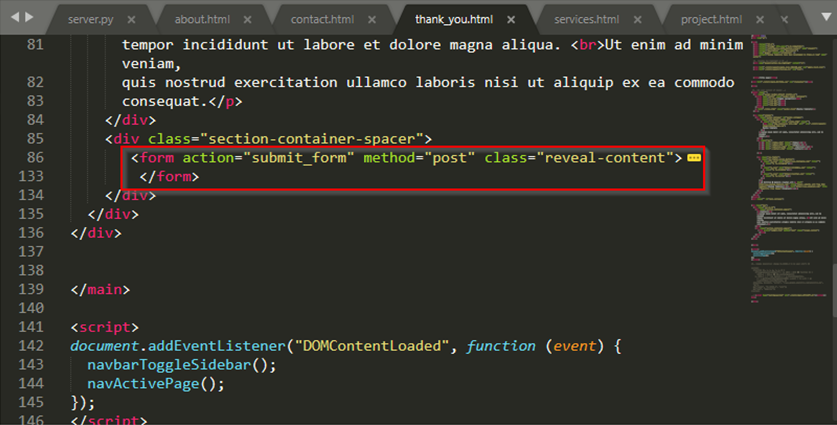
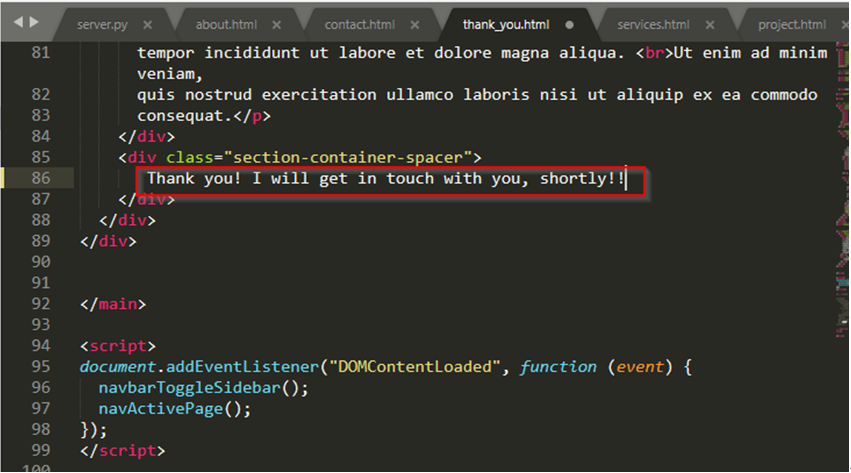
(4)Duplicate contact.html, and rename it as thank_you.html其中將form的部分刪除,改成要感謝的文字
-
修改前
-
修改後
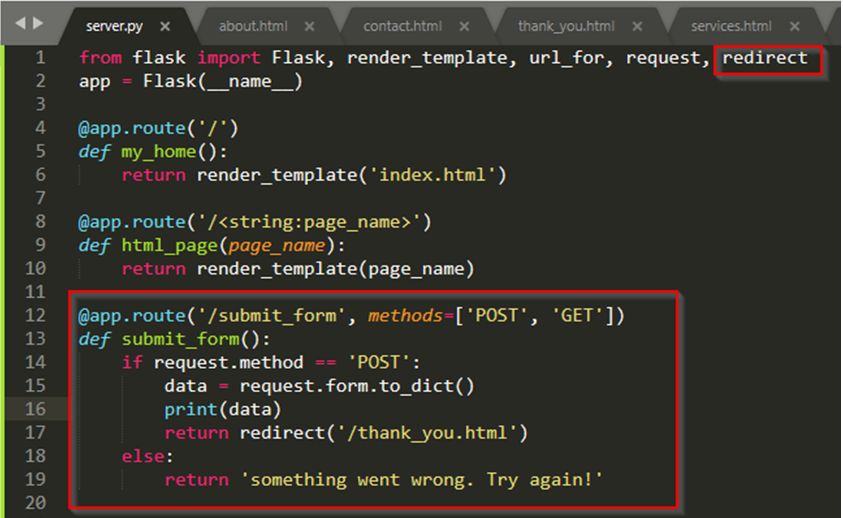
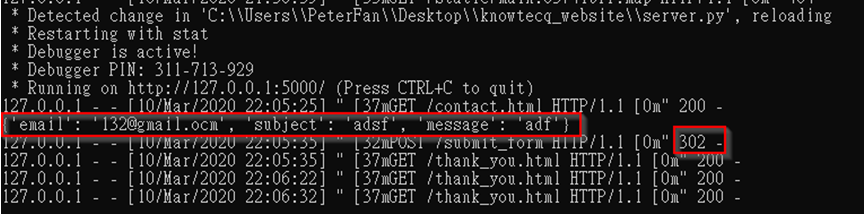
(5)修改server.py改用redirect的方式傳送thank_you.html,並從我們的terminal上可以觀察到回傳的資料轉成dictionary的格式
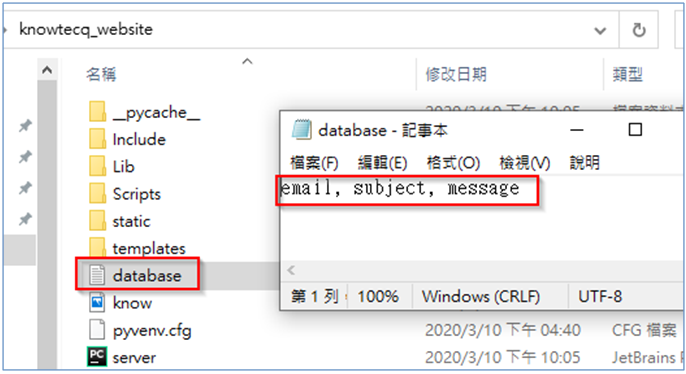
(6) 在專案資料夾下新增database.txt檔案
(7) 在server.py寫function => write_to_file(data)
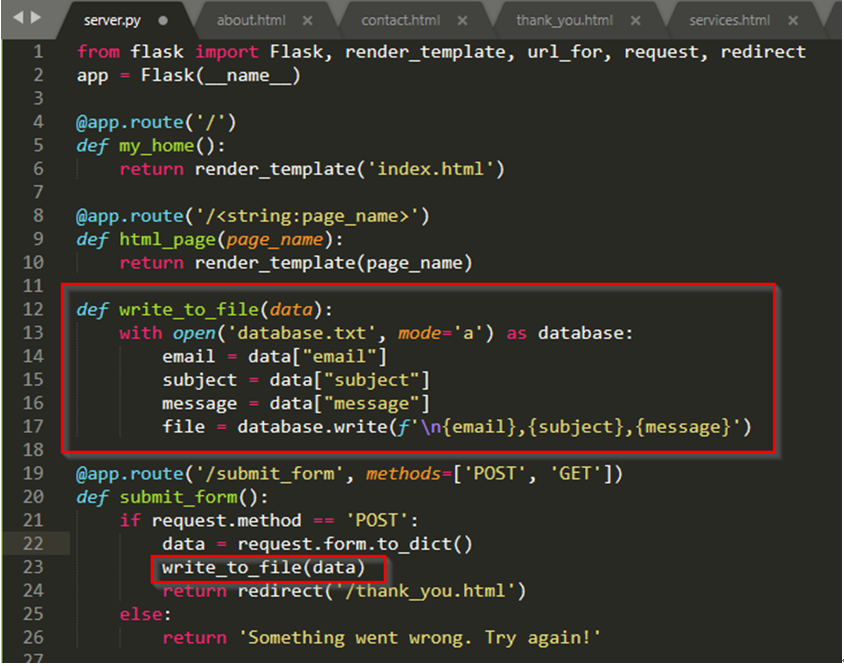
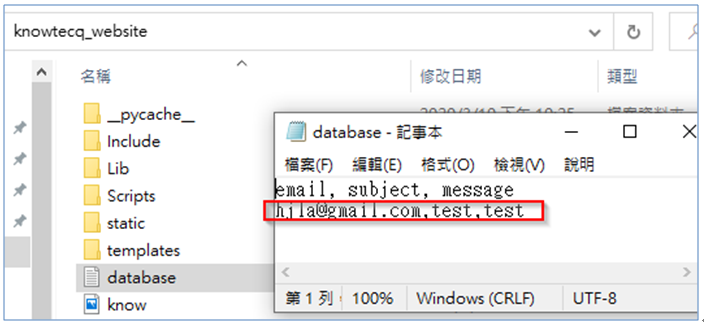
測試(使用contactj網頁,填寫測試的資料),按下Send,之後可以看到database.txt資料灌進來
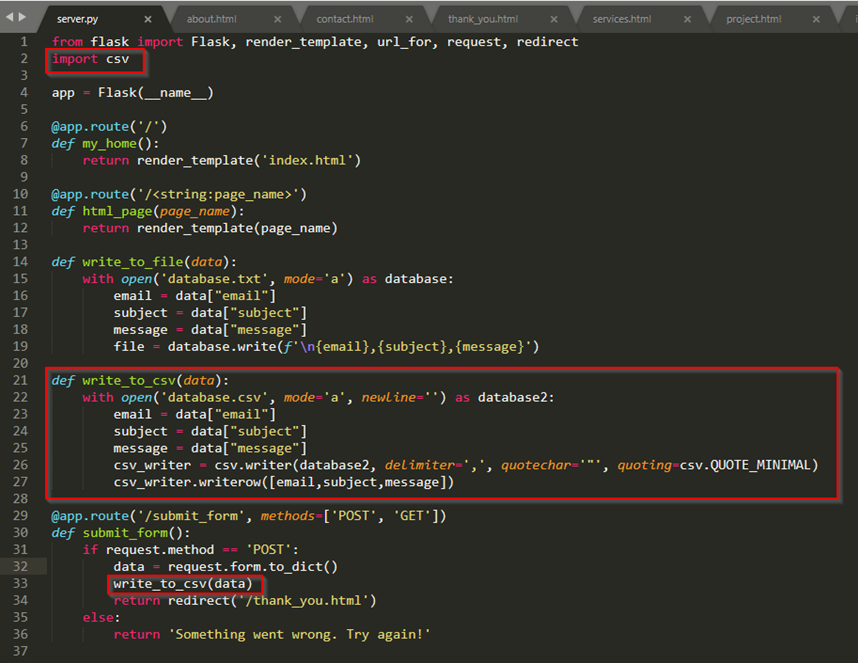
(8) 由於存在txt檔上不是很好,所以存在CSV檔中比較好
-
可以參考 Python csv module 在專案資料夾下創建database.csv檔案,在server.py上面寫function=>write_to_csv(data)
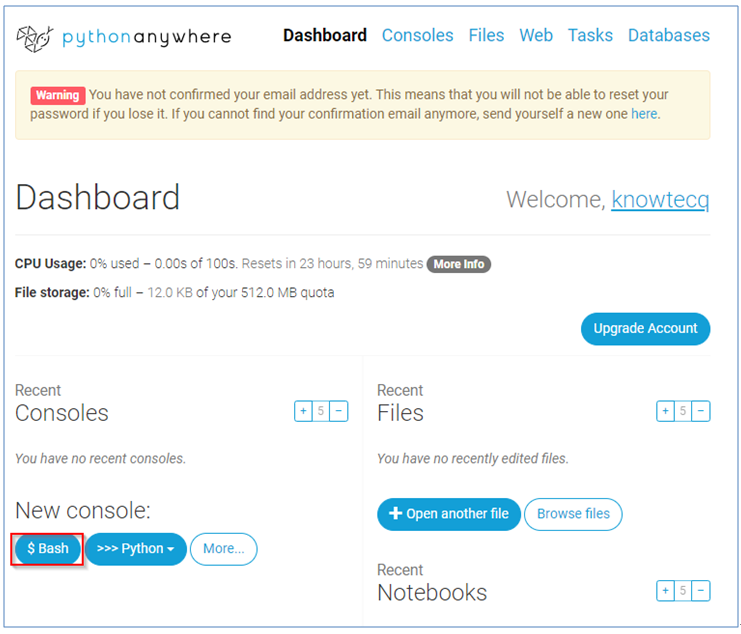
(9) 建立新的gmail帳號以及pythonanywhere帳號
(10) Create a repository on my Github,然後再git clone 下來 我的github為: https://github.com/akirap3/knowtecq_website
$ git clone https://github.com/akirap3/knowtecq_website.git
(11) 將database.csv, server.py, static資料夾, templates資料夾,從原本的專案資料夾複製到剛剛git clone下來的資料夾中
(12) 建立 requirements.txt,之後將專案資料要上傳到你的git repo中

$ pip freeze > requirements.txt
$ cd knowtecq_website
$ git add .
$ git commit –m “knowtecq website initial contents”
$ git push origin master
1.到pythonanywhere(https://www.pythonanywhere.com/)開啟 bash
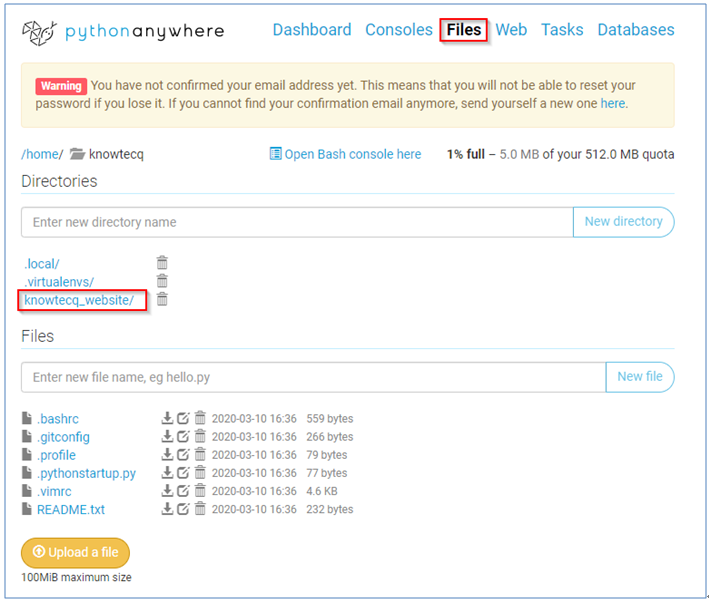
2.在新開的console上git clone剛剛的repo,Clone完後,可以在Recent files看到knowtecq_website資料夾

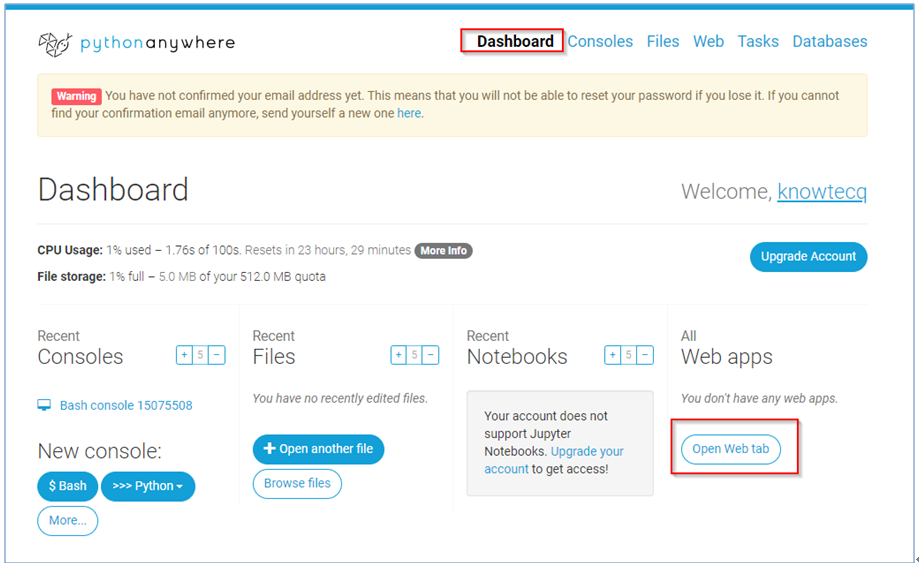
3.Dashboard => Open Web tab
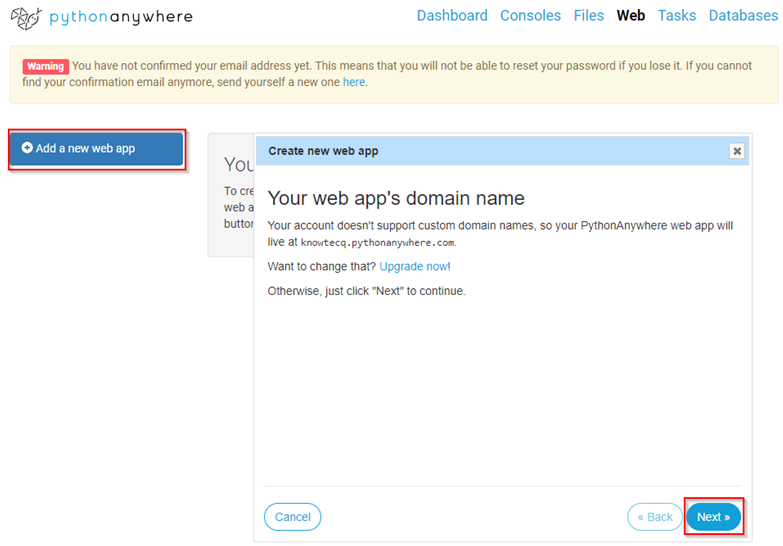
4.Add a new web app => Next
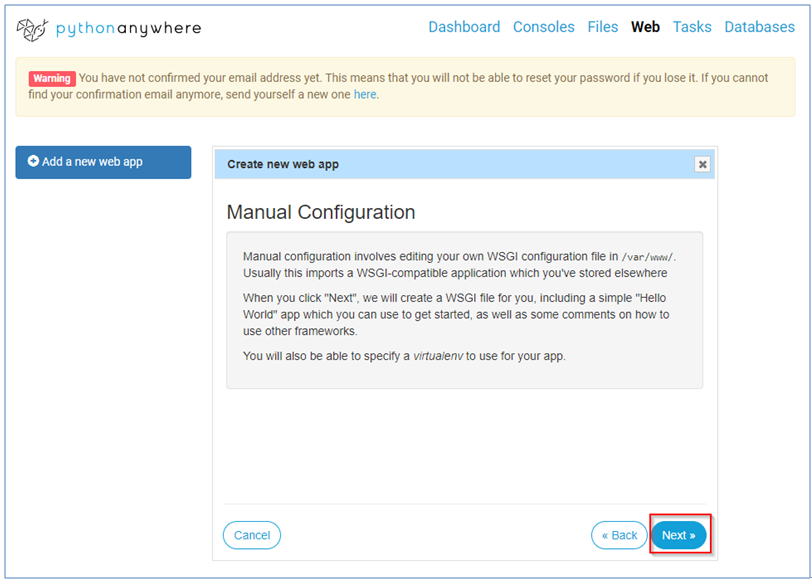
5.Manual configuration
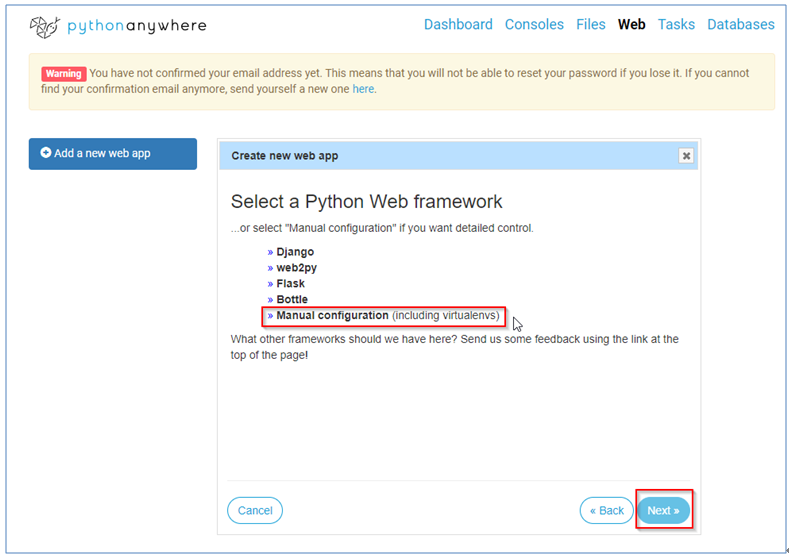
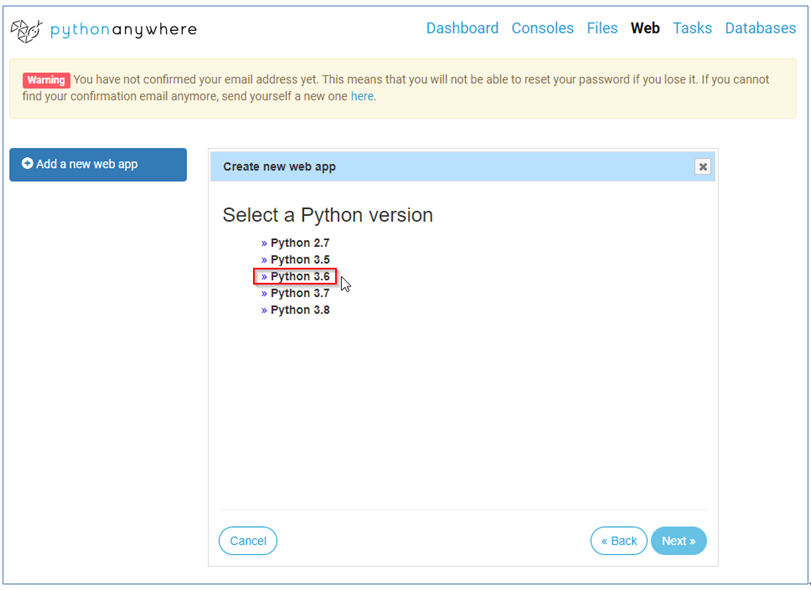
6.選擇Python 3.6 => Next
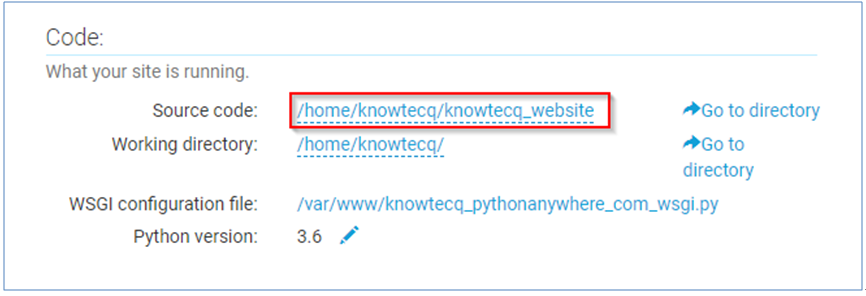
7.Web => 在source code填入knowtecq_website 可以參考文件 : https://help.pythonanywhere.com/pages/Flask/
8.再到剛剛的console
$ mkvirtualenv --python=/usr/bin/python3.6 my-virtualenv
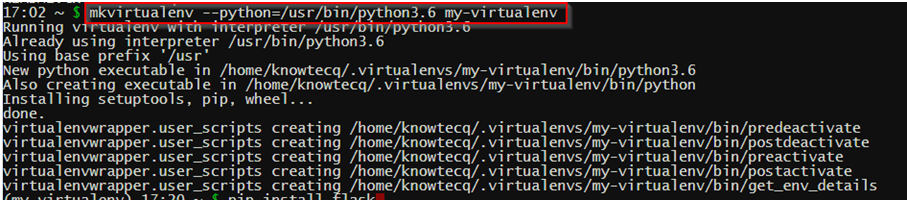
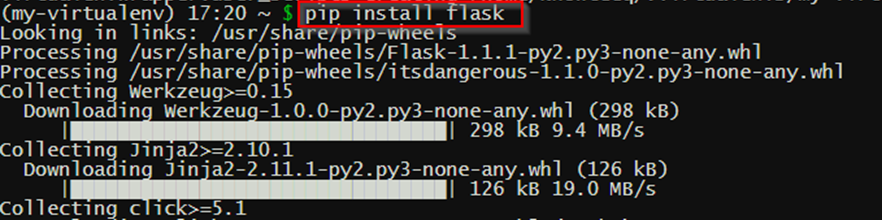
9.會轉到虛擬環境下(my-virtualenv)~$,安裝Flask
(my-virtualenv)~$ pip install flask
下次如果要再進到virtual environment時,要下指令
$ workon my-virtualenv
10.切換到專案資料夾,安裝相依性的套件
$ ls
$ cd knowtecq_website/
$ pip install –r requirements.txt

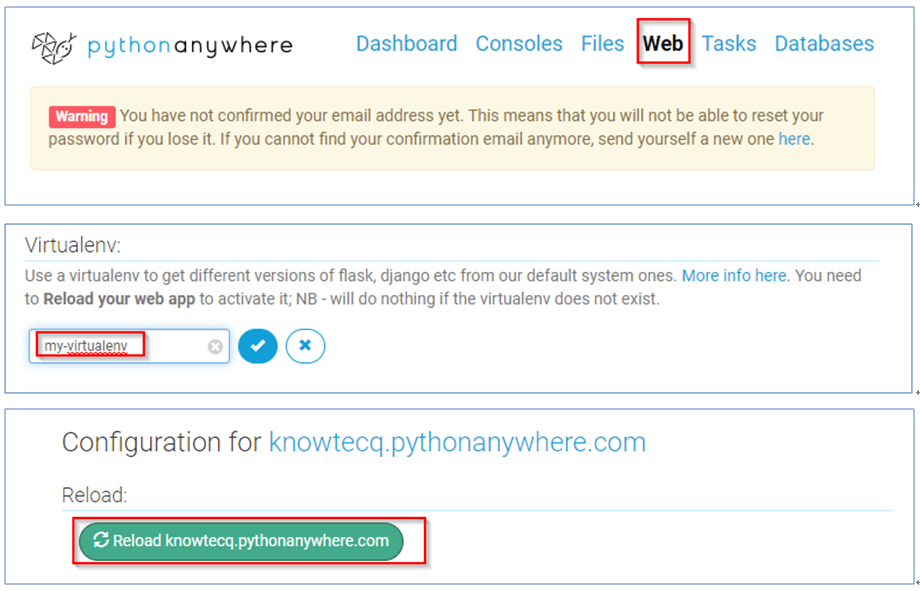
11.再到Web,Virtualenv選項中,輸入你剛剛命名的虛擬環境的名稱,此處為my-virtualenv,之後再reload
12.開啟WSGI config檔
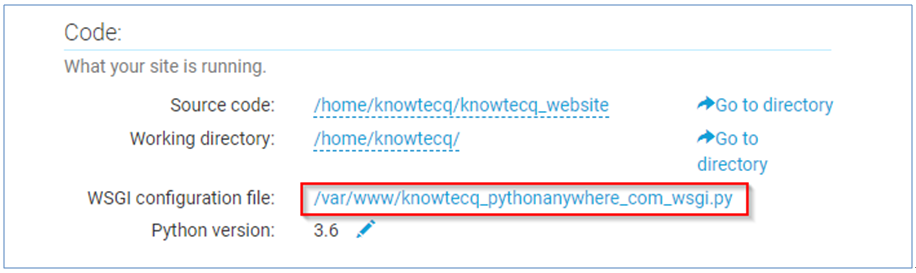
刪除無關Flask的code,只留下有關Flask的code
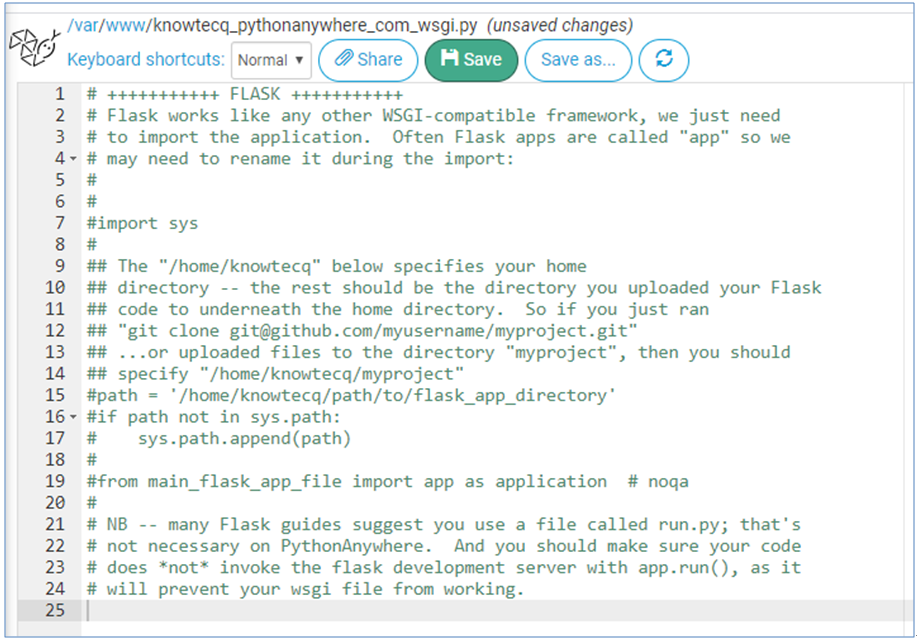
將程式碼修改成如下,其中server即是我們寫的server.py

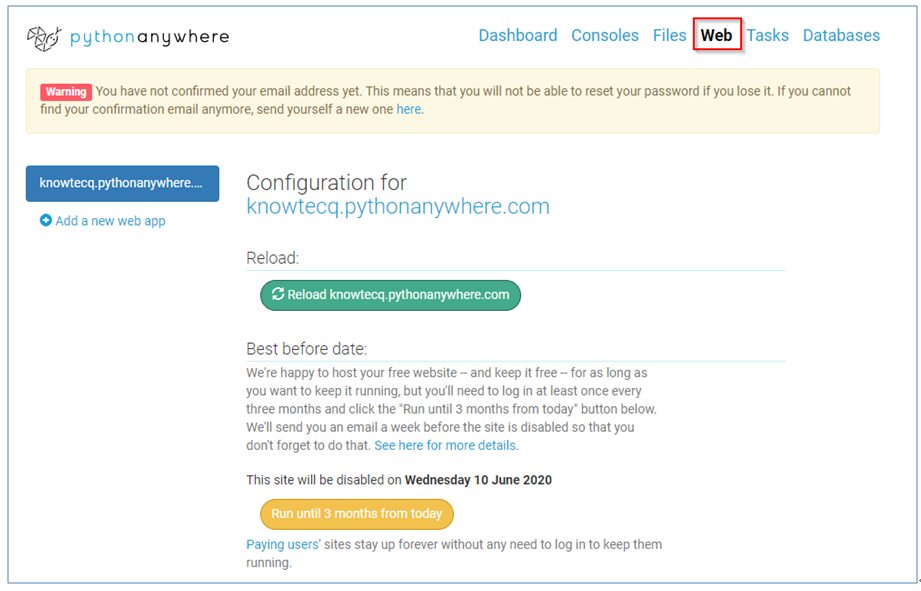
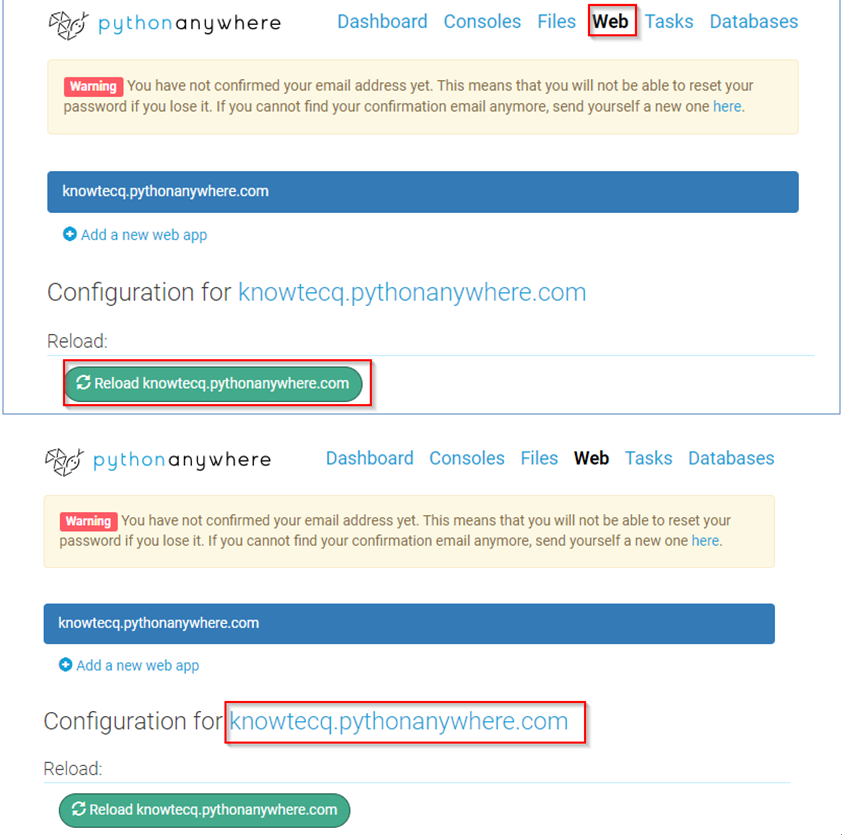
13.再reload一次,完成後,點擊knowtecq.pythonanywhere.com
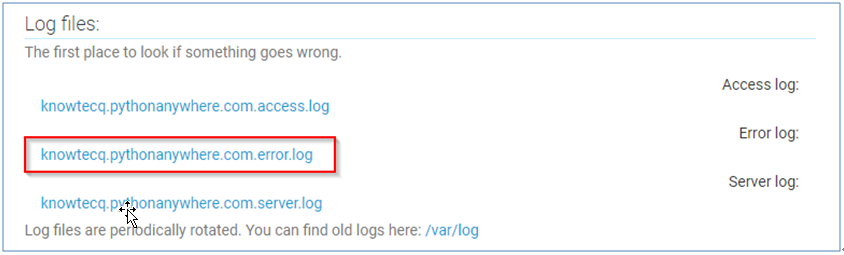
14.後續如果有遇到問題,可以到Log files中查看是什麼問題,然後一一排除
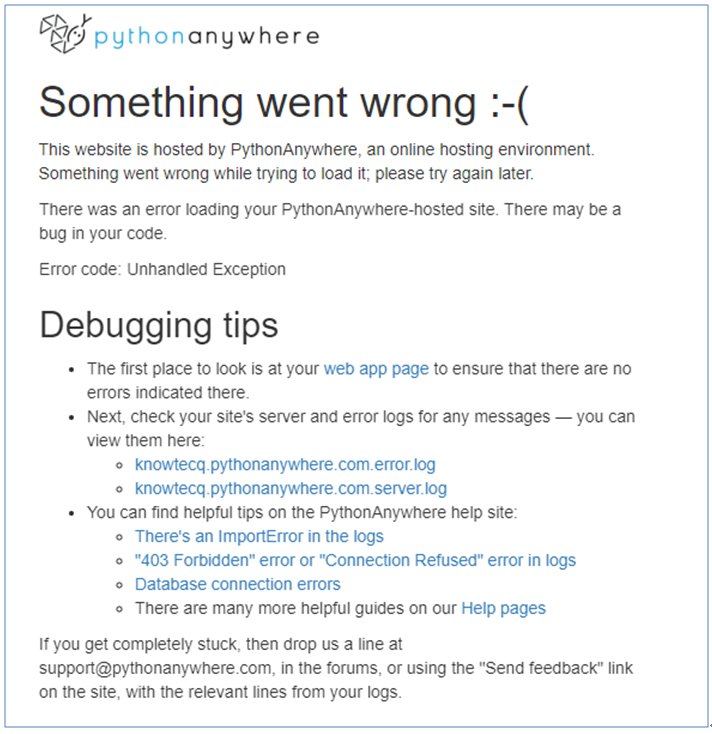
查看問題點
15.後續如果有更新資料,先在本地做完測試後,git 上傳到你的repo,然後再到你在pythonanywhere上跑程式的那台虛擬機上面,切換到專案資料夾,然後 git pull,接著在到web => relaod,即完成更新
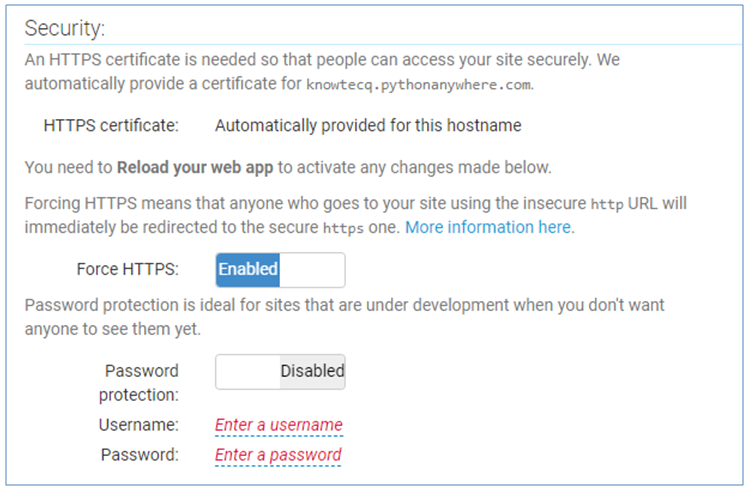
16.另外,記得開啟強制使用https,這樣比較安全
17.最後的結果為,可以直接到網站上看喔 Knowtecq Life
