For Unity 2017.3 and later: SpriteGlow.unitypackage. Check releases for previous versions support.
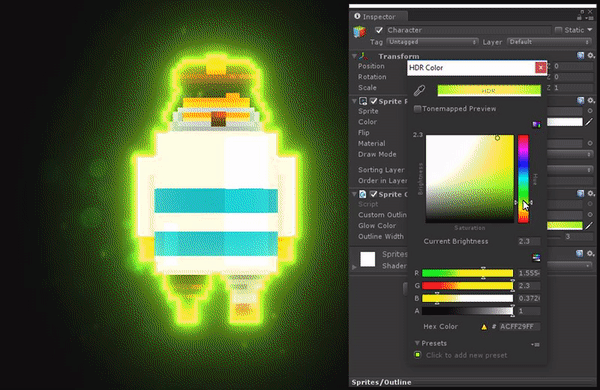
The glow effect is achieved using sprite outline in HDR colors (applied via shader) and bloom post-processing.
For the bloom effect Unity Post Processing Stack is used. You can replace it with similar 3rd-party solutions.
The effect is compatible with the Lightweight Render Pipeline (HDR should be enabled in the pipeline asset settings).
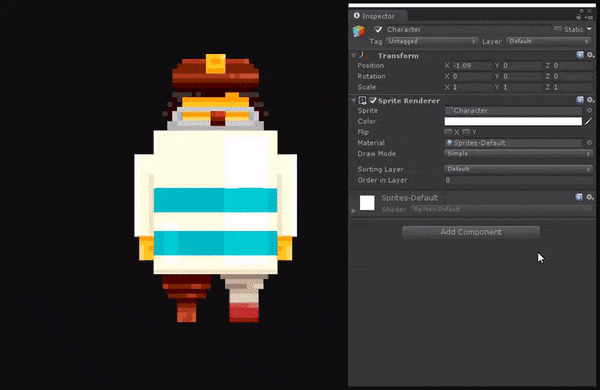
Character sprite by Mikhail Pigichka.
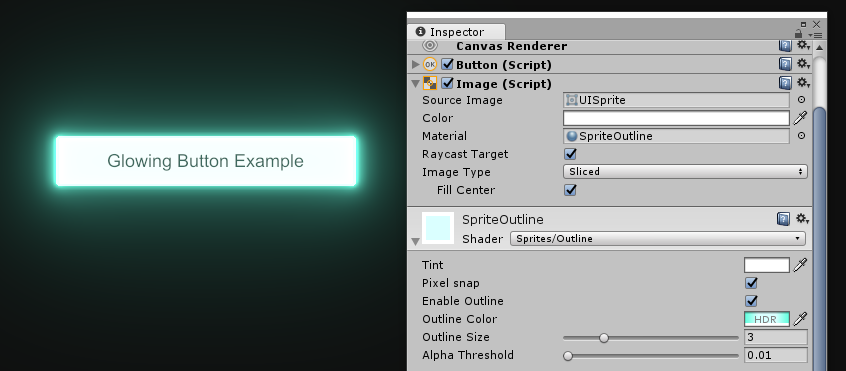
Not directly (after all, this project is called SpriteGlow). It is only possible if the component is using a shader similar to sprites, e.g. , “2D” stuff such as UI objects, tilemaps, etc. To accomplish this, a material based on the Sprites/Outline shader must be created and manually applied to the component. Material editor can then be used to control all of the glow parameters. In the project, scenes with examples of applying the effect to UI Button or a tilemap can be found.
Make sure:
-
A bloom post-processing effect is enabled (you can use any, eg the one from Unity's PPS)
-
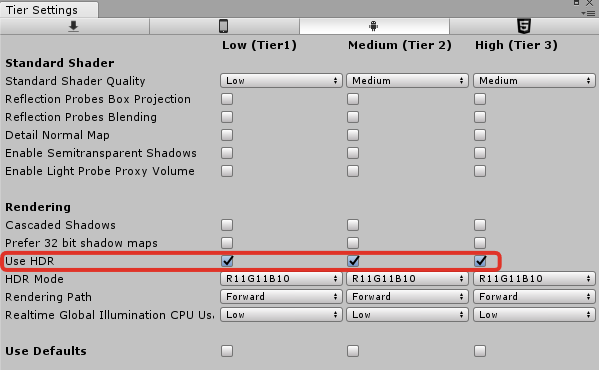
HDR is enabled for target platform and tier (Edit > Project Settings > Graphics):
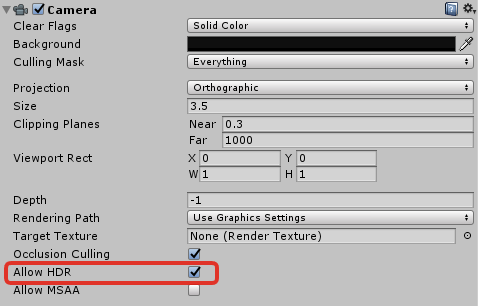
- Camera 'Allow HDR' is enabled:
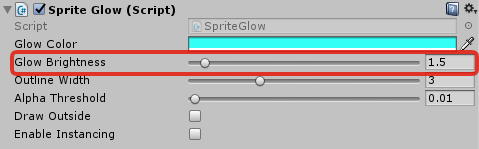
- You've set 'Glow Brightness' high enough:
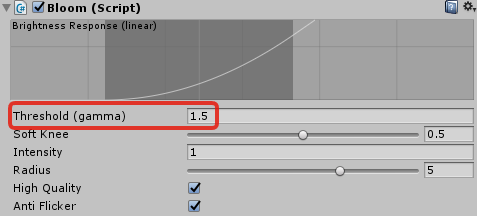
Make sure 'Threshold' value of the bloom image effect is set high enough. It's usually 1 to 1.5, depending on the bloom solution.
NullReferenceException error in build is likely due to the outline shader not being included to the build. This often happens when none of the included assets reference SpriteGlow component directly. The shader can be force-included by assigning it to the "Always Included Shaders" in Edit -> Project Settings -> Graphics.
Please check the active issues.

