


🎬 Live Demo: http://satellizer.herokuapp.com
Satellizer is a simple to use, end-to-end, token-based authentication module for AngularJS with built-in support for Google, Facebook, LinkedIn, Twitter authentication providers, plus Email and Password sign-in method. You are not limited to the sign-in options above, in fact you can add any OAuth 1.0 or OAuth 2.0 provider by passing provider-specific information during the configuration step.
The easiest way to get Satellizer is by running one of the following commands:
# Bower
bower install satellizer --save

# NPM
npm install satellizer --save
Note: Alternatively, you may download the latest release from this repository.
Step 1. App Module
angular.module('MyApp', ['Satellizer'])
  .config(function($authProvider) {

    $authProvider.facebook({
      clientId: '624059410963642',
    });

    $authProvider.google({
      clientId: '631036554609-v5hm2amv4pvico3asfi97f54sc51ji4o.apps.googleusercontent.com'
    });

    $authProvider.github({
      clientId: '0ba2600b1dbdb756688b'
    });

    $authProvider.linkedin({
      clientId: '77cw786yignpzj'
    });

    $authProvider.twitter({
      url: '/auth/twitter'
    });

    $authProvider.oauth2({
      name: 'foursquare',
      url: '/auth/foursquare',
      redirectUri: window.location.origin
      clientId: 'MTCEJ3NGW2PNNB31WOSBFDSAD4MTHYVAZ1UKIULXZ2CVFC2K',
      authorizationEndpoint: 'https://foursquare.com/oauth2/authenticate',
    });

  });
Step 2. Controller
angular.module('MyApp')
  .controller('LoginCtrl', function($scope, $auth) {

    $scope.authenticate = function(provider) {
      $auth.authenticate(provider);
    };

  });
Step 3. Template
<button ng-click="authenticate('facebook')">Sign in with Facebook</button>
<button ng-click="authenticate('google')">Sign in with Google</button>
<button ng-click="authenticate('github')">Sign in with GitHub</button>
<button ng-click="authenticate('linkedin')">Sign in with LinkedIn</button>
<button ng-click="authenticate('twitter')">Sign in with Twitter</button>
<button ng-click="authenticate('foursquare')">Sign in with Foursquare</button>
For server-side usage please refer to the examples directory.
Note: List of popular OAuth service providers.
Below is a complete listing of all default configuration options.
$authProvider.logoutRedirect = '/';
$authProvider.loginRedirect = '/';
$authProvider.loginUrl = '/auth/login';
$authProvider.signupUrl = '/auth/signup';
$authProvider.signupRedirect = '/login';
$authProvider.loginRoute = '/login';
$authProvider.signupRoute = '/signup';
$authProvider.user = 'currentUser';

// Google
$authProvider.google({
  url: '/auth/google',
  authorizationEndpoint: 'https://accounts.google.com/o/oauth2/auth',
  redirectUri: window.location.origin,
  scope: 'openid profile email',
  scopeDelimiter: ' ',
  requiredUrlParams: ['scope'],
  optionalUrlParams: ['display'],
  display: 'popup',
  type: '2.0',
  popupOptions: {
    width: 452,
    height: 633
  }
});

// GitHub
$authProvider.github({
  name: 'github',
  url: '/auth/github',
  authorizationEndpoint: 'https://github.com/login/oauth/authorize',
  redirectUri: window.location.origin,
  scope: [],
  scopeDelimiter: ' ',
  type: '2.0',
  popupOptions: {
    width: 1020,
    height: 618
  }
});

// Facebook
$authProvider.facebook({
  url: '/auth/facebook',
  authorizationEndpoint: 'https://www.facebook.com/dialog/oauth',
  redirectUri: window.location.origin + '/',
  scope: 'email',
  scopeDelimiter: ',',
  requiredUrlParams: ['display'],
  display: 'popup',
  type: '2.0',
  popupOptions: {
    width: 481,
    height: 269
  }
});

// LinkedIn
$authProvider.linkedin({
  url: '/auth/linkedin',
  authorizationEndpoint: 'https://www.linkedin.com/uas/oauth2/authorization',
  redirectUri: window.location.origin,
  requiredUrlParams: ['state'],
  scope: [],
  scopeDelimiter: ' ',
  state: 'STATE',
  type: '2.0',
  popupOptions: {
    width: 527,
    height: 582
  }
});

// Twitter
$authProvider.twitter({
  url: '/auth/twitter',
  type: '1.0'
});

// OAuth 2.0
$authProvider.oauth2({
  url: null,
  name: null,
  scope: null,
  scopeDelimiter: null,
  clientId: null,
  redirectUri: null,
  popupOptions: null,
  authorizationEndpoint: null,
  requiredUrlParams: null,
  optionalUrlParams: null,
  defaultUrlParams: ['response_type', 'client_id', 'redirect_uri'],
  responseType: 'code'
});

// OAuth 1.0
$authProvider.oauth1({
  url: null,
  name: null,
  popupOptions: null
});Satellizer relies on Token-Based Authentication with JSON Web Tokens instead of cookies and sessions. Each sub-section below goes in-depth into how the authentication process works.
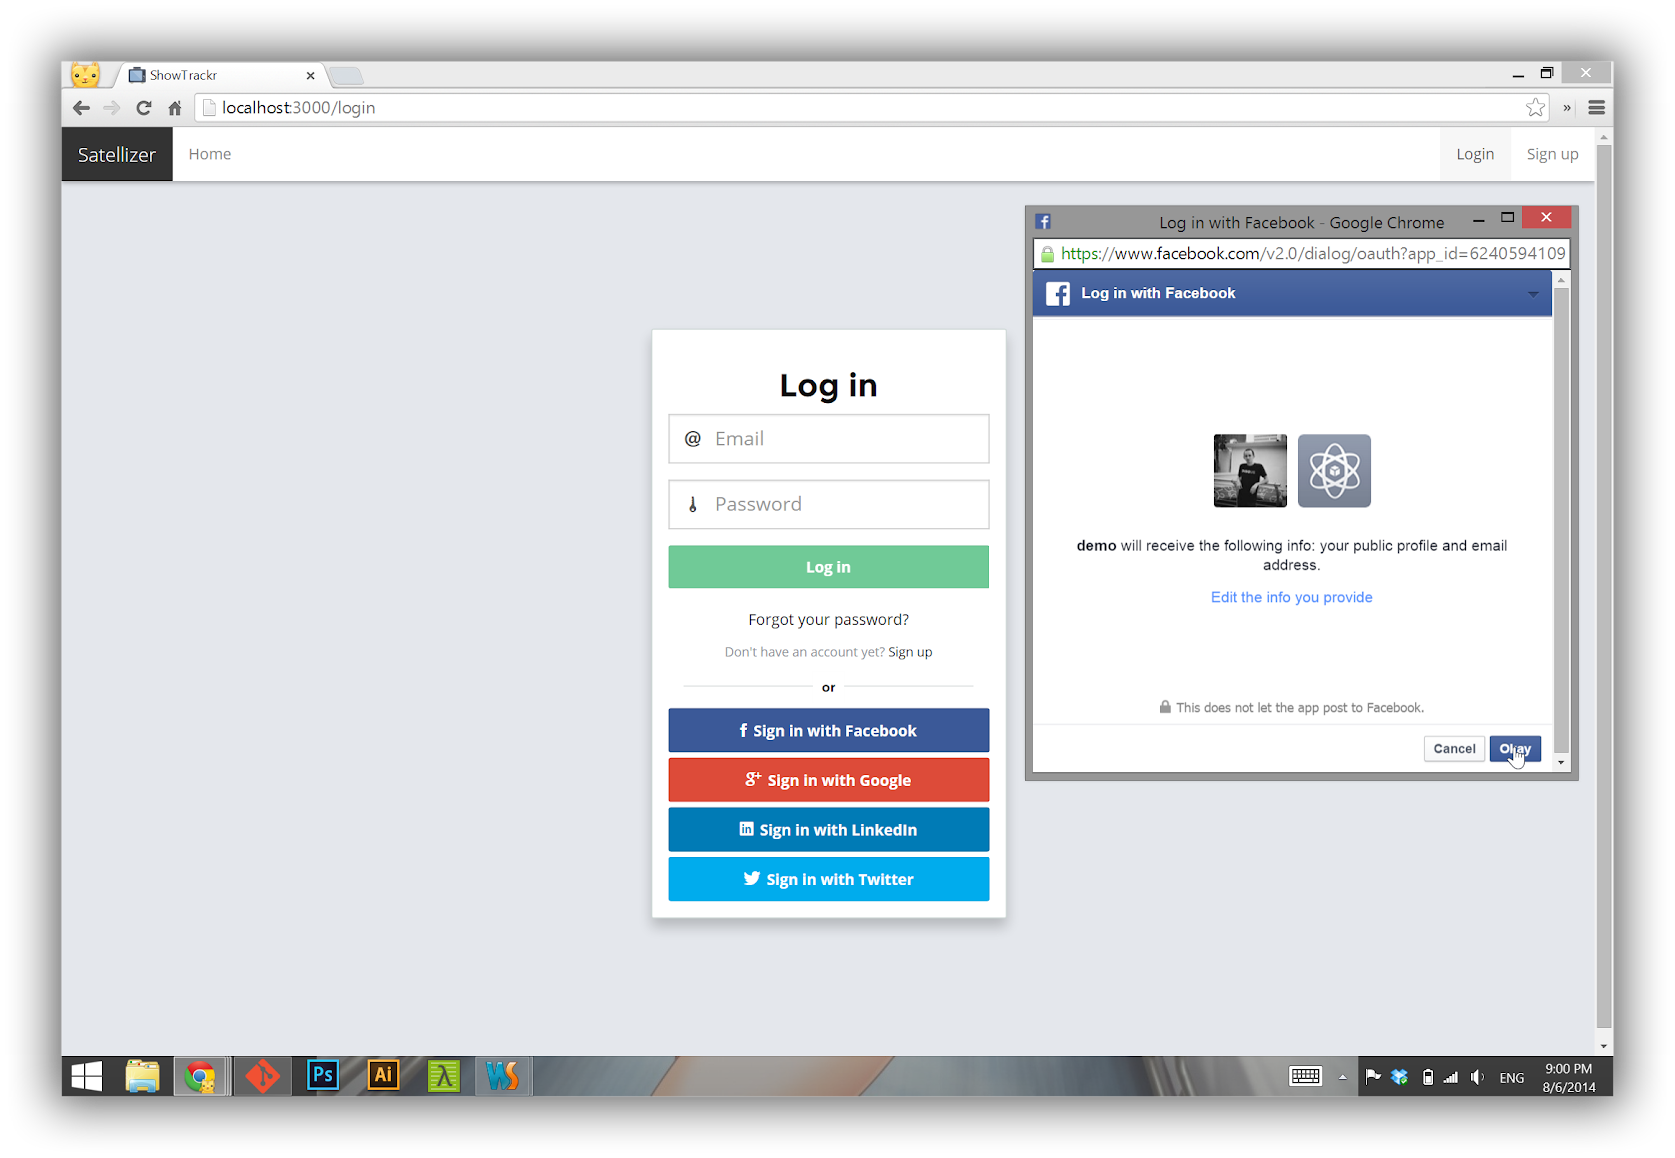
- Client: Open a popup window via
$auth.authenticate('provider_name'). - Client: Sign in with that provider by entering your username and password and authorize the application.
- Client: Popup is redirected back to your app, e.g. http://localhost:3000,
with the
codeurl parameter. - Client: The
code(authorization code) is sent back to the parent window and popup is immediately closed. - Client: Parent window sends a
POSTrequest to /auth/provider with the authorization code from popup. - Server: Then authorization code is exchanged for access token.
- Server: User information is retrived using the access token from Step 6.
- Server: Look up the user by the unique provider id. If user already exists, grab the existing user, otherwise create a new user account.
- Server: In both cases of Step 8 creates a JSON Web Token using user object as the its payload.
- Server: Reply with JSON Web Token.
- Client: Parse the token, extract user information from the payload and save it to Local Storage for subsequent use after page reload.
- Client: Open a popup window via
$auth.authenticate('provider_name'). - Client: Unlike OAuth 2.0 you cannot go directly to the authentication screen without a valid request token.
- Client: The OAuth 1.0 flow starts with the
GETrequest to/auth/<provider>inside a popup. - Server: Check if URL contains
oauth_tokenandoauth_verifierparameters. - Sever: No. Send an OAuth signed
POSTrequest to/request_tokenURL. - Server: Redirect to
/authenticateURL with a valid request token. - Client: Sign in with your username and password and authorize the application.
- Client: Send a GET request back to
/auth/<provider>withoauth_tokenandoauth_verifierparameters. - Server: Repeat Step 4.
- Server: Yes. Send an OAuth signed
POSTrequest to/access_tokenURL. - Server: Look up the user by the unique provider id. If user already exists, grab the existing user, otherwise create a new user account.
- Server: Reply with JSON Web Token.
- Client: Parse the token, extract user information from the payload and save it to Local Storage for subsequent use after page reload.
- Client: Enter your email and password into the login form.
- Client: On form submit call
$auth.login()with email and password. - Client: Send a
POSTrequest to/auth/login. - Server: Check if email exists, if not return
401. - Server: Check if password is correct, if not return
401. - Server: Reply with JSON Web Token.
- Client: Parse the token, extract user information from the payload and save it to Local Storage for subsequent use after page reload.
- Client: Enter your email and password into the signup form.
- Client: On form submit call
$auth.signup()with email and password. - Client: Send a
POSTrequest to/auth/signup. - Server: Create a new user account then return
200 OK. - Client: Redirect to
signupRedirect. (Default: '/login')
- Client: Delete
currentUserfrom the$rootScope. - Client: Delete
jwtTokenfrom the Local Storage. - Client: Redirect to
logoutRedirect. (Default:/)


$auth.login(user)$auth.signup(user)$auth.authenticate(name)$auth.logout()$auth.isAuthenticated()
Sign in via email and password where:
user- object with email and password properties.
$auth.login({
  email: $scope.email,
  password: $scope.password
});Creates a new local account where:
user- object with email, password fields.
$auth.signup({
  email: $scope.email,
  password: $scope.password
});Starts the OAuth 1.0 or OAuth 2.0 authentication flow by opening a poup where:
name- valid provider name.
If empty or invalid name is provided, the function will throw an error.
$auth.authenticate('google').then(function() {
  // signed in!
});Logs out current user by deleting the token from Local Storage and setting
currentUser to null. No request to the server is necessary.
$auth.logout();Returns true or false if the user is signed in or not.
$auth.isAuthenticated(); // trueAlternatively, you may check if currentUser is defined to determine the
authentication state.
<ul class="nav navbar-nav pull-right" ng-if="!currentUser">
  <li><a href="/#/login">Login</a></li>
  <li><a href="/#/signup">Sign up</a></li>
</ul>
<ul class="nav navbar-nav pull-right" ng-if="currentUser">
  <li><a href="/#/logout">Logout</a></li>
</ul>- C# (ASP.NET vNext) implementation
- Elixir (Phoenix) implementation
- Ruby (Sinatra) implementation
- Go (Martini) implementation
- Java (Spring) implementation
- Scala (Play!) implementation
- PHP (Laravel) implementation
- Python (Flask) implementation
Found a typo or a bug? Send a pull request. I would especially appreciate pull requests for server-side examples since I do not have much experience with any of the languages on the TODO list.
The MIT License (MIT)
Copyright (c) 2014 Sahat Yalkabov
Permission is hereby granted, free of charge, to any person obtaining a copy of this software and associated documentation files (the "Software"), to deal in the Software without restriction, including without limitation the rights to use, copy, modify, merge, publish, distribute, sublicense, and/or sell copies of the Software, and to permit persons to whom the Software is furnished to do so, subject to the following conditions:
The above copyright notice and this permission notice shall be included in all copies or substantial portions of the Software.
THE SOFTWARE IS PROVIDED "AS IS", WITHOUT WARRANTY OF ANY KIND, EXPRESS OR IMPLIED, INCLUDING BUT NOT LIMITED TO THE WARRANTIES OF MERCHANTABILITY, FITNESS FOR A PARTICULAR PURPOSE AND NONINFRINGEMENT. IN NO EVENT SHALL THE AUTHORS OR COPYRIGHT HOLDERS BE LIABLE FOR ANY CLAIM, DAMAGES OR OTHER LIABILITY, WHETHER IN AN ACTION OF CONTRACT, TORT OR OTHERWISE, ARISING FROM, OUT OF OR IN CONNECTION WITH THE SOFTWARE OR THE USE OR OTHER DEALINGS IN THE SOFTWARE.


