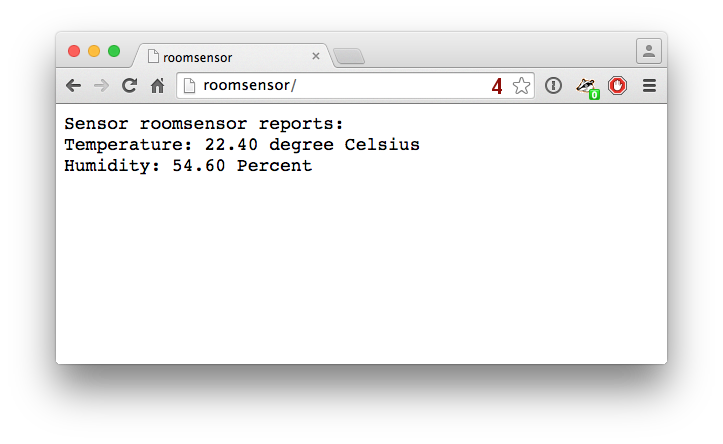
This project implements a simple and cheap room temperature/humidity sensor based on the DHT22 and the ESP8266 ESP-01 board. If you only want to log temperatures you can also use the Dallas DS18S20 onewire temperature sensor. It uses platformio to manage the cross compiler and Arduino framework setup tasks. I wanted a rather cheap sensor that can be integrated into an OpenHAB home automation setup easily. The sensor anounces itself using MDNS. A simple text-based webpage is built in and can be accessed using your web browser:
You can also query the sensor via the JSON interface:
$ curl http://roomsensor/temperature/0
{"temperature": 23.50,"unit": "Celsius"}
	$ curl http://roomsensor/humidity
{"humidity": 53.00,"unit": "Percent"}
This can easily be integrated in OpenHAB. You need the HTTP binding first. Then, create two items like this:
Number Room_Temperature "Temperatur [%.2f °C]" <temperature> (Climate) { http="<[http://192.168.1.160/temperature/0:300000:JS(ESP8266GetTemperature.js)]" }
Number Room_Humidity "Luftfeuchtigkeit [%.2f r.H.]" <humidity> (Climate) { http="<[http://192.168.1.160/humidity:300000:JS(ESP8266GetHumidity.js)]" }
and two javascript transformation to parse the JSON: in transform/ESP8266GetTemperature.js, put
JSON.parse(input).temperature;
and in transform/ESP8266GetHumidity.js, put
JSON.parse(input).humidity;
I display these two values using these entries in my sitemap:
Text item=Room_Temperature icon="temperature"
Text item=Room_Humidity icon="water"
Here you can see a screenshot of the OpenHAB classic interface using the sensor values
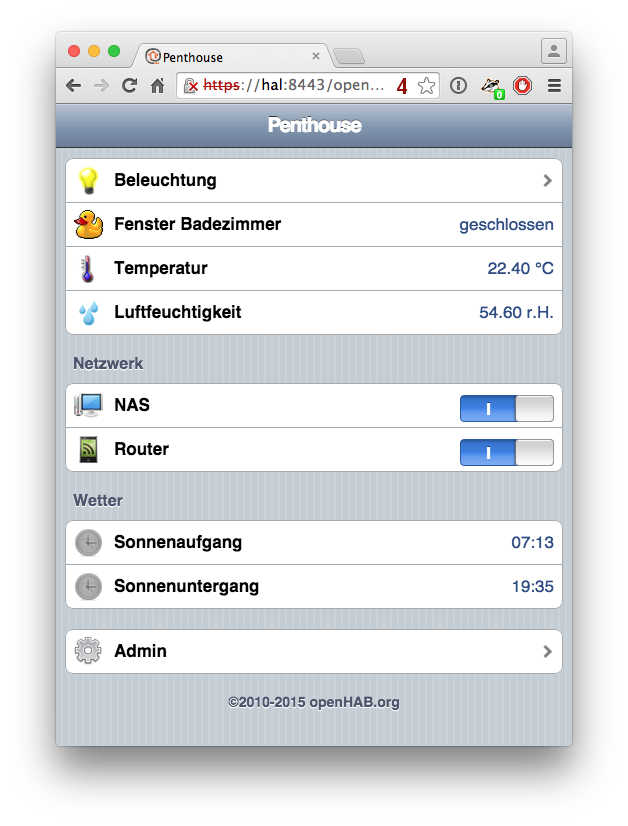
Since the values are just normal OpenHAB items you can store them, graph them and use them in your rules.
You can use the ESP-01 or the ESP-WROOM-02 boards - both are tested and work fine. The ESP-01 board is the simplest ESP8266 board you can buy - I paid around 3,30 Euros (including shipping!) per board. The DHT22 costs between 4 and 6 Euros, depending where you buy. You also need a 3V3 DC 400mA power supply (another 3-4 Euros) and some resistors. All together this project should cost you 15 Euros.
I soldered myself a simple programming breakout board (for the ESP-01) similar to the one presented in the ESP8266 wiki getting started article. I added a connector to be able to use a breadboard for prototyping. This is how it looks like:
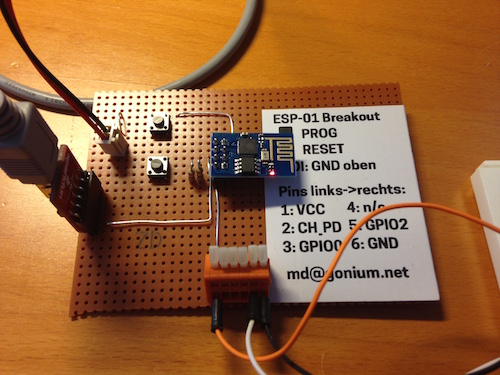
On the left you can see power coming in and the serial interface (3V3 FTDI breakout board) used for progamming the device. The two pushbuttons allow me to reboot into programming mode. At the bottom there is a connector with cables connecting to a breadboard.
For the permanent deployment I use a much simpler setup - no need for a serial interface or programming buttons. The schematic looks like this:
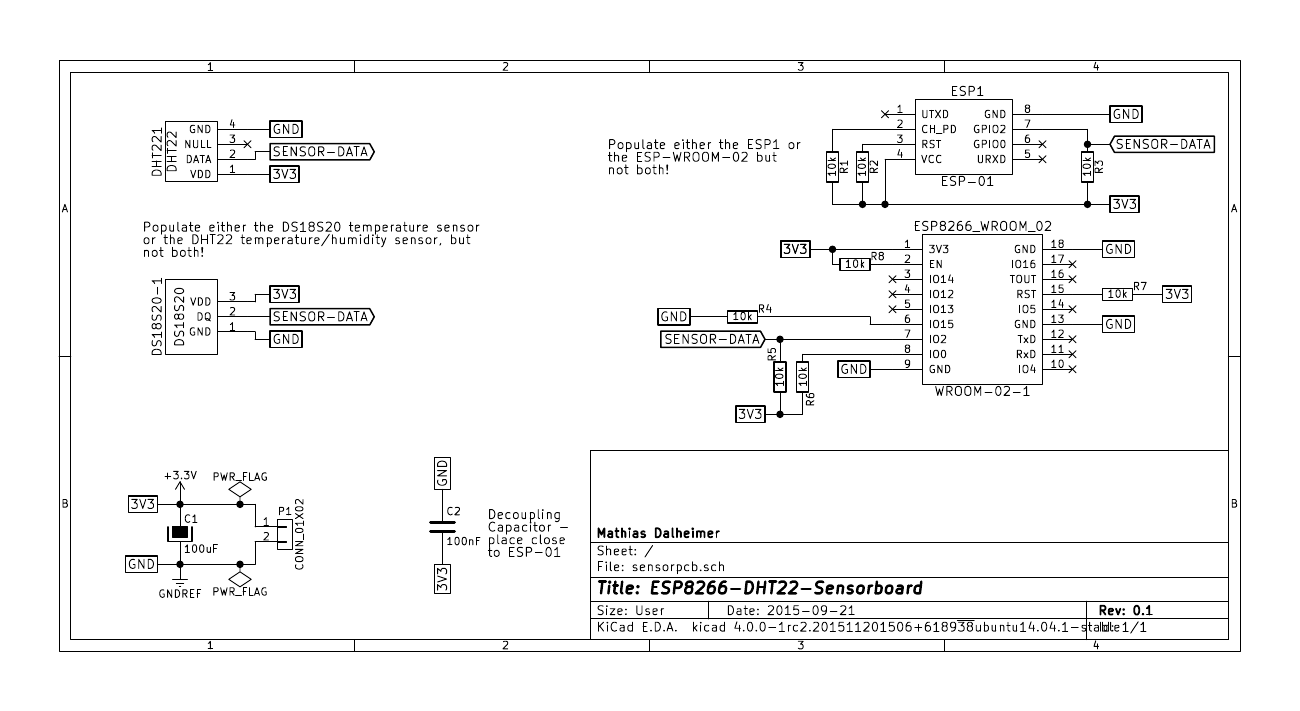
You can easily construct the circuit on some protoboard using THT components. You can either use the ESP-01 board or the ESP-WROOM-02, they behave the same in this simple application. Either you populate the DHT22, or you choose one or more of the simpler (and cheaper) temperature-only DS18S20 sensors. My ESP-01/DHT22 board looks like this:
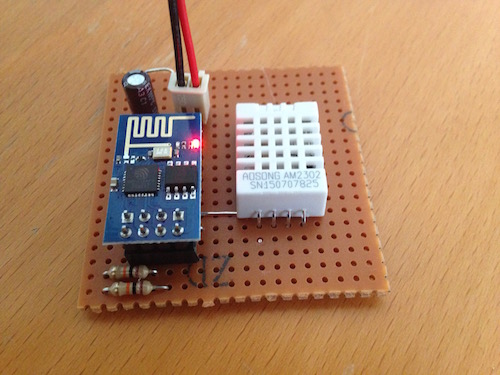
The PCP is 5x5 cm big. If I find some time I will build an enclosure for it using my 3D printer. Since the enclosure needs to ensure a good ventilation stock enclosures don't work well. For monitoring my heating system I'm using a ESP-WROOM-02/DS18S20 setup:
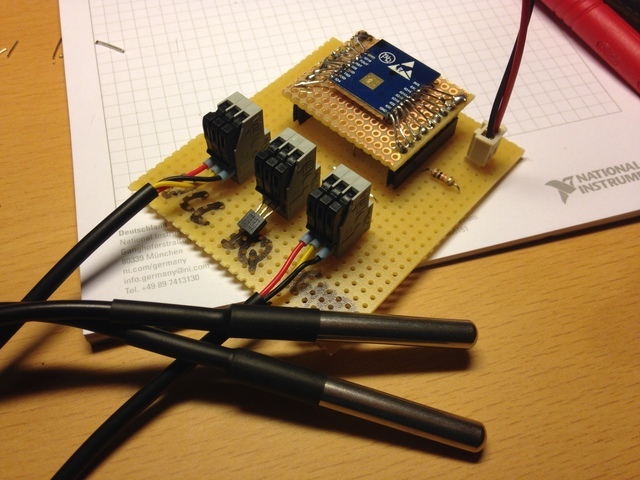
The three grey lever connectors offer VCC, GND and the Onewire data line. I plugged a DS18S20 in a TO-92 enclosure directly into one of the connectors, and two enclosed sensors into the others.
First, you need to install platformio. Just follow the Getting Started-Guide. Essentially, I did the following:
# update dependent packages to the latest versions
$ pip install -U pip setuptools

# install/upgrade the latest version of PlatformIO
$ pip install -U platformio
Afterwards, clone the project (and the submodules in it):
$ git clone --recursive [email protected]:gonium/esp8266-dht22-sensor.git
$ cd esp8266-dht22-sensor.git
Then, you have to copy the example of the config file and edit it to match your network configuration:
$ cp config_sample.h config.h
$ vim config.h
In this file, please adjust SSID, password and the hostname you would like to
broadcast via MDNS. Depending on the sensor you populated you need to uncomment the
define line for your sensor. You also need to define how many
temperature sensors you have attached. The sensors are enumerated and
the first sensor will be represented via the /temperature/0 url, the
second can be queried via /temperature/1 and so on. If you query
/temperature you will be mapped on the first sensor.
You can simply run the platformio toolchain now, it will download all needed components/libraries, compile the code and upload it automatically (please put the ESP8266 into bootloader mode - press PROG and RESET, then release RESET first):
$ platformio run
For development, I directly attach to the serial console afterwards:
$ platformio run && platformio serialports monitor
On my system this is the output:
Wifi temperature sensor v0.1
......
Connected to nibbler
IP address: 192.168.1.160
MDNS responder started
The sensor should now be accessible under http://192.168.1.160 and http://roomsensor.
The project is available under the terms of the MIT license. It uses
- Platformio and the ESP8266-Arduino environment that is bundled
- Adafruits DHT22-Library
Useful commands:
platformio run - process/build project from the current directory
platformio run --target upload or platformio run -t upload - upload firmware to embedded board
platformio run --target clean - clean project (remove compiled files)
