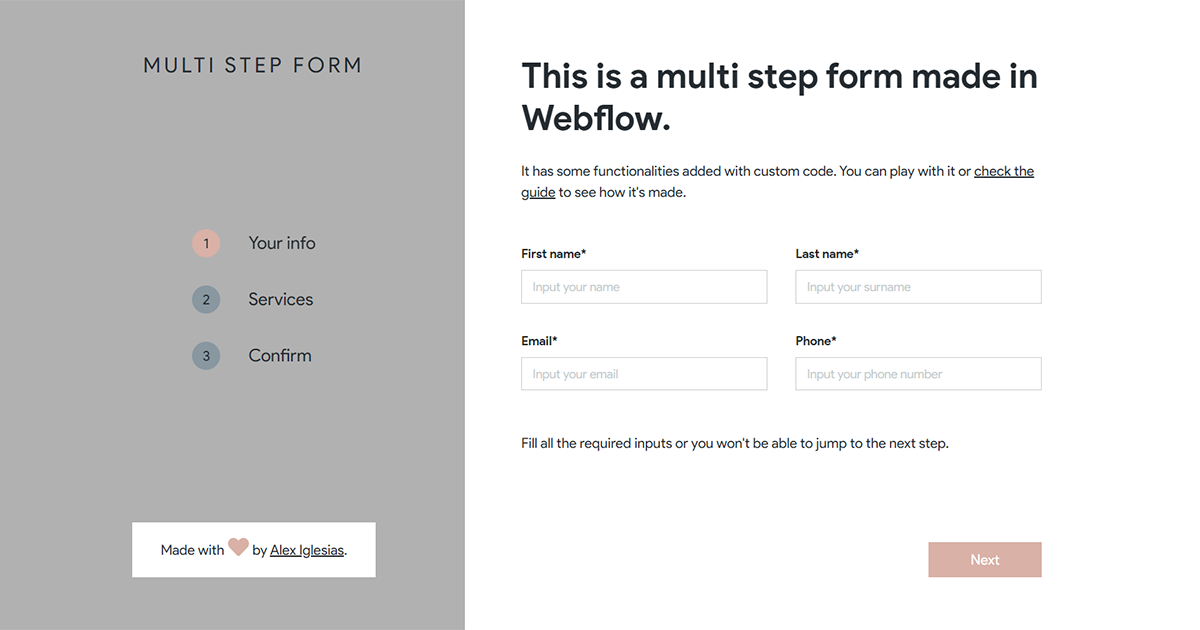
A custom multi step form made for Webflow websites. You can check the cloneable project here.
In order to make the form work as intended, you will need to:
If you don't want to do this manually, you will find an already built starter form in the cloneable project.
Place a slider inside the form that you are using. Inside each slide, you can put all the inputs you want. Make sure that:
- The form has a submit button placed anywhere inside it. Hide it as the Next button will replace its functionality.
- The form has a unique ID.
I.E: #form - The slider has the Swipe Gestures and Auto Play Slides options disabled.
Note: Make sure that you give the ID to the Form element and not to the Form Block element.
You can hide the slider arrows and navigation as you won't use them. Instead, place two buttons anywhere you want and give them a unique ID.
I.E: place a button with #next ID for the Next Step functionality, and a button with #back ID for the Previous Step functionality.
It is recommended to hide the Back button in the first slide using Webflow interactions to avoid confusing users.
When an input is not filled, the script adds a CSS class to it. You can create the CSS class using Webflow itself or via custom code. I.E:
<style>
  .warning {
    border-color: red;
  }
</style>
If you want to apply the class to the Checkboxes and Radio inputs, make sure to set the style to Custom inside the element settings in the Webflow designer.
Aside from the warning CSS class that is applied to the inputs, you can also alert the user. You have two options:
- Show an alert window with a message: check the initialize script section for more info.
- Display an element in the form (text block, div, image, etc). To do so, you must place the element anywhere you want and:
- Give the element a unique ID.
I.E: #alert. - Give the element a combo CSS class of .hidden which sets the element to display:none. This is necessary as the script adds or removes the .hidden class when the input has to be displayed or not.
- Give the element a unique ID.
If you want to display the value of the inputs that the user provided, you must:
- Give the inputs that you want to display a unique ID.
- Place a text block or a paragraph anywhere you want with the following ID:
InputID + "-value"for fields and checkboxes.GroupName + "-value"for radio inputs.
I.E: to display the value of an input that has a #name ID, just place a text block with #name-value as ID.
I.E: to display the value of the selected radio input in the group named variants, just place a text block with #variants-value as ID.
You can collect the data from the 1st step into a hidden form and submit it when the user moves to the 2nd step. In order to do so, you must:
- Place a hidden form anywhere on the page and give it a unique ID.
I.E: #hidden-form - In the form, place the same inputs that you want to collect and give them the following ID:
"hidden-" + InputID.
I.E: to collect the email field that has #email ID, you must place in the hidden form an email field with #hidden-email as ID.
In order to make the form work, you must setup the script and initialize it:
Include the script tag below in the before </body> tag section of your page:
<script src="https://cdn.jsdelivr.net/gh/brotame/[email protected]/dist/msf.min.js"></script>If you don't want to use CDN delivery, you can take the code inside the /dist/msf.js file and put it in your project.
Place the script tag below in the before </body> tag section of your page after the main script.
<script>
  var Webflow = Webflow || [];
  Webflow.push(function () {
    let msfData = new MSF({
      formID: "FORM_ID",
      nextButtonID: "NEXT_BUTTON_ID",
      backButtonID: "BACK_BUTTON_ID",
      nextButtonText: "NEXT_BUTTON_TEXT",
      submitButtonText: "SUBMIT_BUTTON_TEXT",
      warningClass: "WARNING_CLASS",
      alertText: "ALERT_TEXT",
      alertElementID: "ALERT_ELEMENT_ID",
      hiddenFormID: "HIDDEN_FORM_ID",
    });
    msfController.init(msfData);
  });
</script>
Replace the following keys (delete the optional ones that you will be not using:
| Key | Required | Description | Example |
|---|---|---|---|
formID |
Yes |
The ID of the Form element. | formID: "form" |
nextButtonID |
Yes |
The ID of the Next button. | nextButtonID: next |
backButtonID |
Yes |
The ID of the Back button. | backButtonID: "back" |
nextButtonText |
Yes |
The text inside the Next button. This is required because the script changes the text of the Next button when the user reaches the last step. | nextButtonText: "Next Step" |
submitButtonText |
Yes |
The text that you want to display when the user reaches the last step. | submitButtonText: "Submit" |
warningClass |
Optional |
The CSS class that you want to add to the inputs that are not filled. | warningClass: "warning" |
alertText |
Optional |
The text that you want to show in an alert window when some inputs are not filled. | alertText: "Please, fill all the required fields." |
alertElementID |
Optional |
The element that you want to show when some inputs are not filled. | alertElementID: "alert" |
hiddenFormID |
Optional |
The ID of the Hidden Form element. | hiddenFormID: "hidden-form" |
Form that doesn't use the hidden form functionality and shows an element when a required input is not filled:
<script>
  var Webflow = Webflow || [];
  Webflow.push(function () {
    let msfData = new MSF({
      formID: "msf",
      nextButtonID: "msf-next",
      backButtonID: "msf-back",
      nextButtonText: "Next",
      submitButtonText: "Submit",
      warningClass: "warning",
      alertElementID: "msf-alert",
    });
    msfController.init(msfData);
  });
</script>
Form that uses the hidden form functionality and shows an alert window when a required input is not filled:
<script>
  var Webflow = Webflow || [];
  Webflow.push(function () {
    let msfData = new MSF({
      formID: "multi-step-form",
      nextButtonID: "next-button",
      backButtonID: "back-button",
      nextButtonText: "Next Step",
      submitButtonText: "Send",
      warningClass: "red-border",
      alertText: "There are some fields that are not filled.",
      hiddenFormID: "hidden-form",
    });
    msfController.init(msfData);
  });
</script>