
This exercise allows you to practice and apply the concepts and techniques taught in class.
Upon completion of this exercise, you will be able to:
- Use the
useStatehook to create state variables and add state to React components. - Use state variable setter functions to update state and trigger component re-render.
- Use array method
map()to render array data as a list of elements. - Use array methods
filter(),splice(),push(), and array copying techniques to delete or add items to React lists. - Create controlled components to manage the form inputs.
- Create event handler functions to handle user interactions and browser events.
- Apply the "Lifting State Up" approach to share the state between components.
You just realized that since the beginning of the bootcamp, your diet is not healthy, and it may have an impact on your health (and productivity), now and in the long term.
To take care of your diet, you created a nutrition app that will track everything you eat!

-
Fork this repo
-
Clone the forked repo
-
Open the LAB and start:
cd lab-react-ironnutrition-vite
npm install
npm run dev
-
Upon completion, run the following commands:
git add .
git commit -m "done"
git push origin master
-
Create a Pull Request and submit your assignment.
This lab is equipped with unit tests to provide automated feedback on your progress and help you understand whether your code is working as expected. If you want to check the tests, they are located in the src/test folder.
During an iteration, if your code seems to work as expected but some tests don't pass, feel free to move on to the next iteration. Once you've completed all the mandatory iterations, you can go back and resolve any remaining failed test
-
To execute the tests, run the following command in the terminal:
npm run test -
The above command will execute the tests and open the
@vitest/uiTest Reporter in the browser. -
To see the test results, open http://127.0.0.1:51204/__vitest__ in your browser.
First, import the foods array from the foods.json file into App.js:
import foodsJson from "./foods.json";Now that you have the foods.json imported in App.js, create a state variable within the App component and store the foods array in it. In the following iterations, you will use this foods array you just stored in the state variable to render a list of food items.
In the src/components/FoodBoox.jsx file, create a new component named FoodBox that takes a food prop, which is an object. The component should display a card with food information coming from the food prop.
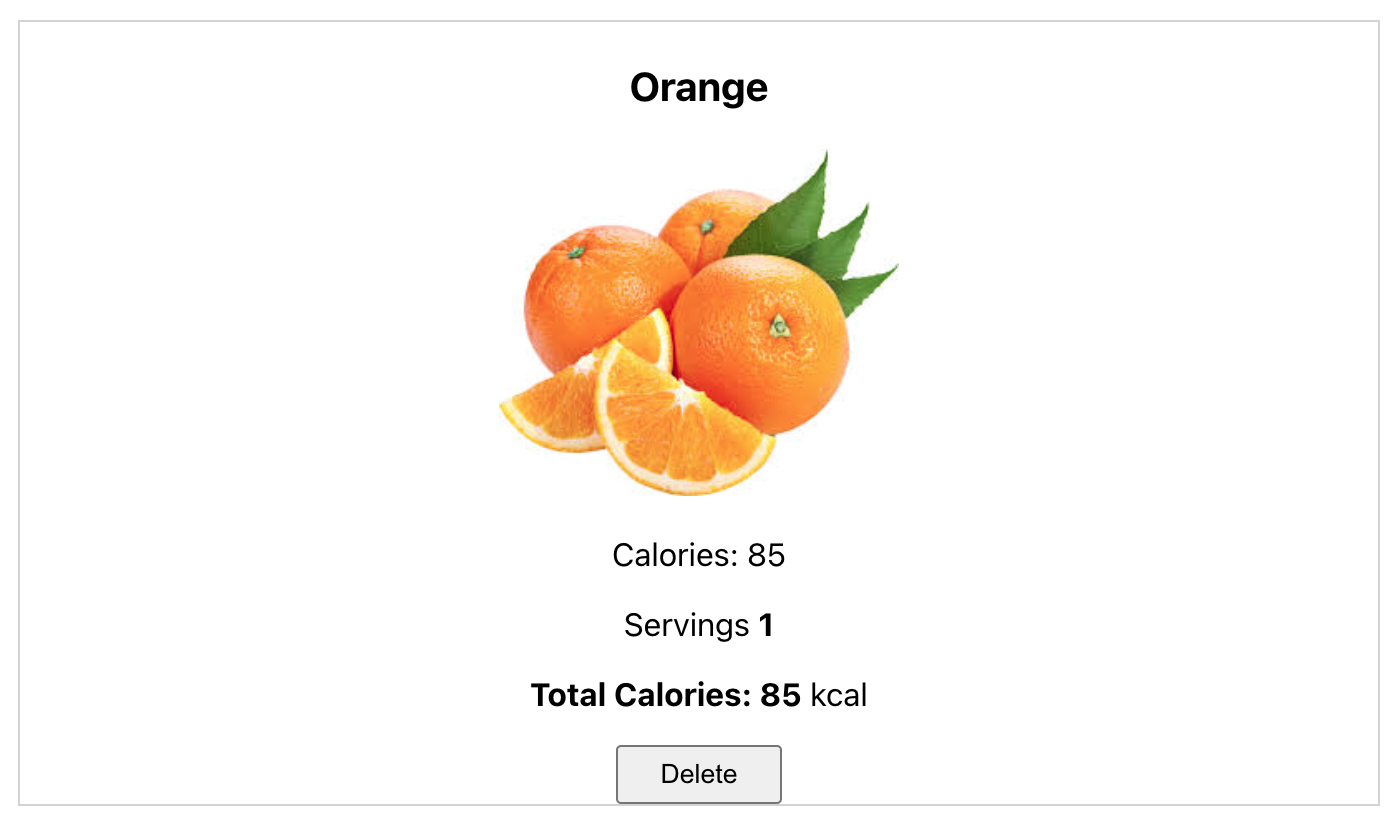
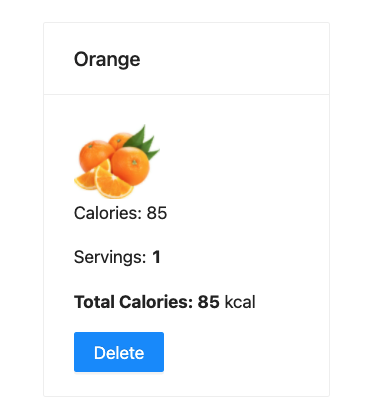
The component should display the food's name, calories, image, number of servings, total calories and a Delete button, using the following layout and elements:
<div>
  <p>NAME</p>

  <img src="IMAGE" />

  <p>Calories: CALORIES</p>
  <p>Servings SERVINGS</p>

  <p>
    <b>Total Calories: SERVINGS * CALORIES </b> kcal
  </p>

  <button>Delete</button>
</div>
After creating the FoodBox component, test it by rendering a single <FoodBox /> component instance in App.js. To test it you can use a mock object with food info, like this:
<FoodBox food={ {
  name: "Orange",
  calories: 85,
  image: "https://i.imgur.com/abKGOcv.jpg",
  servings: 1
} }
/>
See Expected Result
Once you have successfully created and tested the FoodBox component, it is time to use it to render the entire food list and display each food item. To do this, follow these steps:
- Iterate over the foods array and render a
<FoodBox />component for each individual food item. - As you render the
FoodBoxcomponents, remember to pass the food object as a prop.
See Expected Result
Your FoodBox component has a Delete button, and it is time to put it to use. In this iteration, your task is to implement the delete functionality to remove the item from the food list when the delete button is clicked.
Hint: To remove a food item from the list and the foods array which is in the state of the App component, you have to pass a function from App to FoodBox component through props. This function should take the id of the food item to be removed, remove it from the foods array, and then update the state variable holding the foods array.
See Expected Result
Let's add some more ingredients to the mix! 😉
In the src/components/AddFoodForm.jsx file, create a new controlled component named AddFoodForm that lets you add new food items to your list.
The component should contain a form with four (4) input elements:
- Input with the label Name with attributes:
name="name"andtype="text" - Input with the label Image with attributes:
name="image"andtype="text" - Input with the label Calories with attributes:
name="calories"andtype="number" - Input with the label Servings with attributes:
name="servings"andtype="number"
The form should have a submit button displaying the text Create.
Once you've created the AddFoodForm component, render it in App.js. When the submit button is clicked, the new food item should be added to the list.
Hint: To add a new food item to the foods array, which is in the state of the App component, you have to pass a function from the App to the AddFoodForm component through props. This function should take the values entered in the input fields and add them as a new object to the foods array.
See Expected Result
It's time to refactor and clean up the App component by moving all the code relating to the food list into a separate component.
Create a new component named FoodList. The component should contain all the data, logic and nested components used to render and manage the food list from the App component.
When you are done, your App.js file should look like this:
// ...

function App() {
  return (
    <div className="App">
      <FoodList />
    </div>
  );
}

// ...Now that you have a working app let's take it to the next level!
In this iteration, you will use Ant Design component library to enhance the look of your application. Ant Design provides pre-styled components that will make your app look great right out of the box.
Before using any of the Ant Design components, you have to import them from the antd package. You must import a component in each file where you intend to use it. Example:
// EXAMPLE
// To start using the pre-made Ant Design components, we must first import them:
import { Card, Row, Col, Divider, Input, Button } from "antd";

function Example() {
  // After importing the components we can render them directly:
  return (
    <div>
      <Row>
        <Col>
          <Divider>Fancy Input</Divider>
          <Input value={""} onChange={() => {}} />
        </Col>

        <Col>
          <Card title={"Fancy Card"}>
            <Button onClick={() => {}}>Fancy Button</Button>
          </Card>
        </Col>
      </Row>
    </div>
  );
}You can find examples of each component and how to style them using antd inside the style-guide/ folder.
To start, you have to install the antd package in your project:
npm install antdUse antd to style the FoodBox component you created earlier. For guidance on which antd components to use, see the provided example in the style-guide/FoodBox.example.jsx file.
See Expected Result
Repeat the process for the AddFoodForm component, styling it using antd. Then, again, refer to the example in the style-guide/AddFoodForm.example.jsx file for more details on which components to use.
See Expected Result
A search feature is essential for any app displaying a long list of items.
Create a Search component to search through and filter the list of food items displayed.
When a search term is entered, the food list should be filtered to display only the items that match the search term.
See Expected Result
As a final touch, let's make the app even more user-friendly by adding a feedback message. For example, when the food array is empty, display a message to let the user know.
Once all the items are deleted from the list, a message saying "Oops! There is no more content to show." should be displayed.
See Expected Result
Happy coding! ❤️
I am stuck and don't know how to solve the problem or where to start. What should I do?
If you are stuck in your code and don't know how to solve the problem or where to start, you should take a step back and try to form a clear question about the specific issue you are facing. This will help you narrow down the problem and come up with potential solutions.
For example, is it a concept you don't understand, or are you receiving an error message you don't know how to fix? It is usually helpful to try to state the problem as clearly as possible, including any error messages you are receiving. This can help you communicate the issue to others and potentially get help from classmates or online resources.
Once you have a clear understanding of the problem, you will be able to start working toward the solution.
I got the error: "Cannot find module 'Node.js'". How can I resolve it?
The error "Cannot find module" in a Node.js application means that the module you are trying to import or use does not exist in your project or cannot be found by Node.js.
There are a few things you can try to resolve the issue:
- Dependencies are not installed: Make sure that all dependencies are installed.
To do this, run the command npm install in the root folder of your project.
This will install all the dependencies listed in the project's package.json file and ensure that all of the modules your Node'js application requires are available.
- Module is not installed: Make sure that the package you are trying to use is listed in the project's
package.jsonand that it is installed.
To do this, run the command npm install <package_name>, replacing the <package_name> with the name of the package.
This will add the package to the list of dependencies in the package.json file and install it in the project.
-
Module is not imported: Make sure that you've imported the module/package correctly and that the
importstatement is spelled correctly and available in the correct place in your code. -
Wrong file path: If you are importing another file as a module, make sure that the file you are trying to import is located in the correct folder and that you are using the correct file path.
-
Wrong module/package name: Check the spelling of the package name you are trying to import.
I got the message: "Something is already running at ... Would you like to run the app at another port instead? [Y/n]". What should I do?
This message means that another process is already using the specified port. For example, this could be another instance of your React app, or it could be another application that is using that port. To resolve this, you can change the port your React app is running on by typing Y when prompted. This will kill the process and automatically start the server on another port. Another approach is to manually terminate the process using the port in question and then try running the app again.
I got the warning in my React app:" 'variable' is assigned a value but never used: no-unused-vars". What should I do?
This warning is a linting error thrown by a linting tool in your React project, and it is warning you that the variable is created but that it is never being used in your code.
To resolve this issue, you can either use the variable in your code, or you can simply remove the variable if you don't need it.
I got the warning: "Each child in a list should have a unique 'key' prop". How can I resolve it?
The warning "Each child in a list should have a unique “key” prop" means that you are trying to render a list of elements, but one or more elements are missing the key prop.
To fix this, add a key prop to each element you return from the map() when rendering the list. The key should be a unique identifier for that element, such as an item ID or the id of the document from the database.
For example, if you have an array of objects with the following structure:
const projects = [
  { id: "127fae", name: "EatBCN", stack: "React, Express" },
  { id: "985afw", name: "Levels", stack: "React, Express" },
  { id: "347eef", name: "IronClub", stack: "React, Java" }
];
Inside your component, you would render the list in the following way:
{
  projects.map((el) => {
    return (
      <div key={el.id}>
        <h3>{project.name}</h3>
        <p> Tech Stack: {project.stack} </p>
      </div>
    )
  })
}
In the above example, the objects in the projects array all have a common property, id, which is a unique id string, and therefore we can use it to set the key prop.
When creating lists, we must always assign the key prop to the outermost (enclosing) element returned from the map(), in this case, the div. We are setting the key prop to each div element we render in the list.
Important: You should not use index of the map as key. This is considered an anti-pattern that may lead to unpredictable results.
For more information, check: React Docs - Rendering Lists
How to render a list of elements from an array in a React component?
To render a list of elements from an array in a React component, you can use the method map() to loop over the projects array and return JSX elements to be rendered.
To render a filtered list where some items are skipped, you can use the filter() method.
Each element returned should have a unique key prop assigned to them. It's important to note that the key prop should always be assigned to the outermost (enclosing) element returned from the map().
Here is an example of rendering a list of elements using the map() method:
const projects = [
  { id: "127fae", name: "EatBCN", stack: "React, Express" },
  { id: "985afw", name: "Levels", stack: "React, Express" },
  { id: "347eef", name: "IronClub", stack: "React, Java" }
]

function ProjectList() {
  return (
    <div>
      {
        projects.map((el) => {
          return (
            <div key={el.id}>
              <h3>{el.name}</h3>
              <p>Tech Stack: {el.stack}</p>
            </div>
          )
        })
      }
    </div>
  )
}

export default ProjectList;
In the above code example, we use map() inside of the component to loop over the projects array, and for each project, return a div element with the project.name and the project.stack as its contents.
Each object in the projects array contains a common property id, which we use as the key prop.
The key prop must be set on the outermost element returned from the map(), in this case, the div element.
Important: You should not use index of the map as key. This is considered an anti-pattern that may lead to unpredictable results.
For more information, check: React Docs - Rendering Lists
How to create a search bar in React?
To create a search bar, you need to create a controlled component following these steps:
- Import the
useState()hook. - Create a state variable for storing the search string.
- Add a
formwith theinputfield and the submitbuttonused for typing in the query. - Link the input
valuewith the state variable. - Create an input handler function to handle the input change.
- Link the input handler function with the input by adding the
onChangelistener. - Create a submit handler function to handle what happens when the form is submitted.
- Link the submit handler function with the form by adding the
onSubmitlistener.
Here is an example of a search bar component created following the above steps:
// Import a use state hook
import { useState } from "react";

function SearchBar() {
  // Create a state variable to store the string from the input
  const [searchQuery, setSearchQuery] = useState("");

  // Function to handle the form input change
  const handleInput = (e) => {
    setSearchTerm(e.target.value);
  };

  // Function to handle the form submission
  const handleSubmit = (e) => {
    // Prevent page reload on form submit
    e.preventDefault();
    // Do something with the search query string ...
    console.log("Search query: ", searchQuery);
  };

  return (
    <form onSubmit={handleSubmit}>
      <label>Search</label>
      <input type="text" value={searchQuery} onChange={handleInput} />

      <button type="submit">Search</button>
    </form>
  )
}

export default SearchBar;
In the above example, the handleChange function is called whenever the user types something into the input field and it updates the state variable searchQuery with the current value of the input field.
The handleSubmit function is called when the user clicks the submit button. When invoked, the handleSubmit function calls e.preventDefault() to prevent the page from refreshing and from here, you can use the searchTerm state variable to send the value to another component or send it to the server.
How do I update a state variable in my React component? How do I use the useState hook in my React component?
To update a state variable in a React component, you should use the useState hook. This hook returns an array with two elements: the current value of the state variable and a function to update it. Here is an example of how to use useState to update the count state variable:
import { useState } from "react";

function MyComponent() {
  const [count, setCount] = useState(0);

  const handleClick = () => {
    setCount(count + 1);
  }

  return (
    <div>
      <button onClick={handleClick}> Increment </button>
      <p>Count: {count}</p>
    </div>
  )
}
In the above example, the handleClick function is called when the button is clicked, and it updates the count state variable by calling the setCount function with the new value: setCount(count + 1).
The component will re-render every time a state variable gets updated.
I am getting an error: "not defined". How do I fix it?
The "ReferenceError: variable is not defined" error in JavaScript occurs when you try to access a variable or a function that has not been defined yet or is out of scope.
To fix the issue, check that you have defined the variable or function you are trying to use and double-check the spelling to ensure you are using the correct name.
If the variable or a function is defined in another file, ensure that the file has been imported or loaded correctly.
I am unable to push changes to the repository. What should I do?
There are a couple of possible reasons why you may be unable to push changes to a Git repository:
- You have not committed your changes: Before pushing your changes to the repository, you need to commit them using the
git commitcommand. First, make sure you have committed your changes and try pushing again. To do this, run the following terminal commands from the project folder:
git add .
git commit -m "Your commit message"
git push- You do not have permission to push to the repository: If you have cloned the repository directly from the main Ironhack repository without making a Fork first, you do not have write access to the repository. To check which remote repository you have cloned, run the following terminal command from the project folder:
git remote -vIf the link shown is the same as the main Ironhack repository, you will need to fork the repository to your GitHub account first and then clone your fork to your local machine to be able to push the changes.
Note: You may want to make a copy of the code you have locally to avoid losing it in the process.


