Closed-Loop Control of Direct Ink Writing via Reinforcement Learning
This instalation guide was tested on Ubuntu 18.04 LTS.
Custom build of GCC to remove PIE error
The code was tested with GCC 7.5.0
Prepare
sudo apt update
sudo apt upgrade
sudo apt install build-essential wget m4 flex bison
Get gcc source code wget https://ftpmirror.gnu.org/gcc/gcc-7.5.0/gcc-7.5.0.tar.xz
Unpack the source tar xf gcc-7.5.0.tar.xz
Download the prerequisities
cd ./gcc-7.5.0
./contrib/download_prerequisites
Configure languages ./configure -v --build=x86_64-linux-gnu --host=x86_64-linux-gnu --target=x86_64-linux-gnu --prefix=/usr/local/gcc-7.5.0 --enable-languages=c,c++ --disable-multilib
Build the source sudo make -j 12
Install sudo make install-strip
Change default gcc on server
sudo update-alternatives --remove-all gcc
sudo update-alternatives --remove-all g++

sudo update-alternatives --install /usr/bin/gcc gcc /usr/local/gcc-7.5.0/bin/gcc 100
sudo update-alternatives --install /usr/bin/g++ g++ /usr/local/gcc-7.5.0/bin/g++ 100

sudo update-alternatives --config gcc
sudo update-alternatives --config g++
Install NVidia driver
Install latest nvidia driver
apt search nvidia-driver
sudo apt install nvidia-driver-455
sudo reboot
Install CUDA 9.2 on Ubuntu 18.04
Make sure you have installed the cuda driver (any version) in your system.
Install cuda dependencies sudo apt-get install freeglut3 freeglut3-dev libxi-dev libxmu-dev
Download the cuda runfile installer from: https://developer.nvidia.com/cuda-92-download-archive, select Linux > x86_64 > Ubuntu > 17.10 > runfile (local) and select Base Installer (1.7GB).
Run the installation. There are several yes/no questions, make sure to select not installing driver and install the cuda toolkit.
chmod +x cuda_9.2.148_396.37_linux.run
sudo ./cuda_9.2.148_396.37_linux.run
After installation, add these two lines into your ~/.bashrc or ~/.zshrc depending on the shell system you are using.
export PATH="$PATH:/usr/local/cuda-9.2/bin"
export LD_LIBRARY_PATH="$LD_LIBRARY_PATH:usr/local/cuda-9.2/lib64"
Change the makefile by replacing all /usr/local/cuda/ by /usr/local/cuda-9.2/ in demo/compiler/makelinux64/Makefile.flexDemoCUDA.mk and demo/compiler/makelinux64/Makefile.flexExtCUDA.mk1. Alternatively, you can change the default cuda in the system into cuda-9.2 by
ln -s /usr/local/cuda-9.2 /usr/local/cuda
Then test the FleX
cd ./demo/compiler/makelinux64
make clean
make -j
cd ../../../bin/linux64/
./NvFlexDemoReleaseCUDA_x64
Instal EGL
apt-cache search opengles
apt-cache search mesa | grep -i egl
sudo apt-get install mesa-utils-extra
sudo apt-get install libegl1-mesa
sudo apt-get install libegl1-mesa-dev
Build libpyflex
cd ./libpyflex
./build.sh
The build creates a dynamic library pyflexlib.so that should work on both your local machine and a server node.
Setting up conda environment
Install conda
Set the path in environment.yml by replacing the <username> with your user name.
Load the predefined conda environment conda env create -f environment.yml
Verify if rl_printerenvironment is present conda list
Set Up Learning Module
cd learning/externals/
cd baselines
pip install -e .
cd ../pytorch-a2c-ppo-acktr-gail
pip install -e .
Example scenes
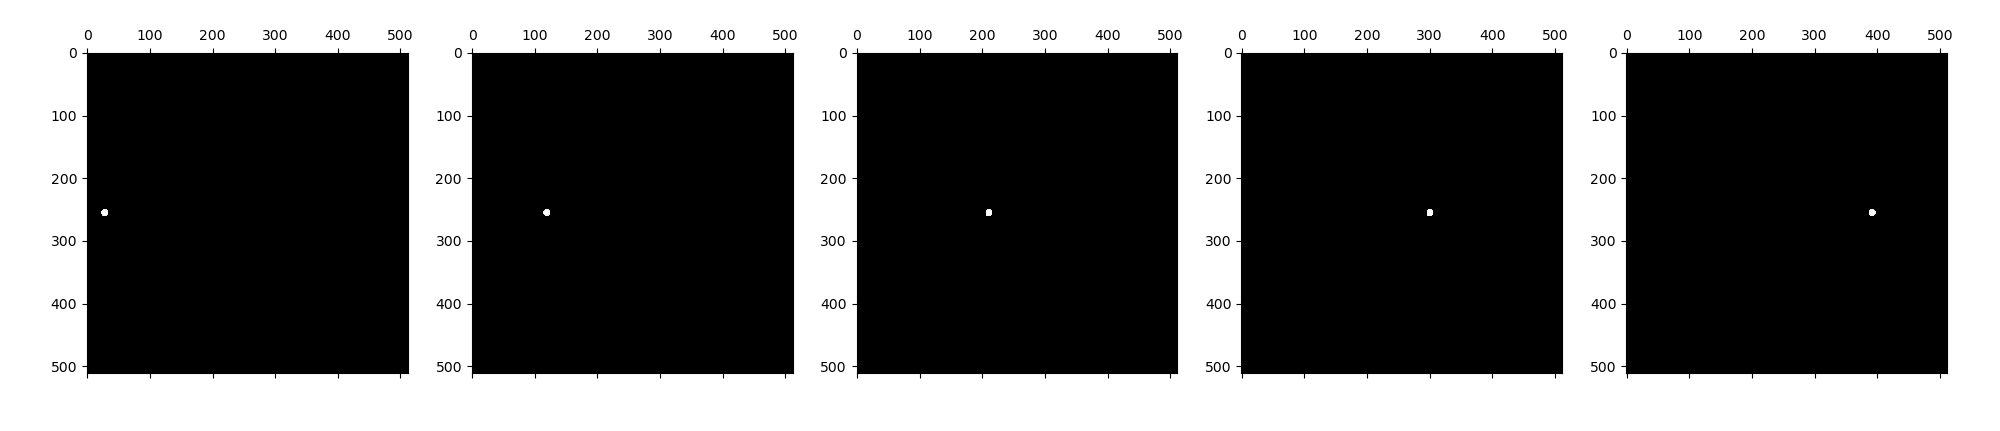
./learning/train/test_pyflex.py
Initializes 5 Flex environments and starts the deposition in place 3 times. The tests confirms that the library was build succesfully and that the simulation works. Upon execution this image should be created:
./learning/train/test_printer.py
Starts a printing process controlled through python. The printer follows a lucky leaf print. After printing the following image should be created:

Start a Learning Process
cd ./learning/train
python cnn_reinforce.py
Starts the learning process for outline printing. The training process will be stored in trained_models folder under a unique id. Each process contains:
args.txta list of arguments for the traininglogs.txta log of reward and other useful debug infomodels/a folder with all intermediate models discovered during the learning process
Visualize the Learning
python training_visualize.py --log-path=./trained_models/FlexPrinterEnv-v0/<unique_id>/logs.txt
Displays the per-iteration reward logged during training.
Visualize Trained Controllers
python collect_training.py --model-path=./trained_models/FlexPrinterEnv-v0/<unique_id>/models/FlexPrinterEnv-v0_iter
Runs the controller for the entire slice dataset. To select the controller set the id in collect_training.py .
Pyflexlib API
pyflex.init(width, height, renderDevice = 0, border = 9.0)
Creates a new pyflex instance. The instances will render into an image of pixel size width x height using the selected rendering device (for multi-gpu systems). The border sets the physical dymensions of the image in milimeters.
pyflex.delete(width, height, renderDevice = 0, border = 9.0)
Releases the pyflex instance from the memory.
pyflex.reset(numSubsteps, materialViscosity, materialReservoir)
Resets the simulation and erases all the previously deposited material. Sets the material properties and the amount of available material.
pyflex.step(x, y, z, flow)
Performs one simulation step by translating the printing nozzle to location [x,y,z] while depositing materials with a given flow.
Printer Environment API
The printer environment implements the interface of OpenAI gym and is fully compatible.
