Working with Local Branches
Learning Goals
- Create a branch
- Add and commit changes
- Push a branch
Introduction
Many developers and organizations use Git branches to keep track of their work. It’s important that we understand how to work with branches on both our local machine as well as on a shared resource, like GitHub. Being able to share branches means that all the advantages of branch-based development are available both for individuals and organizations.
Create a Branch
We'll get started by branching on a local Git repository.
By default, we start on the master branch. To create a new branch from the branch
we are currently "on," we type the command:
git branch new-branch-nameThis will create a local branch called new-branch-name. If we type
git branch, we will see all the branches.
$ git branch
* master
  new-branch-name
You'll notice the * next to master. That's Git telling us that we're
still "on" master. If we make a new commit, it will go on master. We
need to get "on" new-branch-name. To do this we "check out" the
new branch like so: git checkout new-branch-name.
Running git branch confirms our "movement."
$ git checkout new-branch-name
$ git branch
  master
* new-branch-name
If we want to create a new branch and move onto that branch in a single command, we can use:
git checkout -b new-branch-nameTo switch to any branch that we're not currently on we use:
git checkout other-branch-nameAs a shortcut, we can switch back to the previous branch using:
git checkout -
As we can see, we now have a copy of all of our original branch's progress in our new branch.
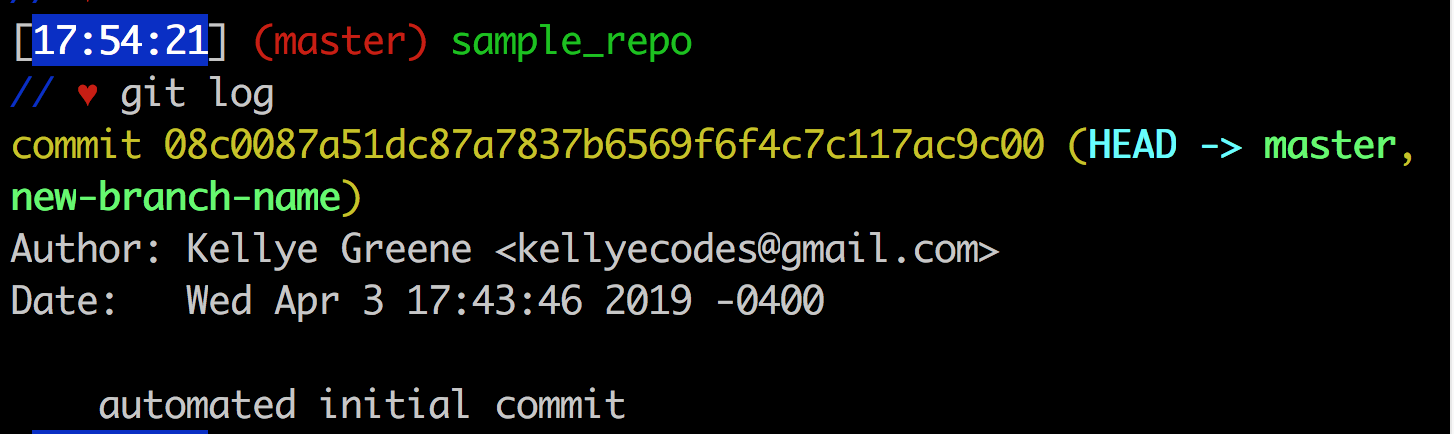
Here's the log of commits on master. We'll learn more about the log later,
but right now it shows us that the last commit was commit 08c0087... (Yep,
commits are named 128-character long strings made up of numbers and the letters
a through f).
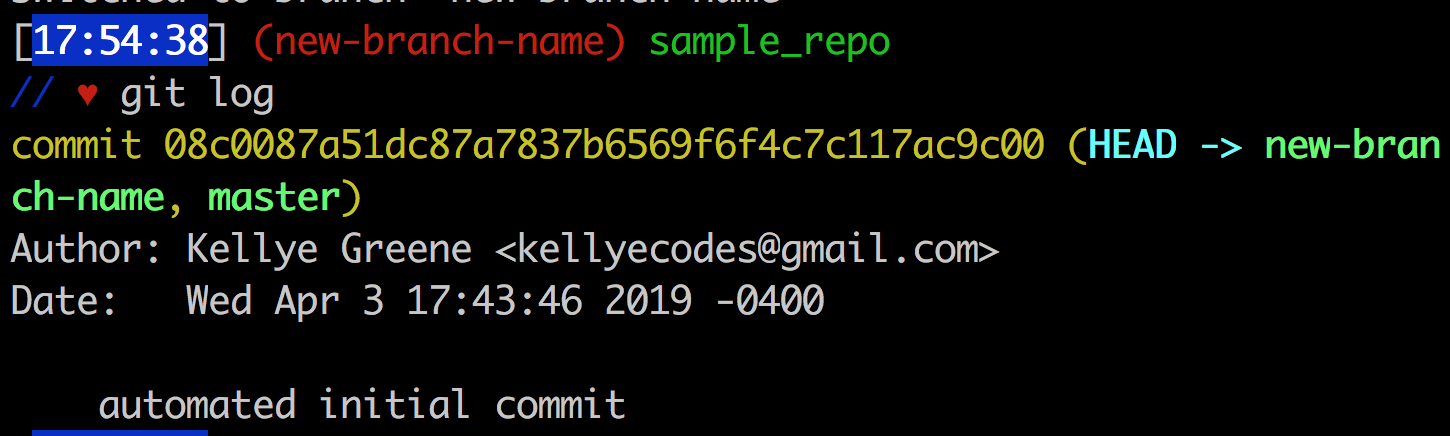
And on new branch, we see that the last commit was our friend 08c0087...
They're identical!
Add and Commit Changes
Now that we've created a new branch, which is our place to safely make changes,
let's make some modifications to this branch. First, we're going to make
changes in our README.md and save them. Try adding your name to the top line
of README.md and save the file, if you're following along. We'll make many
more changes.
REMEMBER: To confirm that changes have been made, we can always check by using
git status. You're going to use this all the time.
Now that the file has changed from its original state, we can stage these changes, which tells Git that we want to keep track of changes to this file.
We made a few changes throughout the file and want to see what changed, so we
will review changes in "chunks" using git add -p. We can stage each change,
or pass over others that we don't want. Git will guide us to each "chunk" of
changed content and confirm with us whether to stage or not to stage the
"chunk" of change.
If we know we want all the changes in a file we can add the whole file:
git add file-nameAnd if we know we want all the changes in all the files in our current directory, we can use:
git add .Lastly, if we want all the changes to all the files in a sub-directory, we can use:
git add images/.QUESTION: Why not always use
git add .? When developing we often make more changes than we remember. We might make changes that weren't part of the fix or we might accidentally write our TODO list inside of a code file. Adding piece-by-piece gives us a chance to make sure we want to add everything Git knows has changed. We can use the other approaches when needed, but you might commit some junk. Developers say "commit small, commit often." There are even more advanced Git tools that will help you debug your code and find mistakes and they work better with smaller, more-frequent commit histories.
Now that we have some staged changes ready for our branch, we will want to make a new commit. To commit the changes that have been staged so far we use:
git commit -m <message>The -m flag allows us to add message along with the commit. These messages
are the best way to give context about a change to our future selves or other
developers. Messages should be brief but informative. Avoid messages like
'pleasework', 'totally broken', 'y u no work', 'i hate ruby'. Git history is
hard to delete and you might regret a colleague or prospective employer reading
your commits of desperation. Typically, we want to limit the message to 50
characters explaining what changed:
If we leave off the -m flag, Git will ask your operating system which editor
you have configured the Git to use to edit your commit messages. Git will open
the editor and load it with a pre-filled text file to edit. When you save and
quit from your editor, Git will use this message as the commit.
When getting started, it's wisest to use -m. For significant commits you'll
leave off -m intentionally so that you have a document to edit which captures
the changes, motivations, bug report URLs, etc. By default, Git will reach for
the venerable vim editor for editing your messages. To make Git use the Atom
editor, instead you can tell Git to do so with the following command:
$ git config --global core.editor "atom --wait"Here we configured Git to use atom as the editor for commit messages.
Push a Branch
We've created a new branch, committed some changes, and now we should push this
branch up to our remote repo, a GitHub repo. The git push command takes two
arguments: The remote name: commonly origin, and the branch name: commonly
master.
The remote origin is the conventional name for the default remote. Just like
how master is the default name for the default branch.
If we have a branch that does not exist on the remote repository, we use:
git push -u origin new-branch-nameIf the branch exists on the remote, as in we've used the previous command before,
we can simply use git push.
Git push without flag:

Git push with flag (-u is the same as --set-upstream):

Conclusion
Branching allows developers to make edits to a code base while isolating their work from other work. We can create branches, back them up to remote locations, and continue to work with them locally.


