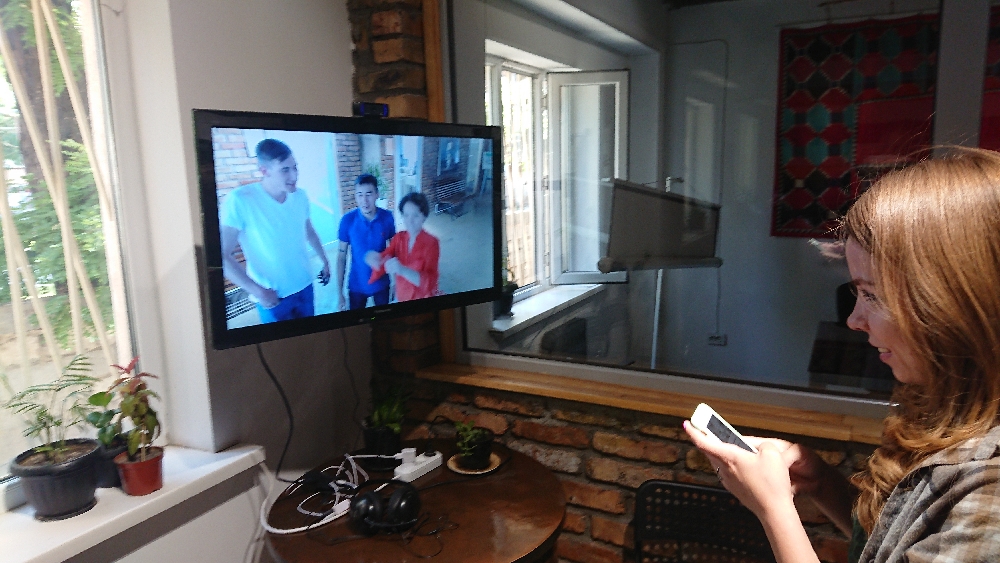
Connect remote offices using cameras and screens on both ends, just like a window in a wall.
Colleagues from separate offices often want to be in touch with each other in informal way. The reason behind that is: everyday conversations are genuinly important to keep remote teams together. Video window allows everyone to say hello to or have casual small-talks about the weather.
This solution uses affordable hardware and open-source software.

Hardware to use:
- Raspberry Pi 3 B+
- Case for Raspberry
- Heatsinks
- MicroSD card (16 GB, UHS-I recommended)
- Power supply (2.5 A, 5 V DC, MicroUSB)
- Logitech C920 webcam
- TV or monitor
- HDMI cable
Why do we use Logitech C920? Because it can get H.264-encoded 1080p/30fps stream, which can be transmitted without encoding/decoding. You can use other camera with the same capabilities. Raspberry Pi is capable to decode H.264 stream to display on the screen smoothly and without frame dropping.
Warning! To prevent damage, microSD card should be inserted into a slot after board installation into case.
The latest version of Raspbian and installation tutorial can be found here https://www.raspberrypi.org/downloads/raspbian/
Note! In this project we used the Raspbian Stretch and Buster releases.
We used the Lite version of Raspbian. Unpack it and write to microSD card using suitable software provided by your distribution.
To enable Wi-Fi support and SSH access during the first boot you should make the following changes on your Linux host:
touch /media/<username>/boot/ssh
nano /media/<username>/boot/wpa_supplicant.conf
and insert the these lines:
ctrl_interface=DIR=/var/run/wpa_supplicant GROUP=netdev
update_config=1
country=GB

network={
    ssid="*your netwok SSID*"
    psk="*your key*"
    key_mgmt=WPA-PSK
    # for hidden network:
    #scan_ssid=1
}
If your network uses WPA-Enterprise:
network={
    ssid="*your netwok SSID*"
    identity="*your login*"
    password="*your password*"
    key_mgmt=WPA-EAP
    eap=TTLS
    phase2="auth=MSCHAPV2"
}
Note! WPA-Enterprise doesn't work on Buster @ Raspberry Pi 3 B+.
Click here for details on setting up your Wi-Fi: https://www.systutorials.com/docs/linux/man/5-wpa_supplicant.conf/
It's better to use a monitor and a keyboard during the first boot.
Default user: pi
Default password: raspberry
After login let's change the password:
sudo passwd pi
To check if the date is up to date:
timedatectl
Set up the preffered mirror from this list: https://www.raspbian.org/RaspbianMirrors
sudo nano /etc/apt/sources.list
Install updates:
sudo apt update && sudo apt -y upgrade && sudo apt -y autoremove
To configure Raspberry (keyboard layout, time zone, etc.) use:
sudo raspi-config
Install Docker:
sudo apt update && sudo apt -y upgrade
curl -sSL https://get.docker.com | sh
Add user to the group 'docker':
sudo usermod -aG docker pi
Then log out of the terminal and log in it again.
Start the daemon:
sudo systemctl start docker
Enable docker daemon to run automatically:
sudo systemctl enable docker
Check if Docker is installed correctly:
docker run hello-world
Install git and docker-compose:
sudo apt install -y git python3-pip
sudo pip3 install docker-compose
Make sure that docker-compose is installed properly:
docker-compose --version
Clone the repository and get into the virtual-okno directory:
git clone https://github.com/maddevsio/virtual-okno.git
cd virtual-okno/Docker
Create a .env file:
nano .env
Sample content of .env:
RECEIVE_IP=<peerIP>
AUDIO_PORT=5003
VIDEO_PORT=5001
ALSA_OUT_DEV=hw:0,1
ALSA_IN_DEV=hw:1
VIDEO_DEV=/dev/video0
RECEIVE_IP is an IP address of the other system
ALSA_OUT_DEV is an audio output device. ALSA_IN_DEV is an audio input device. VIDEO_DEV is a webcam device.
For more information about the devices, refer to the "Troubleshooting" section below.
Make sure that you are in virtual-okno/Docker directory.
Run:
docker-compose up -d
To restart:
docker-compose restart restart
To restart a certain container:
docker-compose restart <container-name>
where <container-name> are:
- receiveVideo
- sendVideo
- receiveAudio
- sendAudio
To list all running Docker containers:
docker ps
Below it is described how to run stream without Docker for testing and debugging purposes.
Install GStreamer:
sudo apt install gstreamer1.0-tools gstreamer1.0-plugins-base gstreamer1.0-plugins-good gstreamer1.0-alsa
List of cameras:
v4l2-ctl --list-devices
Sample output:
bcm2835-codec (platform:bcm2835-codec):
	/dev/video10
	/dev/video11
	/dev/video12

HD Pro Webcam C920 (usb-3f980000.usb-1.2):
	/dev/video0
	/dev/video1
Camera capabilities:
v4l2-ctl --list-formats-ext --device /dev/video0
Sample output:
ioctl: VIDIOC_ENUM_FMT
	Index       : 0
	Type        : Video Capture
	Pixel Format: 'YUYV'
	Name        : YUYV 4:2:2
		Size: Discrete 640x480
			Interval: Discrete 0.033s (30.000 fps)
			Interval: Discrete 0.042s (24.000 fps)
...
	Index       : 1
	Type        : Video Capture
	Pixel Format: 'H264' (compressed)
	Name        : H.264
		Size: Discrete 640x480
			Interval: Discrete 0.033s (30.000 fps)
			Interval: Discrete 0.042s (24.000 fps)
			Interval: Discrete 0.050s (20.000 fps)
			Interval: Discrete 0.067s (15.000 fps)
			Interval: Discrete 0.100s (10.000 fps)
			Interval: Discrete 0.133s (7.500 fps)
			Interval: Discrete 0.200s (5.000 fps)
...
		Size: Discrete 1920x1080
			Interval: Discrete 0.033s (30.000 fps)
			Interval: Discrete 0.042s (24.000 fps)
			Interval: Discrete 0.050s (20.000 fps)
			Interval: Discrete 0.067s (15.000 fps)
			Interval: Discrete 0.100s (10.000 fps)
			Interval: Discrete 0.133s (7.500 fps)
			Interval: Discrete 0.200s (5.000 fps)
The receiver should be started prior the transmitter.
Command to run the transmitter using TCP:
gst-launch-1.0 v4l2src device=/dev/video0 ! queue ! video/x-h264,width=1920,height=1080,framerate=24/1 ! fdsink | nc -l 5001
Command to run the receiver using TCP:
omxplayer -o hdmi tcp://<receiverIP>:5001
Alternative command:
nc -l -u 5001 > video.stream | omxplayer -o hdmi video.stream
The receiver should be started before the transmitter. Input audio device is webcam's microphone. Output audio device is TV set connected via HDMI.
Command to launch the receiver:
gst-launch-1.0 udpsrc port=4444 caps="application/x-rtp,channels=1" ! queue ! rtpjitterbuffer latency=100 ! rtpopusdepay ! opusdec plc=true ! queue ! audioconvert ! audioresample ! alsasink device=hw:0,1
Command to launch the transmitter:
gst-launch-1.0 alsasrc device=hw:1 ! queue ! audiorate ! audioconvert ! audioresample ! opusenc ! rtpopuspay ! udpsink host=<receiverIP> port=4444
- Connection via VPN
- Remote management


