Disclaimer: This guide is based on my personal experience and understanding of the build process. I am not responsible for any damage, errors, or issues that may arise during the construction. Please proceed with caution and refer to official sources for additional guidance.
Shoutout: A big thank you to @Livezxy, the owner of MagicPhoenix, for providing this exceptional kit and making this guide possible. Your dedication is appreciated!
Note: This guide provides instructions specific to the MagicPhoenix kit. For general steps, please refer to the Voron 2.4 manual.
Page 54: Cutting the Magnetic Pad - NOTE: Do not Install magnetic pad until after the build plate has been fitted.
- The magnetic pad is larger than the aluminum plate. Trim it so screw heads are exposed and edges are neat using a razor blade. For video guidance, follow Nero's guide.
- The kit comes with a pre-assembled buildplate. Install the secondary buildplate thermistor (NTC100K B3950) into the screw hole to the right of the thermal fuse. (This is your Buildplate Thermistor.)
- Here is an image for reference:
 Thanks to westy_pity_da_fool for providing the image, make sure to check out his YouTube build series of this kit
- Skip cable chain installation for X/Y axes. MagicPhoenix kit utilizes CAN-Bus.
- Change out 2 x M5 x16BHCS for 2 x M5x10 BHCS (this is because this chain bracket is not used in the MPX kit due to the Can Bus system).
- Install all four screws on both sides. The X-Endstop is on the toolhead; no need for later installation.
- This is not used as you can either use the TAP sensor on the X access; or use sensorless homing (still use the Y sensor board, but only for the temp sensing built into it, not the Y sensor itself-if using sensorless homing only).
- Leave some slack in the belt for trimming later. Follow the ChaoticLab CNC Tap guide up to page 5.
- Belt clamps are integrated into ChaoticLab CNC Tap.
- MagicPhoenix kit uses Tap, there is no need for an inductive probe.
- Follow the ClockWork2 & Stealthburner manual.
- Before installation, ensure flashing of M8P and Toolhead PCB via this guide.
- Install CAN as guided in BTT Guide.
- Refer to the Voron Manual only for screw sizes. Follow the mpx wiki for wiring guidance.
- BTT CB1 on M8P replaces these components.
- MagicPhoenix uses Tap, there is no need for a dedicated Z-Endstop.
- Follow the mpx wiki for wiring guidance.
- Skip until P210. For cable routing, consult the umbilical guide. (You will have to split open the black CAN wire sleeve in order to make all the necessary connections in the electronics bay.)
- Use the image on the mpx wiki to connect fans.
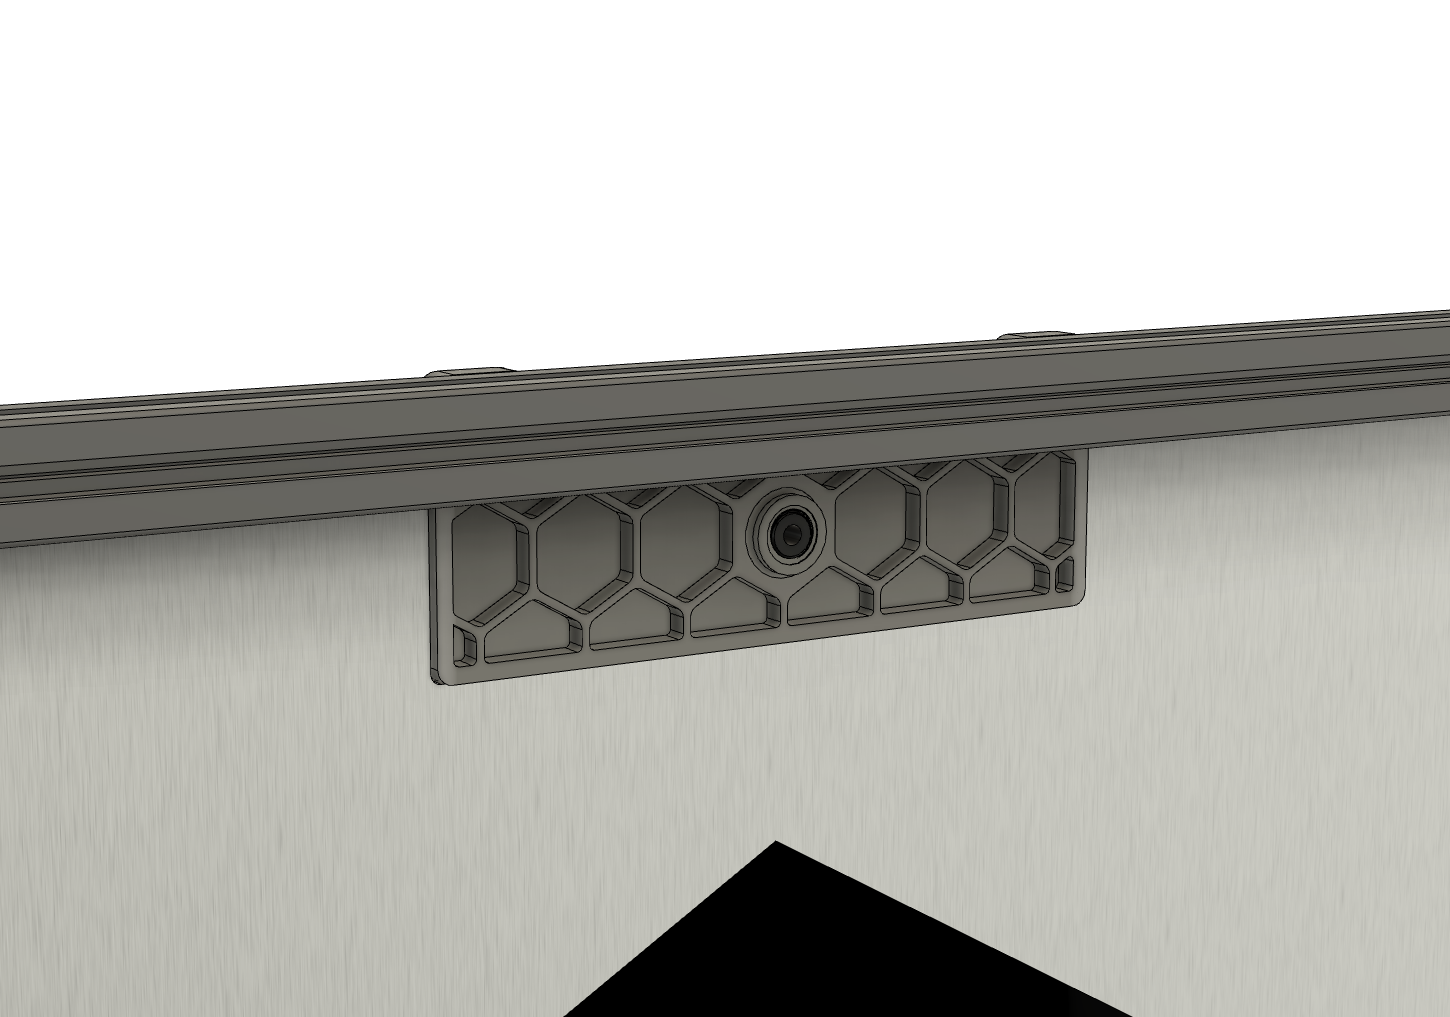
- Skip these pages. Utilize a custom exhaust design resembling this example.

