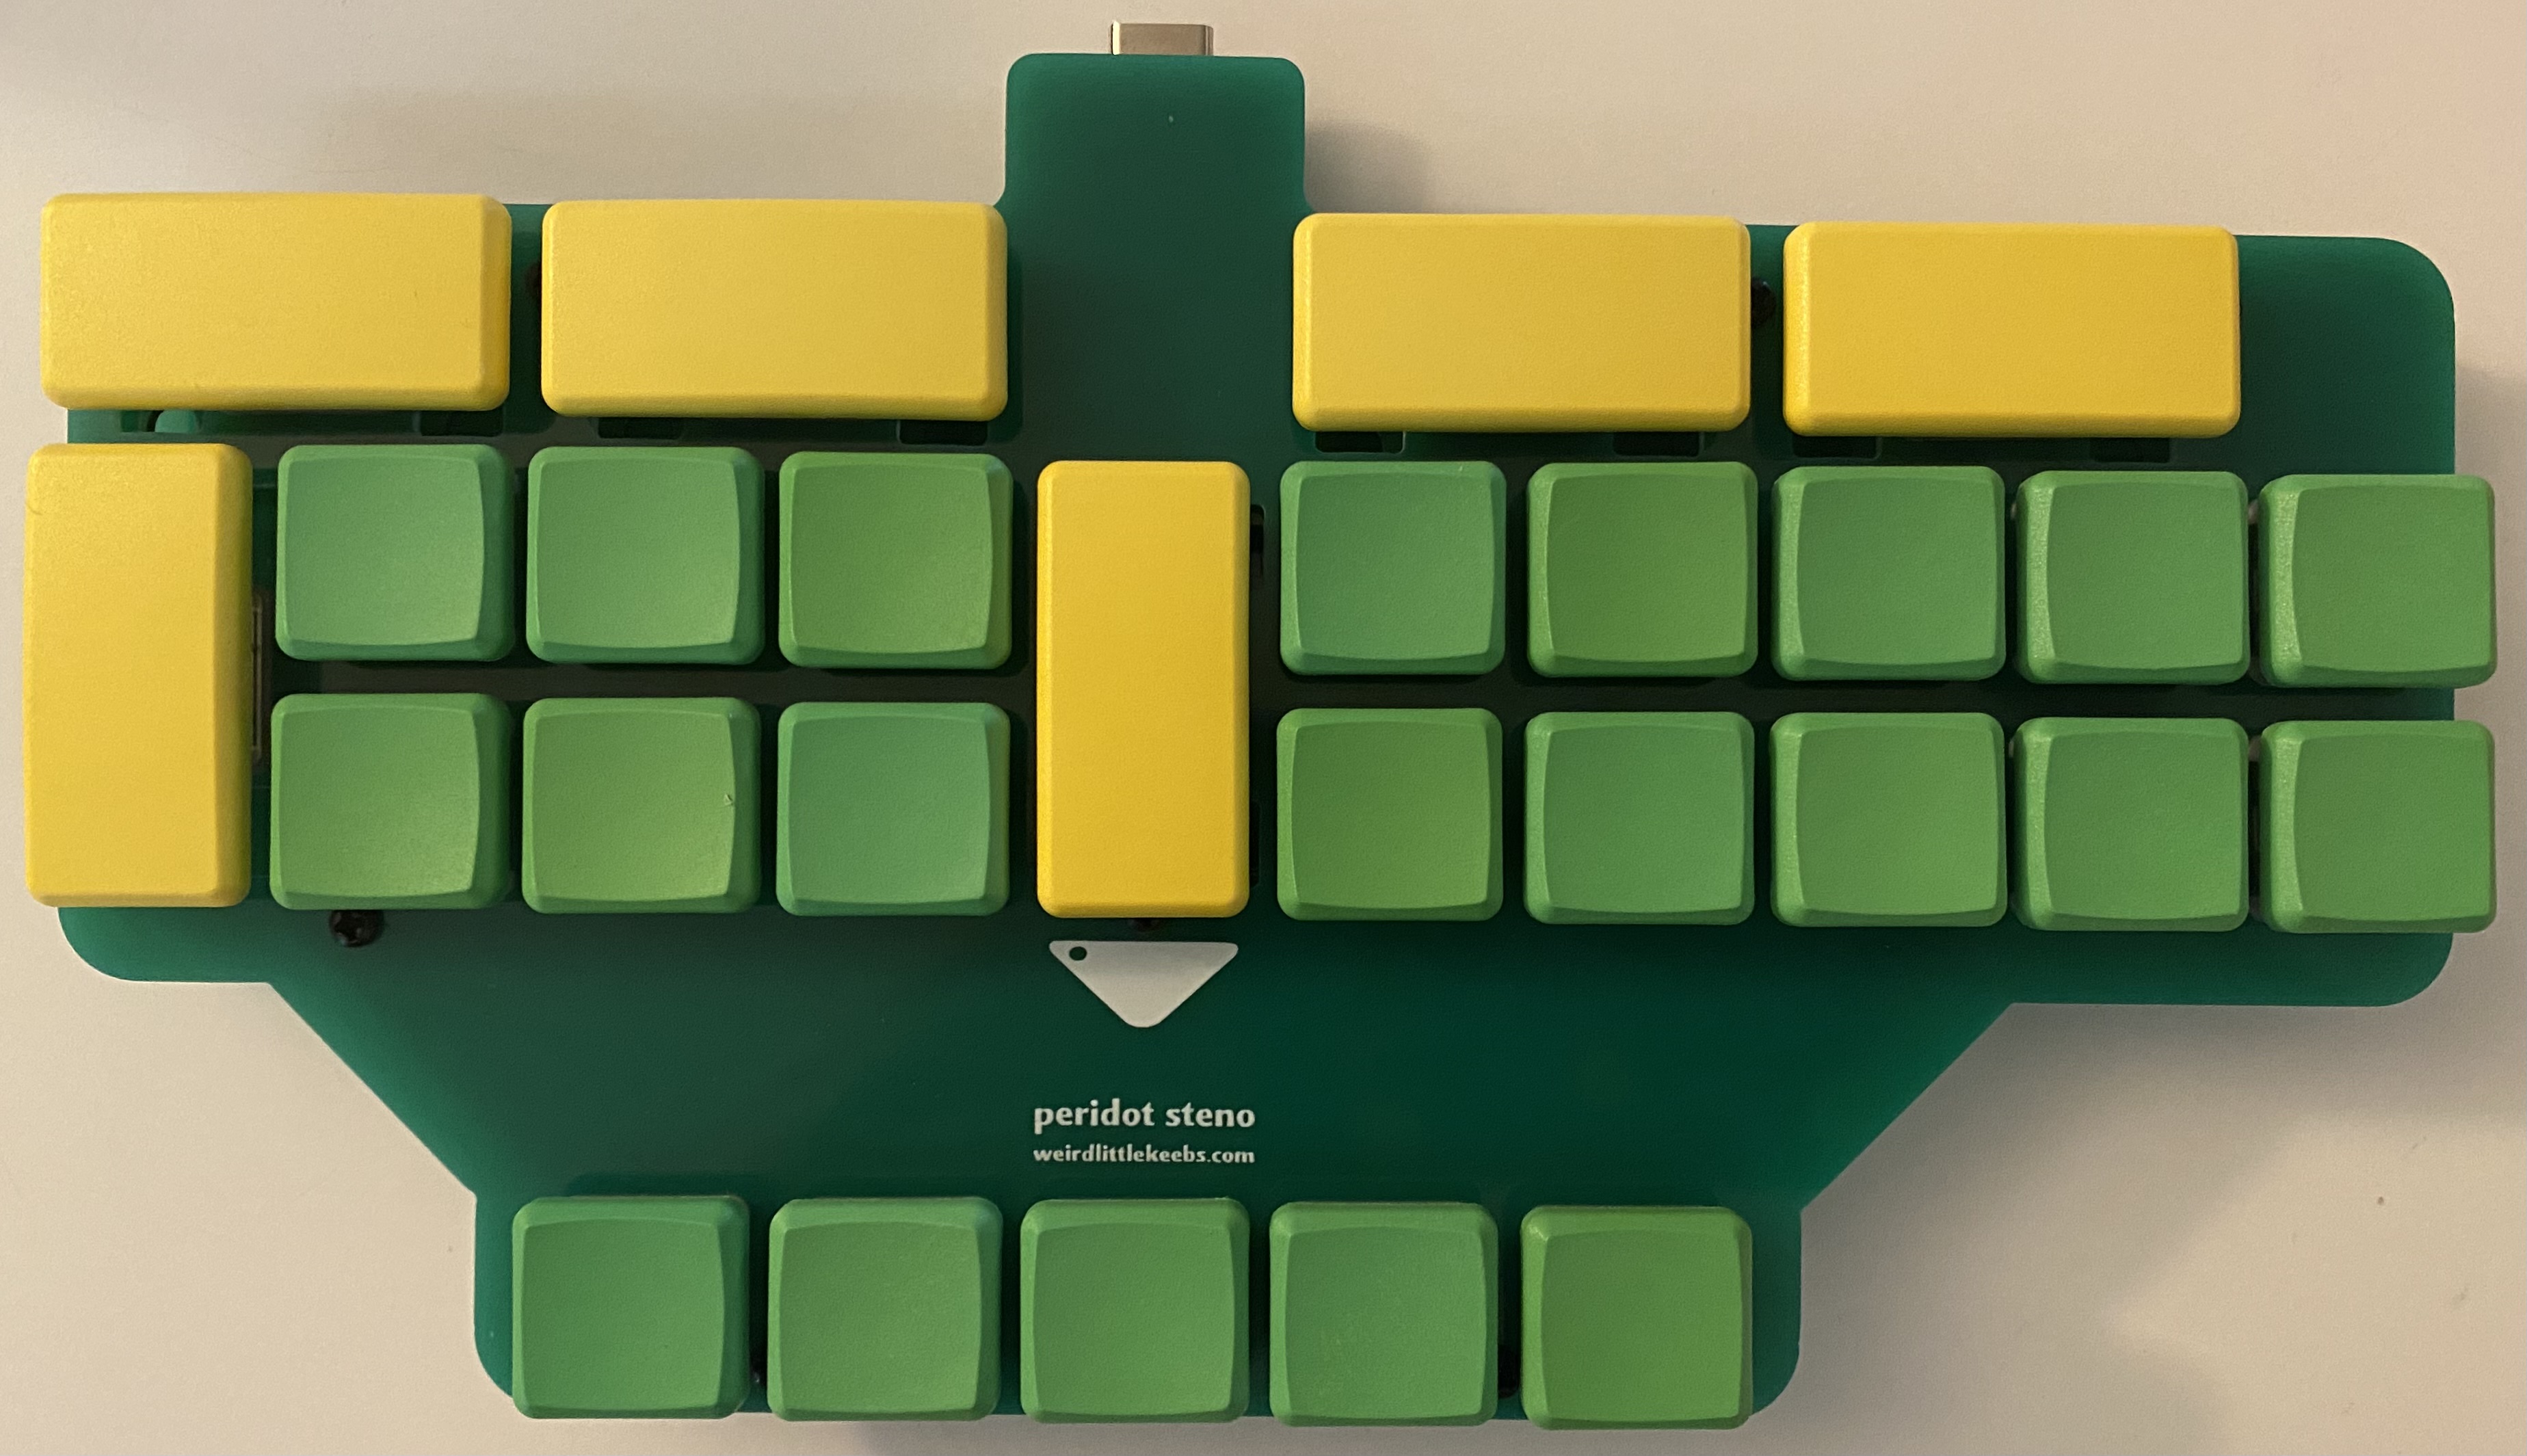
The Peridot is a simple QMK-powered mechanical keyboard for using the Plover open source software for steno. If you’re not familiar, check out the Open Steno Project for links to the free software, learning resources, and other info to help you get started.
There are a number of hobbyist steno keyboard designs out there, and my goal with the Peridot is to make one that’s easy to build (hence I used basic through-hole components throughout) and open source. How much it will cost will depend a lot on the specifics of the components you choose, but it’ll be vastly cheaper than a professional stenotype. Feel free to make, sell, remix, etc.; this is my attempt to give something back to the Plover community.
- 1x Pro Micro or other compatible microcontroller (Elite-C, BIT-C, KB2040, etc.), with matching USB cable
- 8x M2 standoffs
- 16x M2 screws
- 27x MX or Choc key switches; for steno I recommend switches with lighter springs, such as Choc Pink (25gf), Choc Pro Red (35gf) or Gateron Clear (35gf)
- 21 1u keycaps; flatter keycaps that make it easier to press two keys with one finger are generally better, such as MBK or WRK keycaps for Choc switches or F10 keycaps for MX switches.
- 6x 2u keycaps; particularly for MX switches, stabilizers are recommended but not required
- 4 or more adhesive rubber feet
- 27x 1N4148 through-hole diodes
- 2-pin reset switch (optional; 3x6x2mm DIP-2P switch, the same kind used on the Corne keyboard)
- WS2182 LED strip (optional)
- Soldering iron with solder
- Wire clippers
- Wire stripper (if including an LED strip)
- Screwdriver
- Diode bending tool (optional; I use this one)
- Begin with the diodes. Bend the leads, insert them through the holes (the cathode is marked with a black line and should go on the square pad, so that the line on the diode matches the one printed on the PCB). Solder each diode, then use clippers to remove the excess leads.
- Take your Pro Micro and flash the firmware (see below). I recommend doing this before soldering it just in case you got a bad board.
- Solder the Pro Micro and its header pins to the underside of the board, with the Pro Micro’s components facing the board. You may want to use your clippers to trim off the excess part of the headers. If you’re adding a reset switch, put it into the PCB (on the same side as the diodes) and solder its pins.
- From here you should be able to test the keyboard’s functionality. If you plug it in, it should register as a Peridot keyboard, and you can use tweezers or a similar metal object to make contact on the switch pads to create the equivalent of keystrokes. Remember that some of the switches go sideways, so those ones won't work if you're not hitting the correct pair of contacts. If you use the default keymap you'll need to have Plover running for your computer to do anything with the keystrokes; use the "keyboard" keymap instead if you prefer to test it with regular keystrokes. If any of the keys don’t work, check to make sure you have the diodes soldered and facing the right direction, and also that the Pro Micro’s pins are all soldered in.
- If you’re including an LED strip for pretty lights, use 3 wires to solder the pads on the PCB to the corresponding ones on the strip. Be sure the DIn lead is going to LED DAT on the board, as they won’t work if you attach it to DOut on the LED strip. If you plug it into your computer now, it should light up!
- Use screws to secure standoffs to the top plate. It's a bit easier to do before you start in on the switches.
- Once you’re satisfied that the keyboard actually works, you can begin assembling it in earnest. If you’re using stabilizers, put them in place now. Then put the top plate in place, and start pushing switches in place, though the plate and into the PCB so that each switch’s two leads go through the corresponding holes in the PCB. I like to put switches in the corners, solder them in place, and then fill in the rest of the switches. Once you’ve soldered all of the switches, I recommend testing the keyboard again to be sure that you have in fact soldered all of them. Once that’s done you can go ahead and put the keycaps in place.
- Put the bottom plate in place, and use the remaining screws to secure it in place.
- Finally, put some adhesive rubber feet on the bottom. You’re done!
You can find a .hex file of the default Peridot firmware in this repository. If you don’t have any need to customize the layout, you can just download this and flash it to your Pro Micro.
- Install QMK Toolbox if you haven’t already.
- Open
peridot_default.hex. - Click the “Auto-Flash” checkbox.
- Connect the Pro Micro to your computer.
- Bridge the GND and RST pins with a metal object (or if it’s already soldered in place, press the reset switch).
- QMK Toolbox should automatically flash the firmware for you!
If you want to customize the firmware:
- Copy the “peridot” folder from the firmware folder here into the “keyboards” folder of your QMK installation. You can modify the files in this folder as desired.
- Open a terminal window (for your OS if you’re using macOS or Linux, or QMK MSYS if you’re using Windows).
- Navigate to the QMK folder (typically
cd qmk_firmware). - Type “
make peridot:default” (or replace “default” with the name of your new keymap) and it should compile. - Type "
make peridot:default:flash" (or replace flash with “dfu”) to flash it.
If you're using a KB2040 or similar controller, you'll need to use QMK's Converters feature, so for example compiling and flashing for a KB2040 would go as follows:
qmk flash -c -kb peridot -km default -e CONVERT_TO=kb2040


