This is a toolkit for making silly (or not silly) masks and hats and put them on people's faces. All digitally. There is two scripts, create_mask.py and apply_mask.py.
Be aware, the aesthetic this script is designed to produce is the one known from hand drawn ‘mustache and glasses’ or from old lo-fi paper masks. If you are looking for a more faceswap-style-effect this is not what you want.
Below is the logic of the script explained, some Usage Guidelines and some help for installing the dependencies: OpenCV, dlib and Stasm (as tested on OSX).
Thanks to Sam Lavigne on whose code the create_mask.py entirely relies. His repo is found slightly modified in the mask_generator directory of this project.
The foundation of the other script, apply_mask.py is this tutorial.
Please also check out previous explorations of mine in which I mainly had fun with replacing faces with visually similar ones as retrieved from search engines in real time.
After having all the dependencies installed, you can try running some test commands. I provided some photos of random people and example masks to play with. Every command can be run with the -h flag as well to show the options.
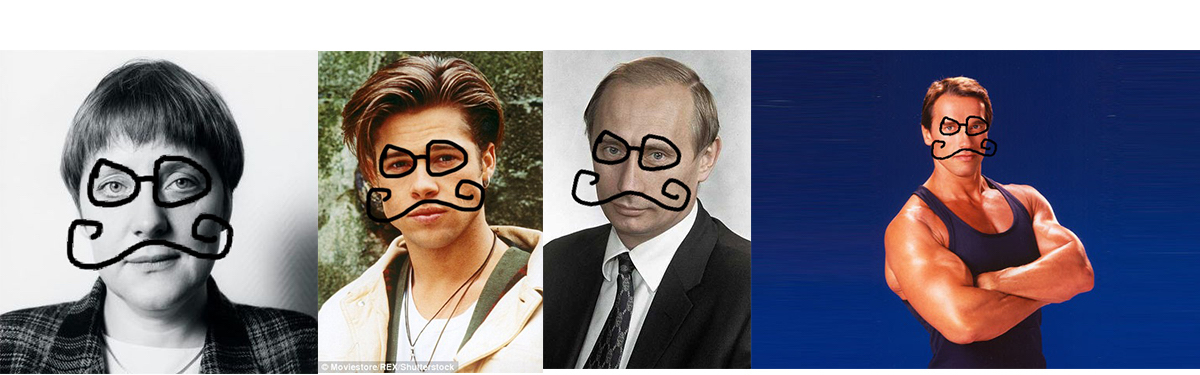
Let’s start with a classic:
$ python apply_mask.py -i examples/faces -m examples/masks -o examples/masked
-i examples/faces means we apply masks to all the faces found on all the images in the examples/faces directory.
-m examples/masks defines where to look for masks to apply and
-o examples/masked where to save the output the output.
After running this command, you will hopefully find something like this:
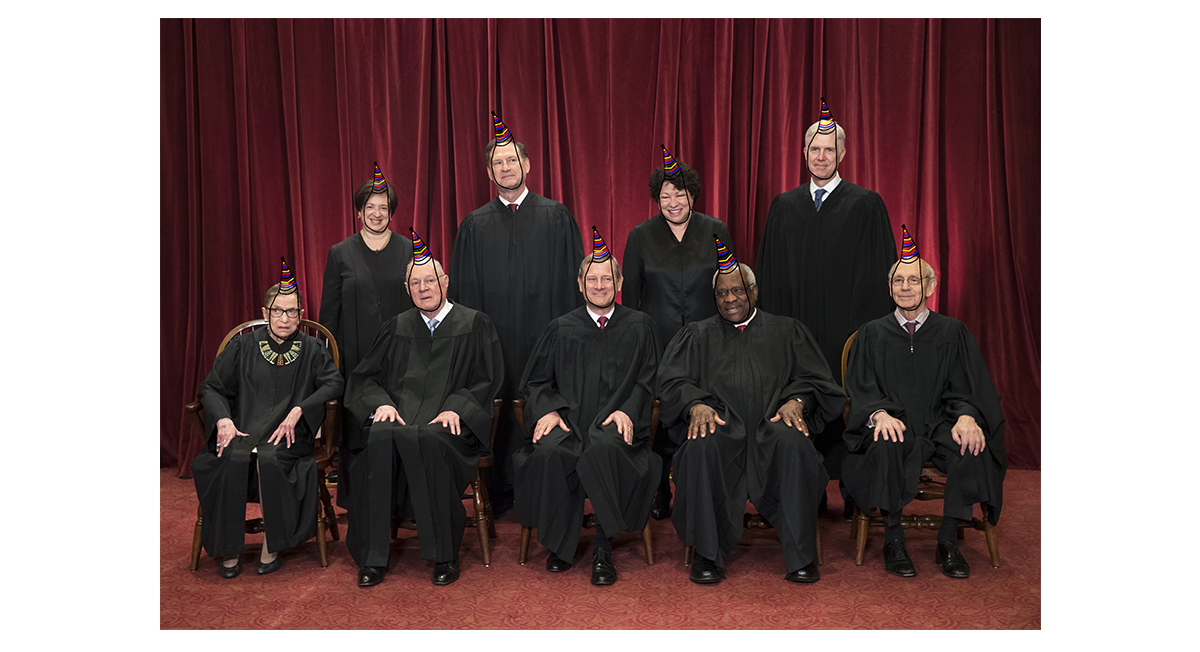
Now let’s put hats, hats are always fun and I drew one for you:
$ python apply_mask.py -i examples/groups/group1.jpg -m examples/hats -o examples/masked/group_w_hats.jpg
Same idea, the output looks hopefully like this:
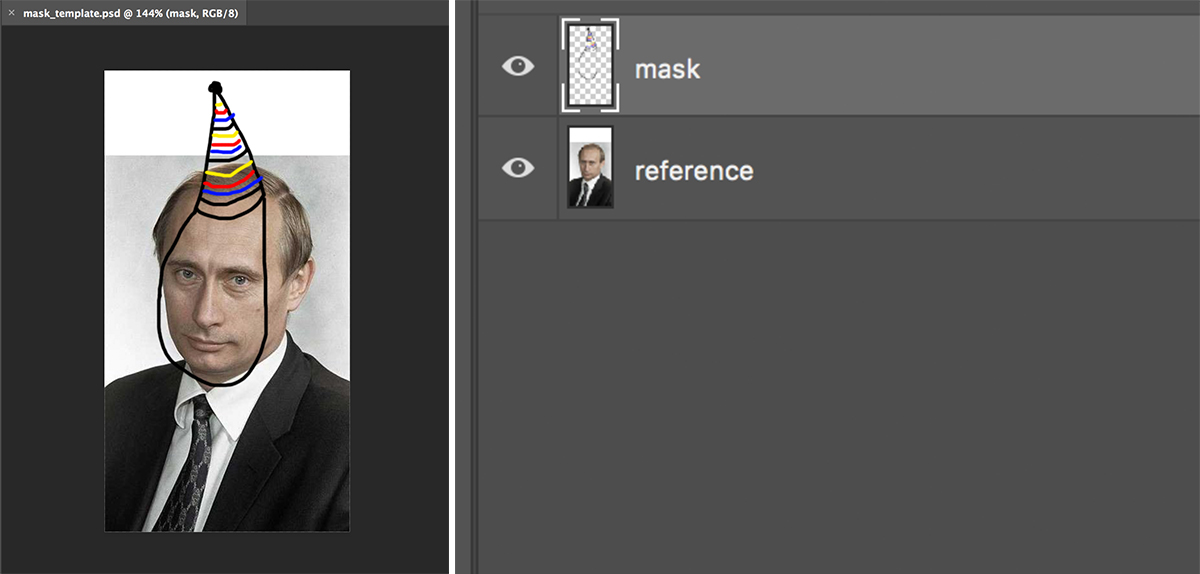
You see that each mask consists of two files, a reference image containing a face (the more passport style the better) and a transparent png image with the mask. Both image files NEED TO HAVE THE SAME DIMENSIONS. The logic behind this is explained further below.
I am aware not everyone has or knows how to use photoshop, but if you don’t maybe a friend does? The mask_template.psd can be used to draw your own masks. Simply draw whatever you want on the top layer, then hide the Putin and save it as [mask name of your choice]_front.png. Then save the Putin as [same name as you chose before]_back.jpg - the naming convention is the only important thing here. If you want to go bigger and draw real big things, simply increase the size of the image, so that both layers are increased, too.
This part of the script uses code by Sam Lavigne who is. the. best.
Let’s run this:
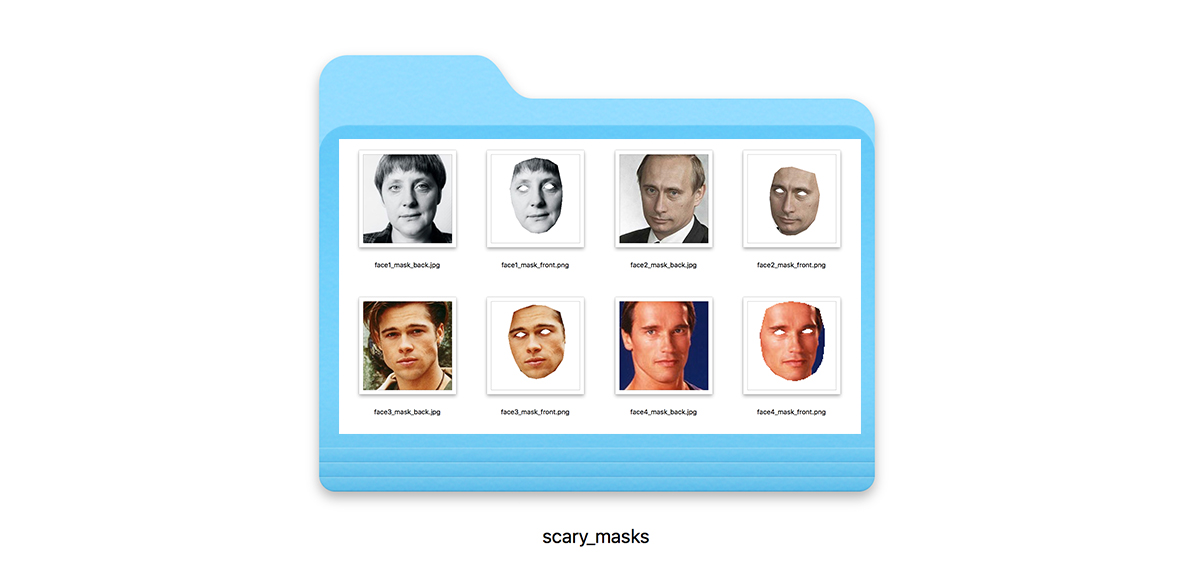
$ python create_mask.py -i examples/faces -o examples/scary_masks
This looks for all faces on all images found in -i examples/faces, creates masks and saves them to -o examples/scary_masks.
Now of course we can apply out new masks by running something like
$ python apply_mask.py -i examples/groups/group1.jpg -o examples/masked -m examples/scary_masks
and get out something like (just not as a gif of course):
-
The
apply_mask.pyscript also works with videos if you have ffmpeg installed - it’s an experiment, our experiment. -
There is an
-uflag to be used with theapply_mask.pyscript. It stands for “unique” and means that if you give it a folder full of masks it makes sure each mask is only used once -
There is an
-noption for thecreate_maks.pyscript and it simply means you can define the name (everything before ‘_front.png’/‘_back.jpg’) yourself. -
I was planning to get rid of the Stasm dependency as I am much more experienced with dlib, but I couldn’t find a way to make dlib detect a equally good mask-like cut of the face (it cuts of the fore head with its most popular model…).
-
I once ran a workshop called “facemash”, it’s here if you are interested: https://github.com/leoneckert/facemash-workshop
-
Maybe I will write a second version one day that does more elaborate face morphing - I have experimented with that some month ago producing fun things like this:
That’s it.
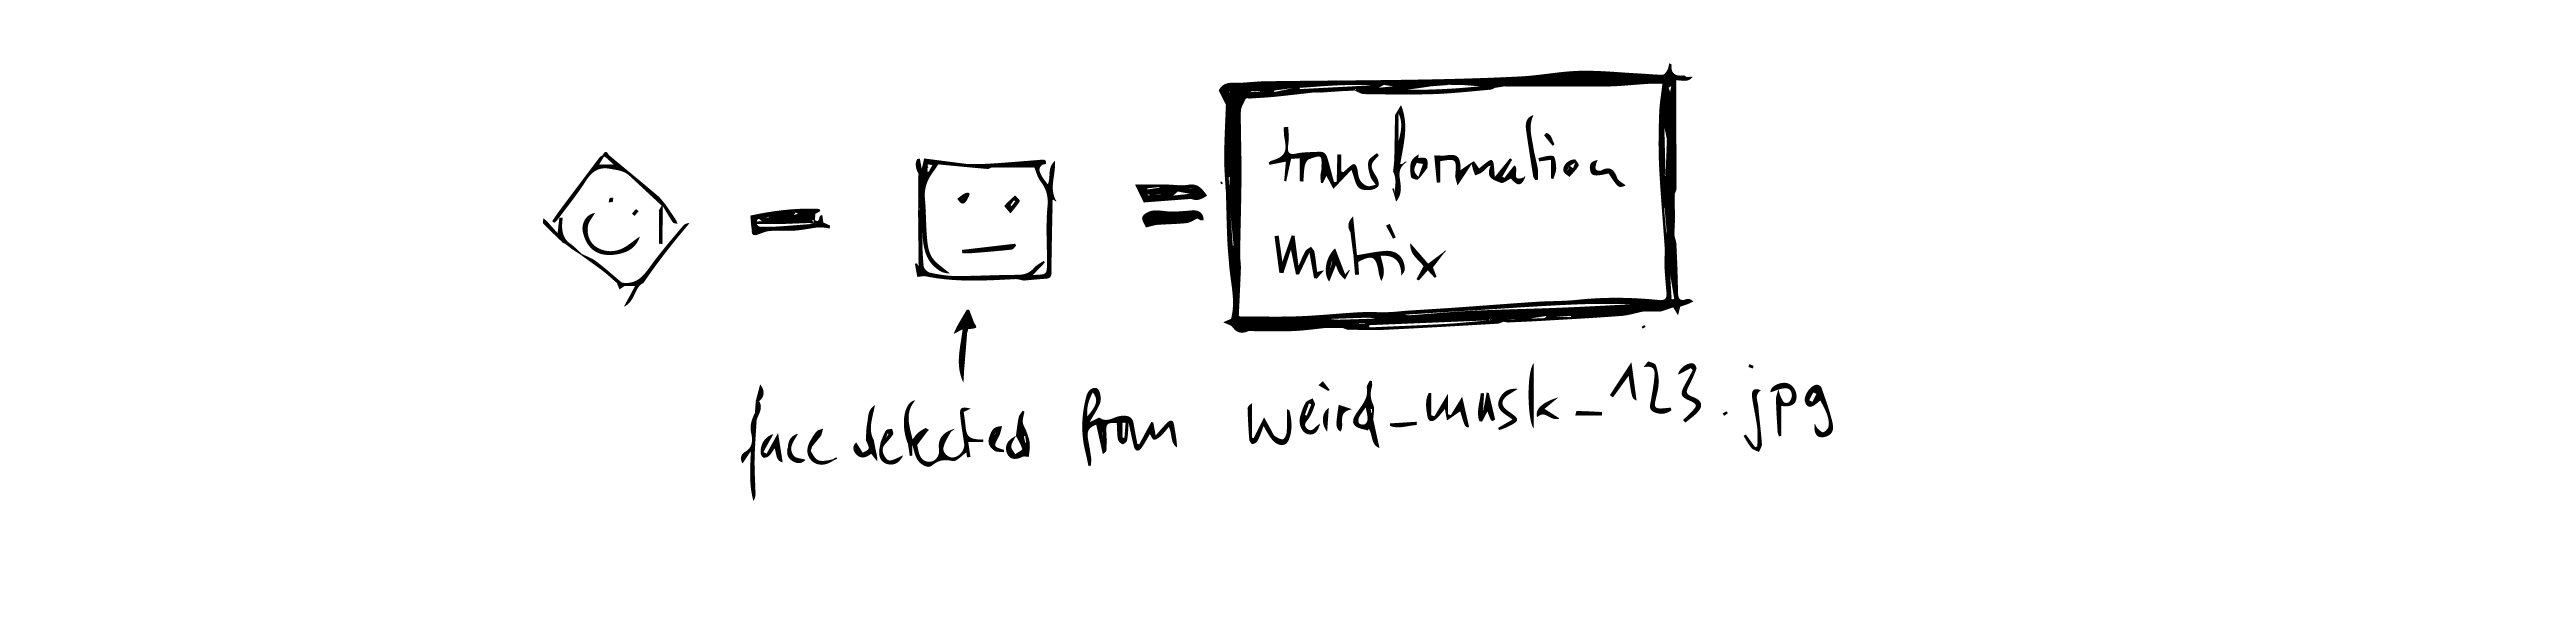
Here is three simple steps to morph one face onto another.
- Detect faces.

- Calculate a Transformation matrix describing the difference.

- Transform one face using the transformation matrix to fit onto the other.

Obviously, (silly) masks should look whatever they want, not necessarily face-like. That’s why this script works with mask files consisting of two images: a ‘back’ (.jpg) image with a reference face and a ‘front’ (transparent .png) image with the mask.
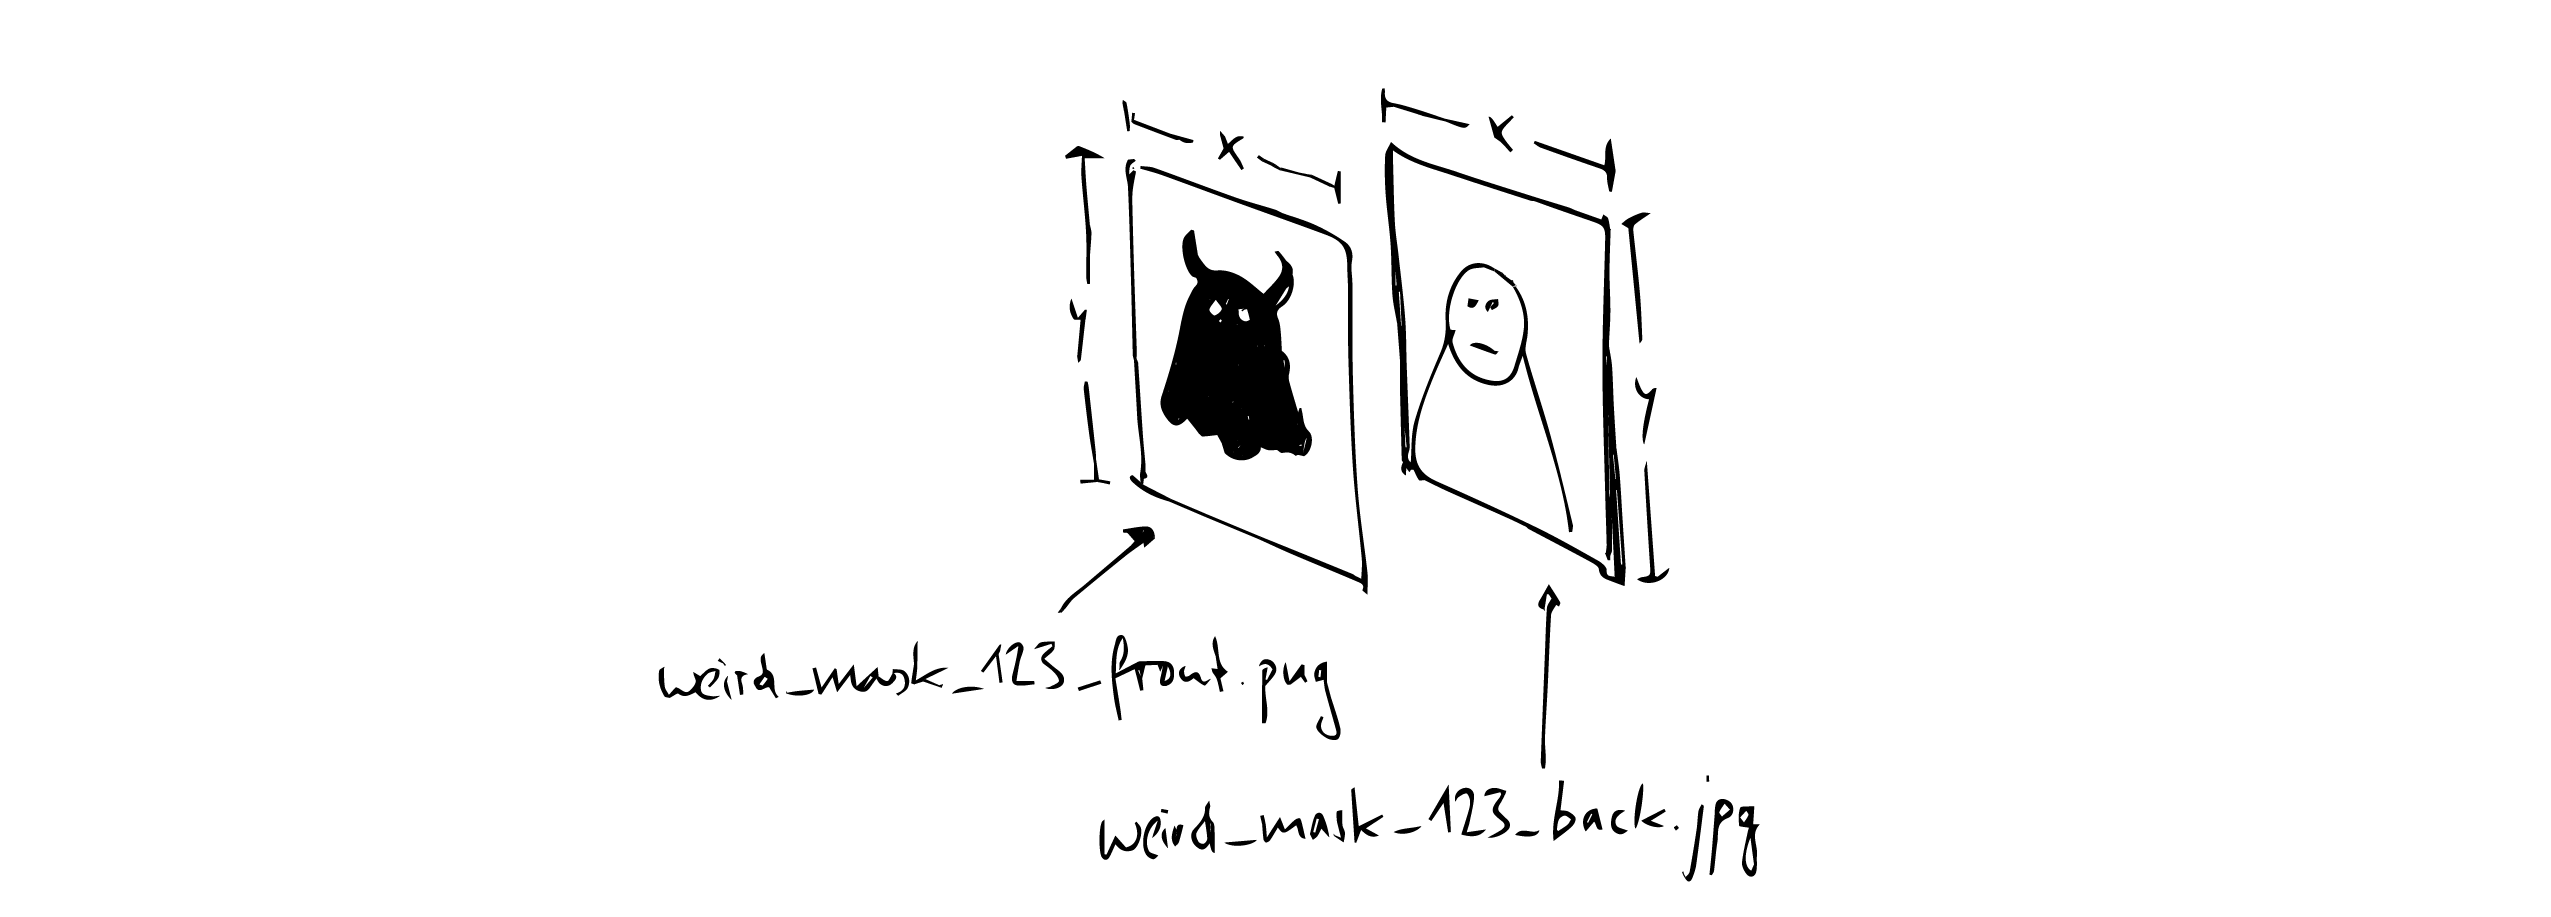
The idea then is to use the reference image to calculate whatever transformation matrix is needed for a given destination face, but to use it to morph the mask instead.
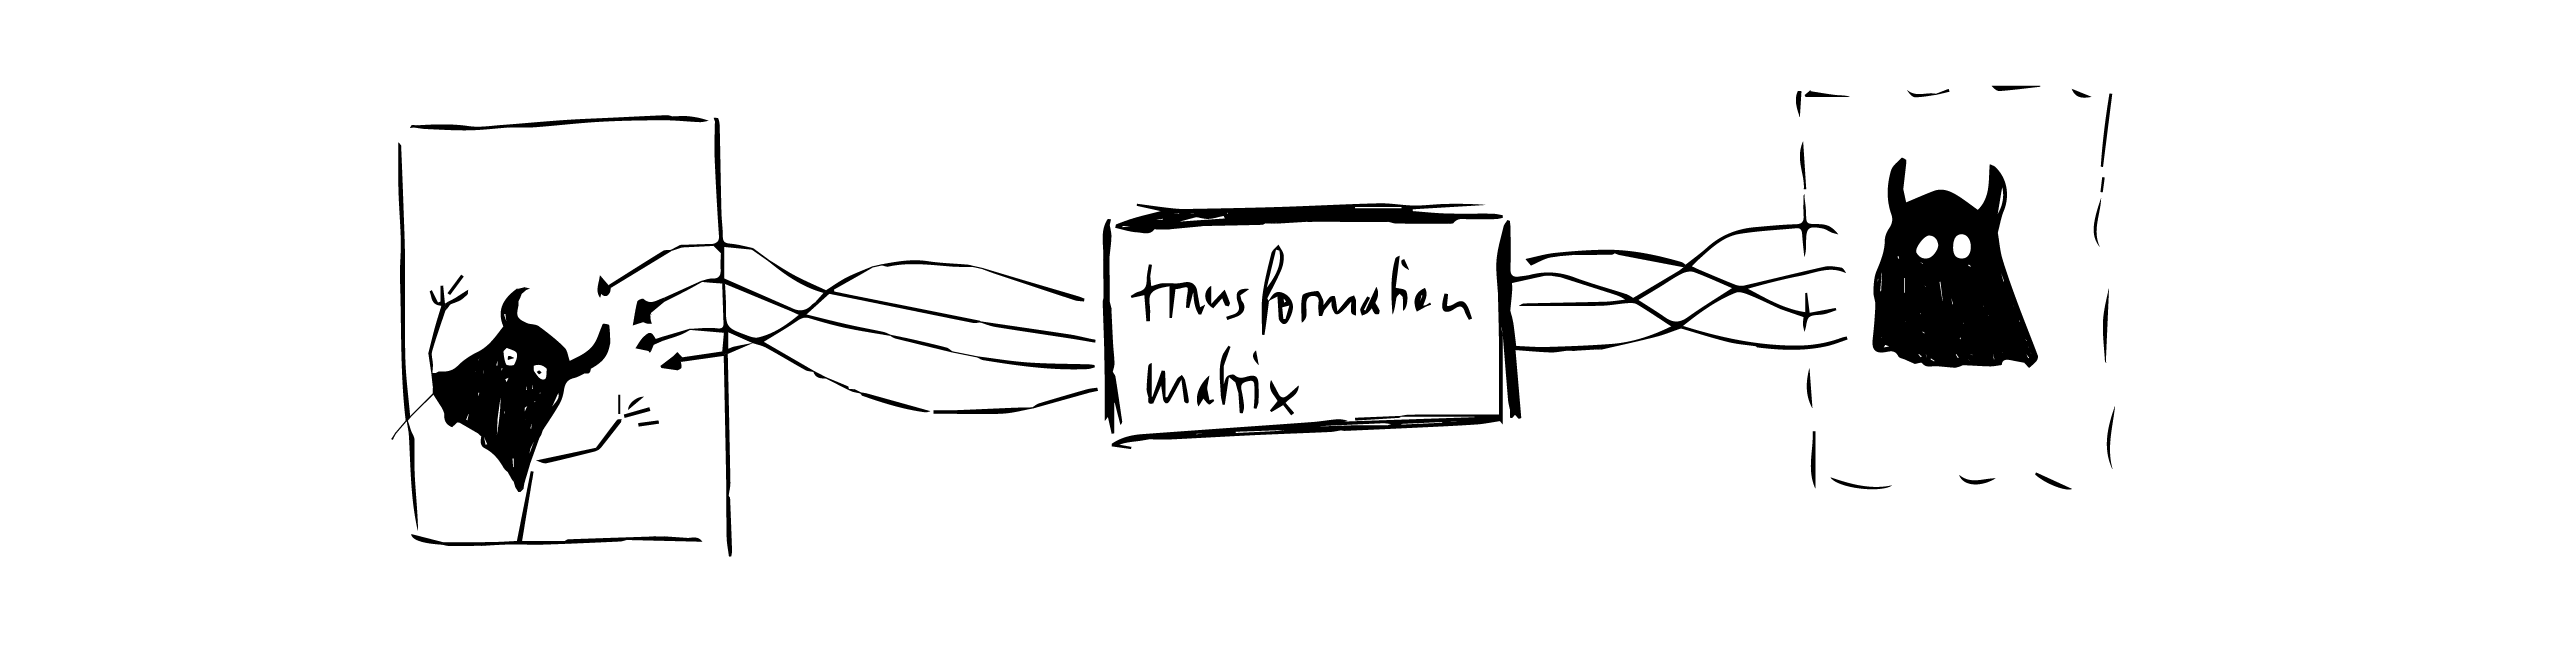
That way, masks don’t have to resemble faces or be of any specific size (for bigger masks, just add margin to the reference image, and draw whatever you feel like onto the mask png).
The main dependencies are dlib, OpenCV and Stasm (Stasm is only used for the create_mask.py script, if all you want to do is draw funny masks, go ahead without it).
I’ll very briefly run you through the routine I normally go through with people to end up in a virtualenv with both dlib and OpenCV on a Mac:
dont run lines starting with #, but do read them. If needed, copy the other lines one by one without the $. Good luck!
# make sure you have brew
$ which brew
# if no path is returned install it with
$ /usr/bin/ruby -e "$(curl -fsSL https://raw.githubusercontent.com/Homebrew/install/master/install)"

# make sure you have pip
$ which pip
# if no path is returned install it with
$ sudo easy_install pip

# make sure you have virtualenv
$ which virtualenv
# if no path is returned install it with
$ pip install virtualenv

# check if you have opencv for python
$ python -c "import cv2"
# if an error is returned
$ brew tap homebrew/science
$ brew install opencv
# same error as above will still be returned but we’ll get back to that later

# check if you have dlib for python
$ python -c "import dlib"
# if an error is returned, run the following (not sure if both are needed,
# actually it says one is deprecated I remember, but hey, it always worked!)
$ brew install boost --with-python
$ brew install boost-python
# double check if that worked
$ brew list | grep 'boost'
# this should return:
# boost
# boost-python

# make sure you have cmake
$ which cmake
# if no path is returned:
$ brew install cmake

# okay we are far!

# use the cd command to get into the directory that you downloaded this repo to
# then make a new virtualenv
$ virtualenv env
# and activate it
$ source env/bin/activate

# now we will be witty and copy the global opencv we installed
# into our virtualenv
# I got this from here and like it:
# https://medium.com/@manuganji/installation-of-opencv-numpy-scipy-inside-a-virtualenv-bf4d82220313
# check where the opencv files are, normally they are here (fingers crossed)
$ ls /usr/local/lib/python2.7/site-packages/cv*
# if this return 2 or all of these lines:
# /usr/local/lib/python2.7/site-packages/cv.py
# /usr/local/lib/python2.7/site-packages/cv2.so
# /usr/local/lib/python2.7/site-packages/cv.pyc
# then thats great news, now we copy them into the virtualenv
$ cp /usr/local/lib/python2.7/site-packages/cv* $VIRTUAL_ENV/lib/python2.7/site-packages/

# now we install numpy and scipy
$ pip install numpy scipy
# opencv will now work

# now we install dlib
$ pip install dlib

# puuuh this is a lot but these should now not though errors anymore:
$ python -c "import cv2"
$ python -c "import dlib”
Almost forgot we need the facial landmarks prediction model for dlib!
Download the file you find at https://github.com/biometrics/openbr-models/blob/master/dlib/shape_predictor_68_face_landmarks.dat and just put it into the root of your project folder.
At this point, after going through above installations all the commands using apply_mask.py should work.
To use create_mask.py, we need Stasm. I installed it following this:
https://github.com/alyssaq/stasm_build#build-instructions
which worked great for me. Good Luck! Any questions, let me know!


