SaveMyForm-Frontend
Backend Less form submission collection for your application!
What problem SaveMyForm solves?
For frontend-only applications if the developer wants to collect form submissions from his/her users, he/she requires to create a complete backend application for it.
It Solves the problem by providing the developers a url which they can use for form submissions by sending a POST request to the url.
Tech Stack
- Nodejs (v16.18.0)
- Nextjs
- Antd
- NextUI
- Vercel
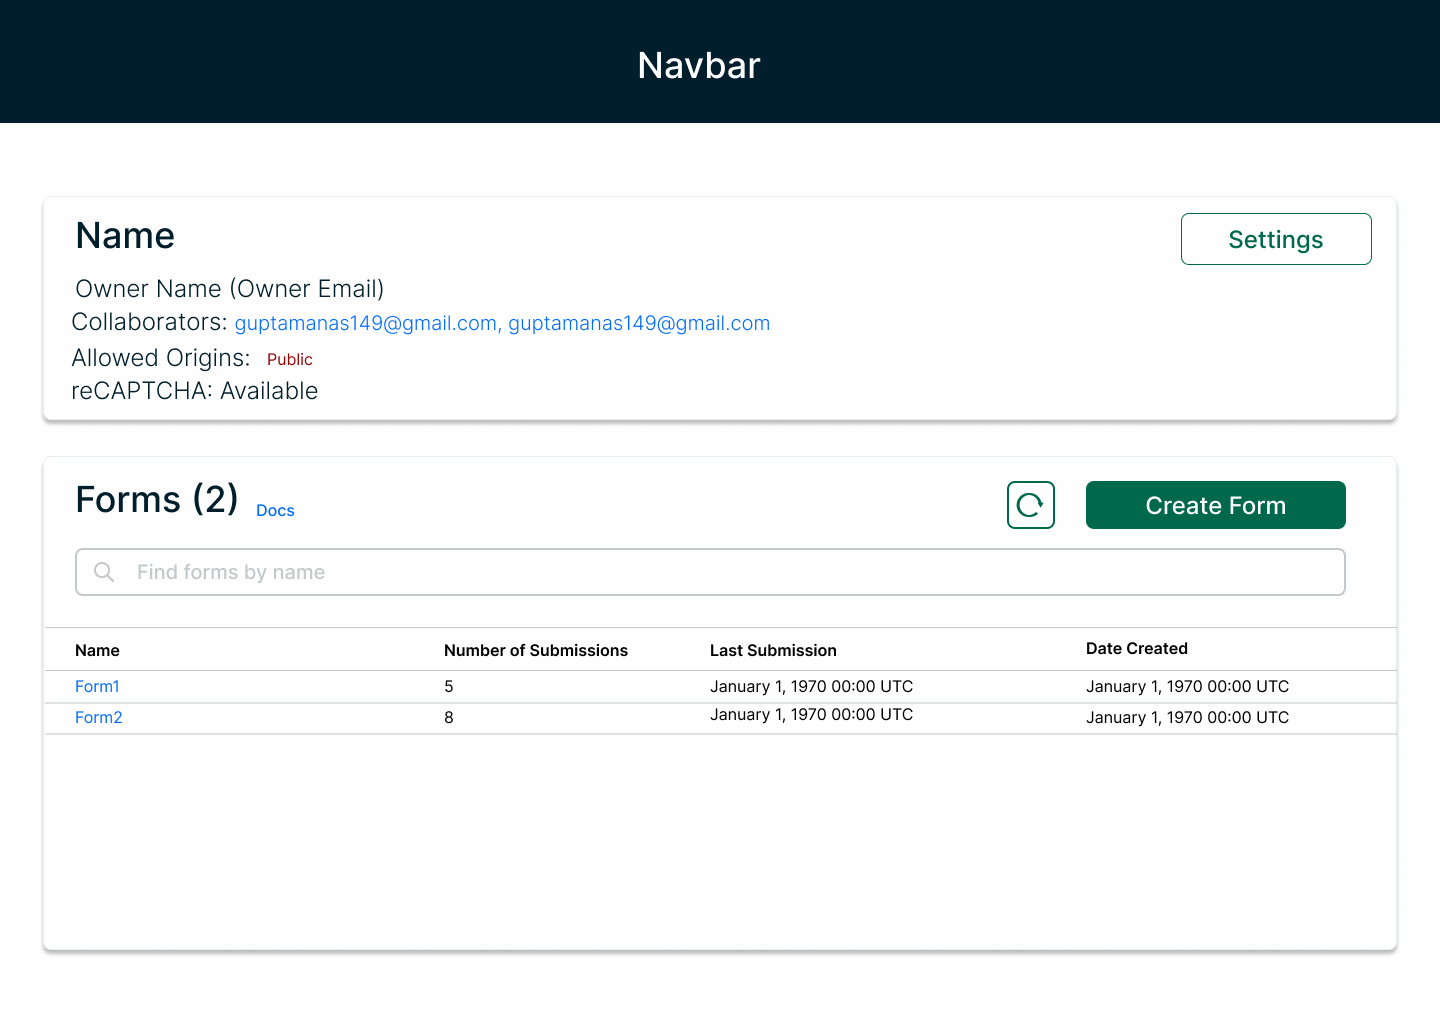
Design Template
Dependencies
You need npm/yarn installed in your local machine in order to run this app.
Installation
  npm install
  npm run dev
How To Setup
- Make sure your machine is having internet connection.
- Fork the repository.
- Open shell (which ever your OS support) on your PC.
- Change drive to the location where you want your project to be copied.
- Clone it to your local setup by using command git clone
<repo link>. - Once cloned, Run the following command in the root directory of the project
npm install. - After the process is completed, run the command
npm run dev. - The website will be live on
localhost:3000.
Reference Links
- Download and install the latest version of Git.
- Set your username in Git.
- Set your commit email address in Git.
- Antd Docs
- NextUI Docs
- Setup Nodejs
Claim an issue
Comment on the issue. In case of no activity on the issue even after 2 days, the issue will be reassigned. If you have difficulty approaching the issue, feel free to ask on our discord channel.
Communication
Whether you are working on a new feature or facing a doubt please feel free to ask us on our discord channel. We will be happy to help you out.
Guidlines
Please help us follow the best practice to make it easy for the reviewer as well as the contributor. We want to focus on the code quality more than on managing pull request ethics.
-
People before code: If any of the following rules are violated, the pull-requests must not be rejected. This is to create an easy and joyful onboarding process for new programmers and first-time contributors.
-
Single commit per pull request and name the commit as something meaningful, example: Adding <-your-name-> in students/mentors section.
-
Reference the issue numbers in the commit message if it resolves an open issue. Follow the PR Template Issue: < ISSUE NUMBER >
-
Provide the link to live gh-pages from your forked repository or relevant screenshot for easier review.
-
Pull Request older than 3 days with no response from the contributor shall be marked closed.
-
Do not make PR which is not related to any issues. You can create an issue and solve it once we approve them.
-
Avoid duplicate PRs, if need be comment on the older PR with the PR number of the follow-up (new PR) and close the obsolete PR yourself.
-
Be polite: Be polite to other community members.


