With Adyen SDK you can help your shoppers pay with a payment method of their choice, selected from a dynamically generated list of available payment methods. Method availability is based on shoppers’ location, transaction currency, and transaction amount.
To give you as much flexibility as possible, Adyen SDK can be integrated via this library in two ways:
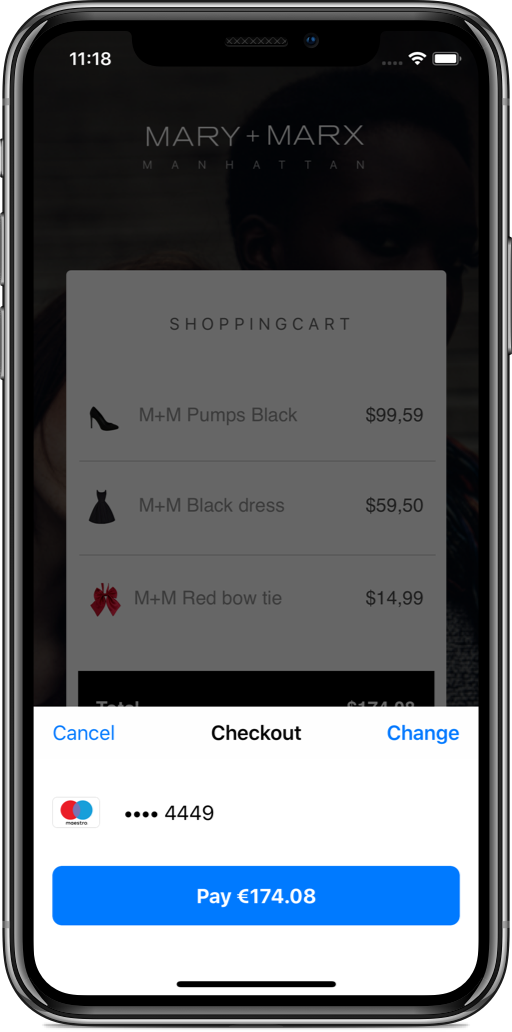
- Quick integration – Benefit from a fully optimized out-of-the-box UI with the SDK.
- Custom integration – Design your own UI while leveraging the underlying functionality of the SDK.
$ npm install adyen-react-native --save
$ react-native link adyen-react-native
Create Podfile in ios with following content:
  platform :ios, '9.0'
  use_frameworks!
  target 'Your Target Name' do
	  pod 'Adyen',
  end

  post_install do |installer|
    installer.pods_project.targets.each do |target|
      if target.name == 'Adyen'
        target.build_configurations.each do |config|
          config.build_settings['SWIFT_VERSION'] = '4.0'
        end
      end
    end
  end
-
Run:
$ pod install -
Open YourProject.xcworkspace/
-
Create a group
Adyenunder your project top level and add files under directory node_modules/adyen-react-native/ios/ReactNativeCharts -
Choose Group ForBeginner, create a empty swift file, the xcode will prompt creating a bridging file, let's name it
YourProject-Bridging-Header.h -
Replace content with:
    #import <React/RCTEventEmitter.h>
    #import <React/RCTBridgeModule.h>
    #import <React/RCTBridge.h>
    #import <React/RCTEventDispatcher.h>
- Set
YourProject-Bridging-Header.hinBuild Settings -> Swift Compiler - General -> Object-C Bridging Header - Set
NoinBuild Settings -> Swift Compiler - Version -> User Legacy Swift Language Version - Click run or use
$ react-native run-ios
react-native link react-native-adyen should install all the dependency


The Quick integration of the SDK provides UI components for payment method selection, entering payment method details (credit card entry form, iDEAL issuer selection, etc.). To get started, use the Adyen class to start the payment:
import Adyen from adyen-react-native
Adyen.startPayment((sdkToken, returnUrl) => {
  // TODO: Forward to your own server and request the payment session from Adyen with the given params.
}, (resultCode, error) => {
  // TODO: Handle error.
});
Send sdkToken and returnUrl to your own server, which then needs to forward this data, among some other parameters, to the Adyen Checkout API. See the API Explorer for more details.
After receiving the payment session data from your own server, use the Adyen.confirmPayment to handle the payment session response:
Adyen.confirmPayment(paymentSessionResponse, (payload) => {
  // TODO: Start the desired checkout process.
}, (resultCode, error) => {
  // TODO: Handle error.
});Adyen.startCheckoutProccess();
After the payment has been processed, you will receive the result in your calling Activity:
Adyen.onActivityResultComplete((payload) => {
  // Handle payload.
});Adyen.onActivityResultError((resultCode, error) => {
// TODO: Handle error.
});It is possible to have more control over the payment flow — presenting your own UI for specific payment methods, filtering a list of payment methods, or implementing your own unique checkout experience. To get started, use the Adyen.startPayment class to start the payment:
Adyen.startPayment((sdkToken, returnUrl) => {
  // TODO: Forward to your own server and request the payment session from Adyen with the given params.
}, (resultCode, error) => {
  // TODO: Handle error.
});
Send sdkToken and returnUrl to your own server, which then needs to forward this data, among some other parameters, to the Adyen Checkout API. See the API Explorer for more details.
After receiving the Base64 encoded payment session data from your own server, use the Adyen.createPaymentSession to handle the payment session response:
Adyen.createPaymentSession(base64PaymentData, (paymentSession) => {
  // TODO: handle paymentSession
}, (resultCode, error) => {
  // TODO: Handle error.
});
From Adyen's official Guide:
With the `PaymentReference` you can retrieve an instance of a `PaymentHandler`. Here you can attach the desired Observers and Handlers in the scope of the current Activity (Observers and Handlers will automatically be removed when the `Activity` is destroyed):

> `PaymentReference` is `Parcelable`, so you can pass it along to another `Activity`.
You can handle each observer in your React Native Project:
Adyen.onObserverNetworkingState((isExecutingRequests) => {
  //Handle networkingState
})Adyen.onObserverPaymentSession((paymentSession) => {
//Handle paymentSession
})Adyen.onObserverPaymentResult((resultCode, payload) => {
//Handle paymentResult
})Adyen.onObserverRedirectDetails((uri) => {
//Handle redirectDetails
})Adyen.onObserverAdditionalDetails((paymentMethodType, inputDetails) => {
//Handle additionalDetails
})Adyen.onObserverException((error) => {
//Handle additionalDetails
})In order to make a payment, select a PaymentMethod and retrieve the according PaymentMethodDetails from the shopper.
Adyen.initiatePayment(paymentMethod, paymentMethodDetails);This repository is open source and available under the MIT license. For more information, see the LICENSE file.