Telerik Friends Sample App for PhoneGap/Cordova


Overview
This repository contains the Telerik Friends app for PhoneGap/Cordova. It is a sample mobile app demonstrating how to integrate a large gamut of Telerik Platform services into a hybrid mobile application.
The Telerik Friends sample app showcases these features and SDKs:
- Cloud data access (Telerik Backend Services)
- Working with files (Telerik Backend Services)
- User registration and authentication (Telerik Backend Services)
- Authentication with social login providers (Facebook, Google, etc.) (Telerik Backend Services)
- Authentication with AD FS (Telerik Backend Services)
- Using custom user account fields (Telerik Backend Services)
- Basic app analytics (Telerik Analytics)
- Tracking feature usage (Telerik Analytics)
To implement all the features listed above, the sample app utilizes the following Telerik products and SDKs:
- Telerik Backend Services—this is where all data, files, and user accounts are stored in the cloud
- Telerik Backend Services JavaScript SDK—to connect the app to Telerik Backend Services
- Telerik Analytics—used to store and monitor analytics data in the cloud
- Telerik Analytics JavaScript SDK—to connect the app with Telerik Analytics
- Telerik Analytics Cordova plugin—to collect data needed for analyses
- Telerik Mobile Testing—used to implement tests for the mobile app
Screenshots
| Login Screen | Activity Stream | Activity Details |
|---|---|---|
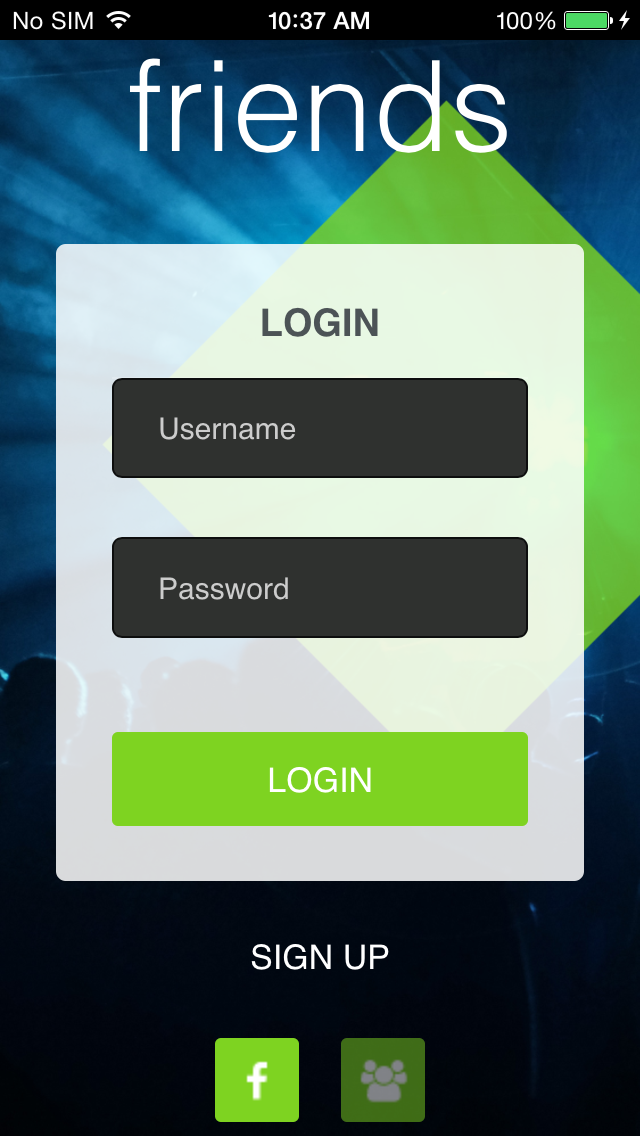 |
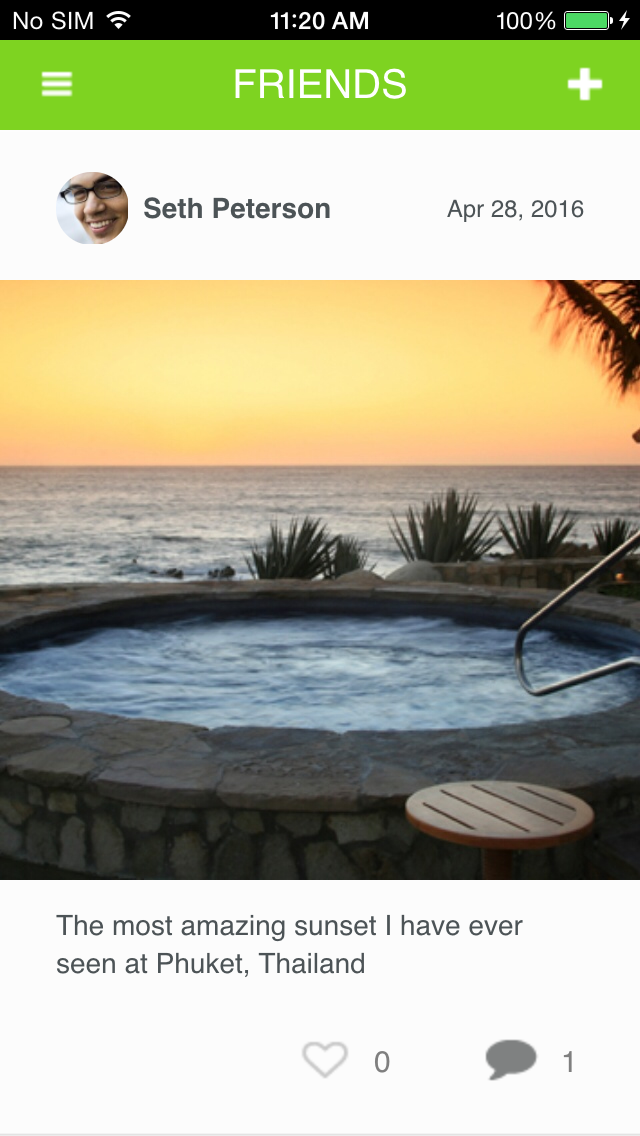 |
 |
Requirements
Before you begin, you need to ensure that you have the following:
-
An active Telerik Platform account Ensure that you can log in to a Telerik Platform account. This can be a free trial account. Depending on your license you may not be able to use all app features. For more information on what is included in the different editions, check out the pricing page. All features included in the sample app work during the free trial period.
-
Telerik AppBuilder The sample app requires Telerik AppBuilder to run. This can be the in-browser client, the desktop client or the extension for Visual Studio.
Configuration
The Friends sample app comes fully functional, but to see it in action you must link it to your own Telerik Platform account.
- Click the "Try in AppBuilder" button to clone the repository in AppBuilder.
An app called "My App" is created for you with an AppBuilder project set up. - Click My App in the navigation bar at the top to go the app home.
- Create a Backend Services project, selecting the Start from the Friends app option.
- Once the Backend Services project is ready, go to Overview > API Keys.
- Take note of your API Key.
- Go back to the AppBuilder project and continue setting up as explained in the next sections.
API Key for Telerik Backend Services
This is a unique string that links the sample mobile app to a project in Telerik Backend Services where all the data is read from/saved. When creating the project, you must base it on a Friends sample Backend Services project that has all the necessary data prepopulated.
You must use this project's API key. To set it in the app:
- Open the
/scripts/app/settings.jsfile. - Replace
$EVERLIVE_API_KEY$with the API Key of your Friends Backend Services project.
If you happen to break the structure of the automatically generated Friends sample project, you can delete it and a fresh instance will be created again for you automatically. Alternatively, you could create a new project and choose to start from a Friends template, instead of starting from a blank project.
(Optional) Project Key for Telerik Analytics
This is a unique string that links the sample mobile app to a Telerik Analytics project in your account. If you do not set this the sample will still work, but no analytics data will be collected.
- Open the
/scripts/app/settings.jsfile. - Replace
$EQATEC_PROJECT_KEY$with the Project Key of your Friends Analytics project.
(Optional) Facebook App ID
To demonstrate social login, we've preinitialized the sample to use a purpose-built Facebook app by Telerik. However, you still need to enable Facebook integration in the Telerik Platform portal:
- Go to your app.
- Click the Backend Services project that you are using.
- Navigate to Users > Authentication.
- Ensure that the Facebook box is checked.
Note that if you intend to use the code for a production app you need to set up your own Facebook application and adjust the Facebook app ID as follows:
- Open the
/scripts/app/settings.jsfile. - Find the
appId: '1408629486049918'line. - Replace the number with your Facebook app ID.
(Optional) Google Client ID
To demonstrate social login, we've preinitialized the sample to use a Google Client ID owned by Telerik. However, you still need to enable Google integration in the Telerik Platform portal:
- Go to your app.
- Click the Backend Services project that you are using.
- Navigate to Users > Authentication.
- Ensure that the Google box is checked.
Note that if you intend to use the code for a production app you need to set up your own Google Client ID and adjust the code as follows:
- Open the
/scripts/app/settings.jsfile. - Find the
clientId: '406987471724-q1sorfhhcbulk6r5r317l482u9f62ti8.apps.googleusercontent.com'line. - Replace the number with your Google Client ID.
(Optional) Microsoft Account
To demonstrate social login, we've pre-initialized the sample to use a Microsoft Account Client ID owned by Telerik. However, you still need to enable Microsoft Account integration in the Telerik Platform portal:
- Go to your app.
- Click the Backend Services project that you are using.
- Navigate to Users > Authentication.
- Ensure that the Windows Live box is checked.
Note that if you intend to use the code for a production app you need to set up your own Microsoft Account Client ID and adjust the code as follows:
- Open the
/scripts/app/settings.jsfile. - Find the
clientId: '000000004C10D1AF'line. - Replace the number with your Microsoft Account Client ID.
(Optional) Active Directory Federation Services (AD FS)
The sample app allows users to register using AD FS. To try this integration, configure the following:
-
Replace the default setting in
/scripts/app/settings.js:adfsRealm: '$ADFS_REALM$' adfsEndpoint: '$ADFS_ENDPOINT$' -
Log in to the Telerik Platform portal.
-
Go to your app.
-
Click the Backend Services project that you are using.
-
Navigate to Users > Authentication.
-
Ensure that the Active Directory box is checked.
-
Fill in ADFS metadata URL with your AD FS server's metadata URL.
Note that AD FS authentication can only be accomplished over HTTPS.
HTTPS Connections
By default the Friends Sample is configured to use HTTP. If you want to switch to HTTPS, update the appSettings.everlive.scheme setting in /scripts/app/settings.js to https.
Running the Sample
Once the app is configured, you can run it either on a real device or in the Telerik AppBuilder simulator.
To run it, follow the steps in the product's documentation: Running Apps on Devices.
Ensure that the emulator or the device that you are using has Internet connectivity when running the sample.


