A template to assist you in creating and publishing TypeScript modules on NPM
This template automates the boring and tedious tasks of:
- Filling up the
package.json - Setting up Typescript.
- Writing a README.md with decent presentation and instructions on how to install/import your module.
- Testing on multiple Node version running on Ubuntu and Windows before publishing.
- Maintaining a CHANGELOG.
- Publishing on NPM and creating corresponding GitHub releases.
Besides, good stuff that comes with using this template:
- No dist files are tracked on the
masterbranch. - Shorter specific file import path.
import {...} from "my_module/theFile"instead of the usualimport {...} from "my_module/dist/theFile" - CDN distribution for importing from an
.htmlfile with a<script>tag. - A branch
latestalways in sync with the latest release. - When your users hit "Go to Definition" they get redirected to the actual
.tssource file instead of the.d.ts. ( Feature disabled by default, refer to instructions on how to enable it ). - ESlint and Prettier are automatically run against files staged for commit. ( You can disable this feature. )
If you want your module to support Deno as well checkout denoify_ci.
- Presentation
- Table of content
- How to use
- Few things you need to be aware of before getting started
- Customization:
- Accessing files outside the
dist/directory - The automatically updated
CHANGELOG.md - Video demo
- Examples of auto-generated readme
- Creating a documentation website for your project
- Creating a landing page for your project
- Click on

- The repo name you will choose will be used as a module name for NPM so:
- Be sure it makes for a valid NPM module name.
- Check if there is not already a NPM module named like that.
- The description you provide will be the one used on NPM and in
package.json( you can change it later )
Once you've done that a GitHub action workflow will set up the README.md and the package.json
for you, wait a couple of minutes for it to complete ( a bot will push ). You can follow the job advancement in the "Action" tab.
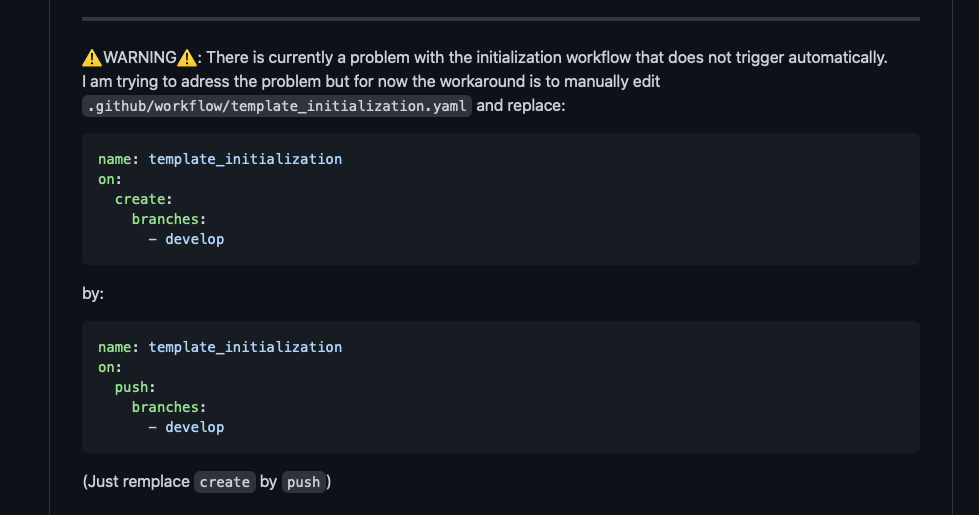
(warning please read this)
Each time you will push changes npm test will be run on remote docker containers against multiple node versions if everything passes you will get a green ci badges in your readme.
Once you are ready to make your package available on NPM you will need to provide two tokens so that the workflow can publish on your behalf:
Go to repository Settings tab, then Secrets you will need to add two new secrets:
NPM_TOKEN, you NPM authorization token.PAT, GitHub Personal Access Token with the repo authorization. link
To trigger publishing edit the package.json version field ( 0.0.0-> 0.0.1 for example) then push changes... that's all !
The publishing will actually be performed only if npm test passes.
- You probably want to "Use this template" ( the green button ) instead of forking the repo.
- The files to include in the NPM bundle are cherry-picked using the
package.jsonfilesfield.
If you don't want to bother and includes everything just remove thefilesfield from thepackage.json. - If you are going to programmatically load files outside of the
dis/directory ( like thepackage.jsonor files insideres/) be mindful that the paths might not be the one you expect. Details. - The template does not support
.npmignore( it use the saferpackage.jsonfilesinstead ). - The template does not support
.npmrc.
Click to expand
All your source files must remain inside the src dir, you can change how things are organized inside the source directory
but don't forget to update your package.json main, type and files fields and tsconfig.esm.json include field when appropriate.
Click to expand
There is no denying that it is more convenient when clicking "Go To Definition" to get redirected to
a file .ts file rather than to a .d.ts.
To enable this feature simply point to the package.json's types filed to the main's source
file instead the type definition file .d.ts.
For example you would replace:
{
  "main": "dist/index.js",
  "types": "dist/index.d.ts",
}
by:
{
  "main": "dist/index.js",
  "types": "src/index.ts",
}
Enabling this feature comes at a cost though. Be aware that if you use optional chaining or nullish coalescing for example, your module will only be importable
in projects using typescript 3.7 or newer ( version that introduces theses features ).
It is important to keep your project compatible with older TS version because
- You don't want to force your users to update the typescript version they use in their project, updating typescript might break some other things in their code.
- In certain environments updating TypeScript is not an option. Take Stackblitz for example.
Click to expand
A good way to host your repo image is to open an issue named ASSET in your project, close it, create a comment, drag and drop the picture you want to use and that's it. You have a link that you can replace in the README.md.
While you are at it submit this image as social preview in your repos github page's settings so that when you share on
Twitter or Reddit you don't get your GitHub profile picture to show up.
Click to expand
Prettier is opinionated, it is OK to want to break free from it.
Remove these package.json's scripts:
_formatformatformat:check
Remove these package.json's devDependencies:
prettiereslint-config-prettier
In the package.json's lint-staged field remove "*.{`s,json,md}": [ "prettier --write" ]
From .eslintrc.js, remove the line: "prettier/@typescript-eslint",.
Delete these files:
.prettierignore.prettierrc.json
In .github/workflows/ci.yaml remove the line npm run format:check from the test_lint job.
Click to expand
Remove these package.json's scripts:
_formatformatformat:checklint:checklint
Remove these package.j`on's devDependencies:
prettiereslint-config-prettiereslint@typescript-eslint/parser@typescript-eslint/eslint-pluginhusky
Remove the lint-staged and husky fields from the package.json.
Delete these files:
.prettierignore.prettierrc.json.eslintignore.eslintrc.js
In .github/workflows/ci.yaml remove the test_lint job and the line needs: test_lint.
Click to expand
If your project does not target the browser or if you are not interested in offering CDN distribution:
- Remove all
cdn:*npm scripts andnpm run cdnfrom thebuildscript ( inpackage.json). - Remove
./tsconfig.esm.json - Remove
simplifyifyandterserfrom dev dependencies.
Click to expand
If npm run build fail because tsc -p tsconfig.esm.json gives errors you may want to remove the ESM
build but keep the bundle.js and bundle.min.js. To do that:
In package.json replace theses scripts:
{
  "cdn:bundle:.js": "simplifyify dist/index.js -s #{REPO_NAME}# -o dist/bundle.js --debug --bundle",
  "cdn:bundle:.min.js": "terser dist/bundle.js -cmo dist/bundle.min.js",
  "cdn:bundle": "npm run cdn:bundle:.js && npm run cdn:bundle:.min.js",
  "cdn:esm": "tsc -p tsconfig.esm.json",
  "cdn": "npm run cdn:bundle && npm run cdn:esm",
}
By theses ones:
{
  "cdn:.js": "simplifyify dist/index.js -s #{REPO_NAME}# -o dist/bundle.js --debug --bundle",
  "cdn:.min.js": "terser dist/bundle.js -cmo dist/bundle.min.js",
  "cdn": "npm run cdn:.js && npm run cdn:.min.js",
}
Remove tsconfig.esm.json. ( file at the root of the project )
Edit the README.md to remove instructions about how to
import as ES module.
Click to expand
Dev dependencies that are not required by the template ( you can safely remove them if you don't use them ):
evt@types/node
Must keep:
typescriptdenoify( for the script that moves dist files to the root before publishing )simplifyify( for CDN build )terser( for CDN build )
Click to expand
You can use shields.io to create badges on metrics you would like to showcase.
Click to expand
The drawback of having short import path is that the dir structure
is not exactly the same in production ( in the npm bundle ) and in development.
The files and directories in dist/ will be moved to the root of the project.
As a result this won't work in production:
src/index.ts
import * as fs from "fs";
import * as path from "path";

const str = fs.readFileSync(
    path.join(__dirname,"..", "package.json")
).toString("utf8");
Because /dist/index.js will be moved to /index.js
You'll have to do:
src/index.ts
import * as fs from "fs";
import * as path from "path";
import { getProjectRoot } from "./tools/getProjectRoot";

const str = fs.readFileSync(
    path.join(getProjectRoot(),"package.json")
).toString("utf8");Starting from the second release, a CHANGELOG.md will be created at the root of the repo.
Example:
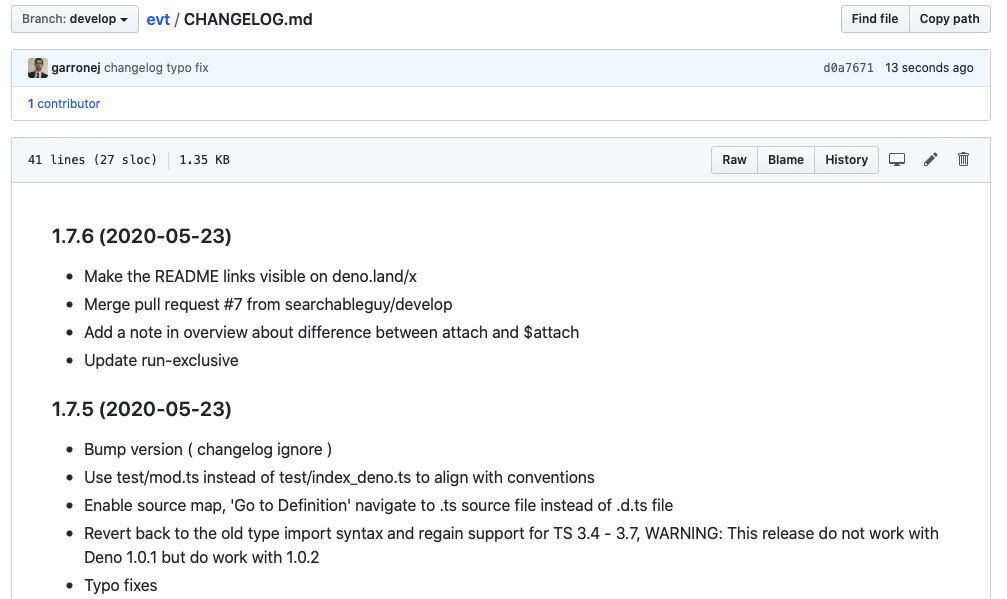
The CHANGELOG.md is built from the commits messages since last release.
Are NOT included in the CHANGELOG.md:
- The commit messages that includes the word "changelog" ( non-case sensitive ).
- The commit messages that start with "Merge branch ".
- The commit messages that with "GitBook: "
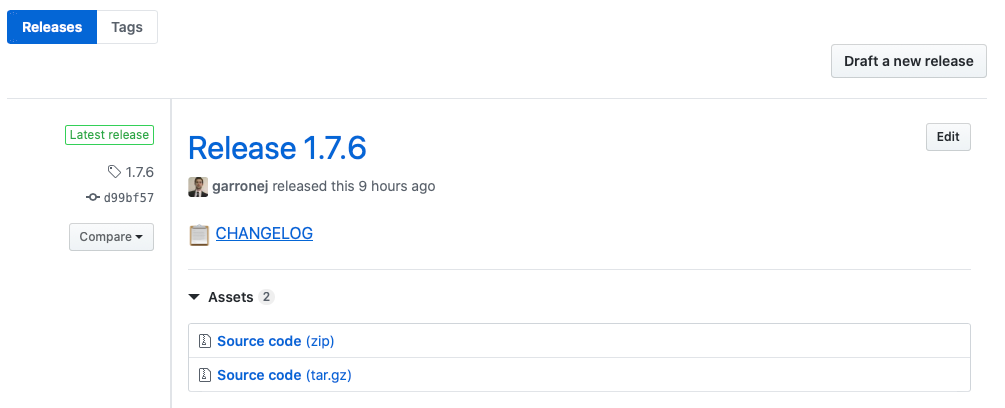
The GitHub release will point to a freezed version of the CHANGELOG.md:


I recommend GitBook, It enables you to write your documentation in markdown from their
website and get the markdown files synchronized with your repo.
They will provide you with a nice website for which you can customize the domain name.
All this is covered by their free tier.
Example:
I advise you to have a special directory at the root of your project where the markdown documentation files
are stored. It is configured by placing a .gitbook.yaml file at the root of the repo containing, for example:
root: ./docs/
Do not hesitate to request free access to premium features. Open source projects are eligible!
PS: I am not affiliated with GitBook in any way.
Beside the documentation website, you might want to have a catchy landing page to share on social networks.
You can use GitHub pages to host it.
If you like the landing page of EVT, evt.land, you can fork the repo and adapt it for your module.
To produce high quality GIF from screen recording that remain relatively small checkout the wonderful Gifski from Sindre Sorhus.
Once your page is ready you'll just have to go to settings and enable Pages yo put it online.

And update your DNS:

I personally use Hurricane Electric free DNS servers because they support a lot of record types.
However, if your DNS provider does not support ALIAS, you can use A records and manually enter the IP of GitHub servers.
I let you consult the GitHub Pages Documentation.