This template uses the authentication SDK along with Discord OAuth to grant users who own an NFT from a specific collection a special role in a Discord server.
-
React SDK: To connect to the user's MetaMask wallet.
-
TypeScript SDK: To view the balance of the connected wallet in an NFT collection.
-
Authentication SDK to allow the user to sign in with Ethereum and verify they own their wallet.
-
Next Auth: To authenticate with Discord and access the user's Discord data such as their user ID.
-
Discord API to grant users a role in our Discord server.
To create a clone of this repository, you can use the thirdweb CLI
npx thirdweb create --template discord-role-granterYou can follow along with the guide below to set this up for your Discord server and role.
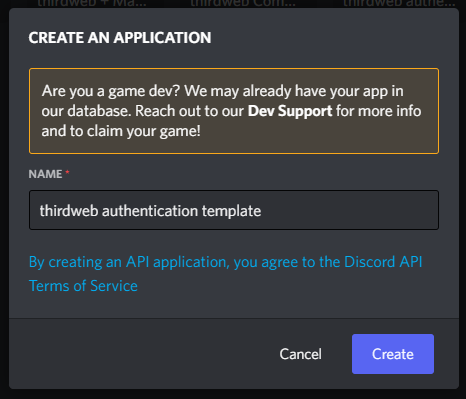
To create a Discord bot, head to the Discord Developer Portal and click on New Application, give it a name and click create!
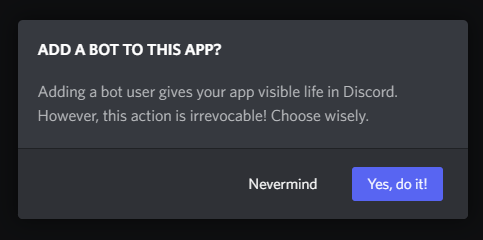
Once it's created, head to the Bot tab, and click Add Bot.
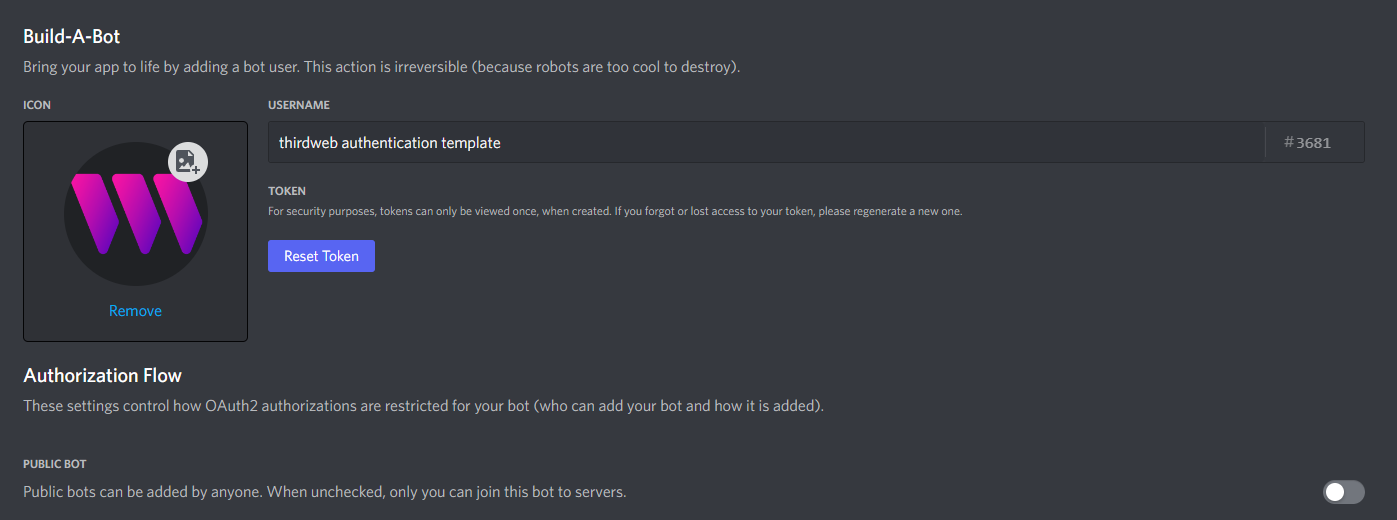
Give your bot a username, and I'm unchecking the Public Bot field so that only we can invite our bot.
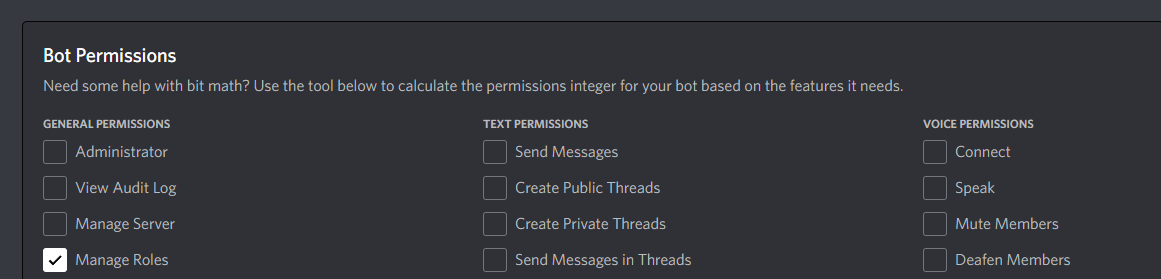
Scroll down to Bot Permissions and give our bot the Manage Roles permission:
Once you're ready, click Save Changes!
Now we're ready to invite our bot to our server!
Click OAuth2 > URL Generator on the sidebar:
Select bot and Manage Roles scopes.
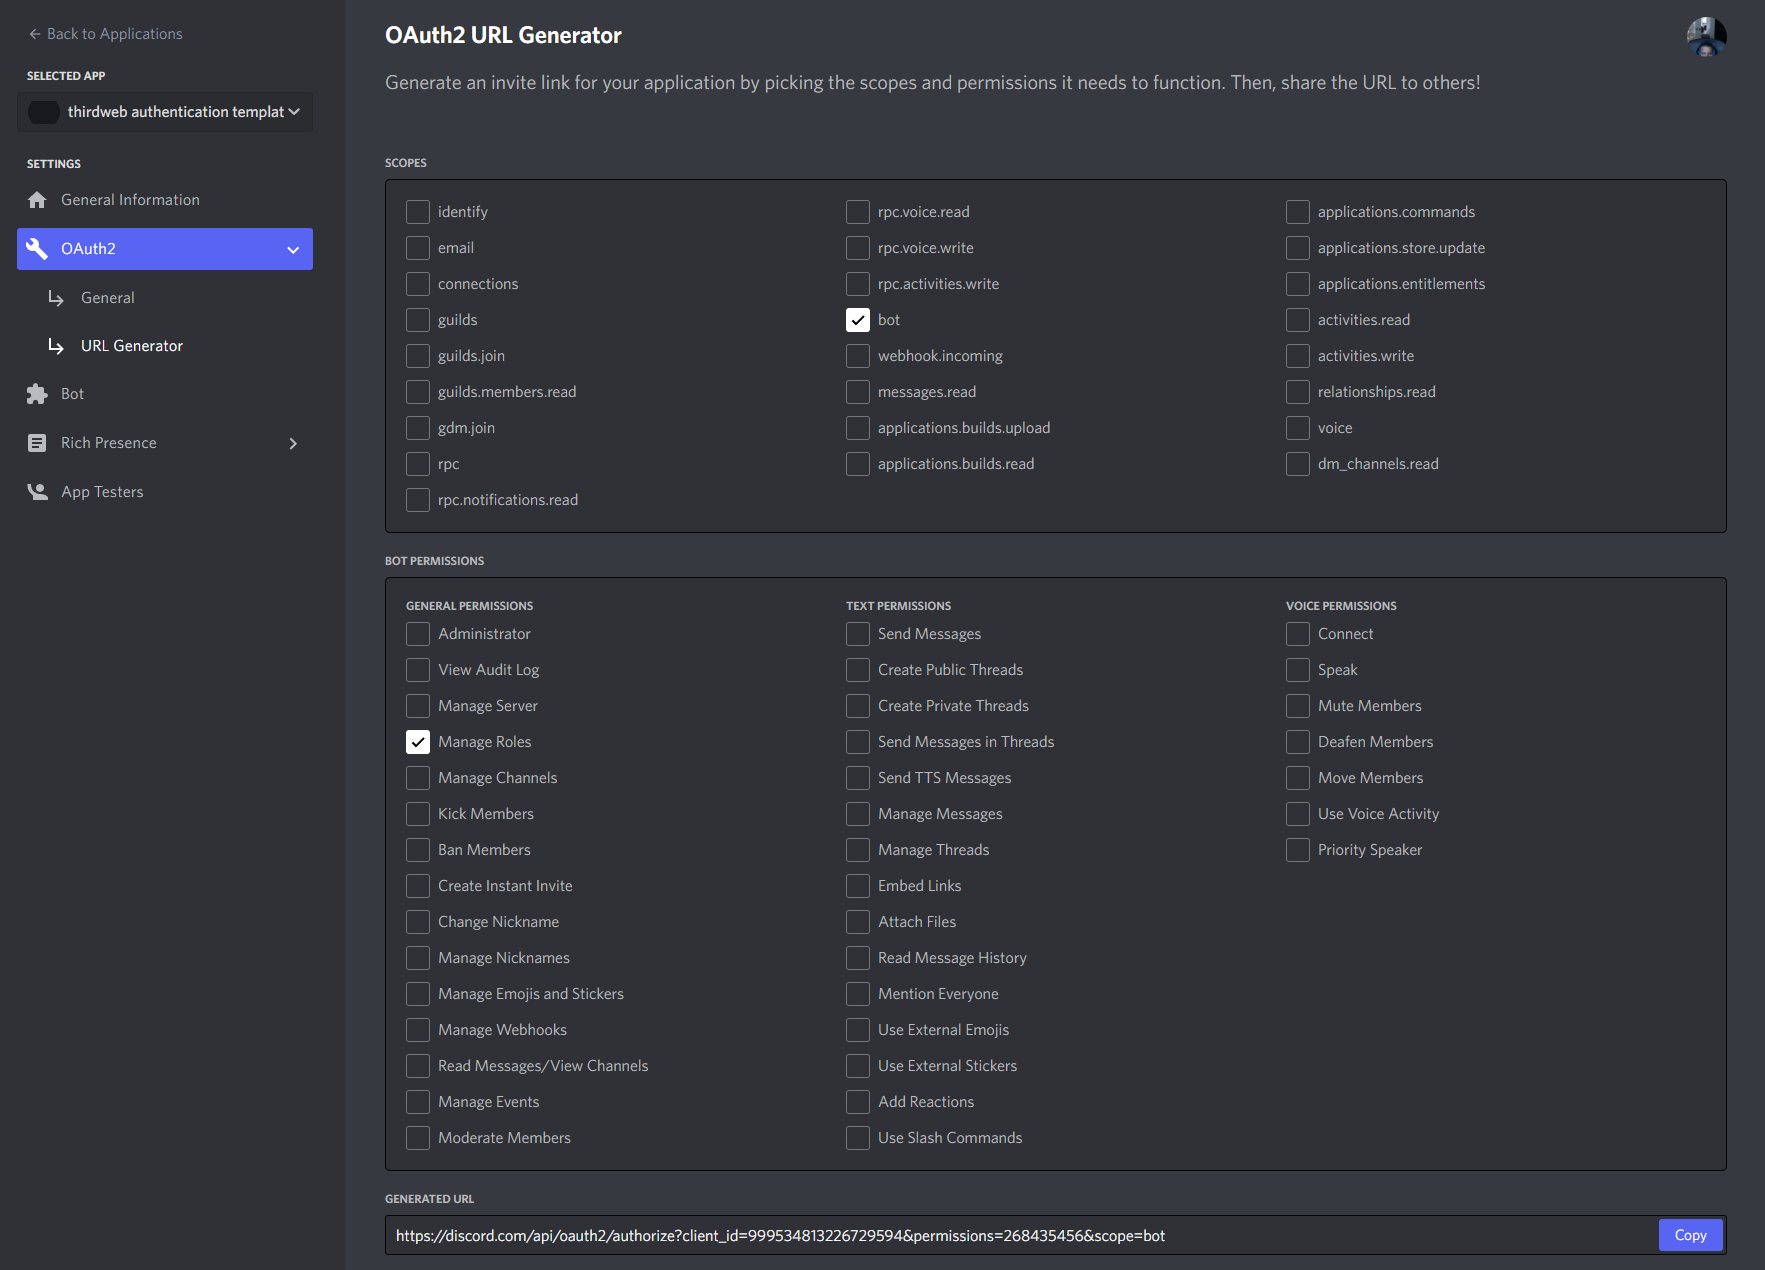
Copy the Generated URL and open it in your browser.
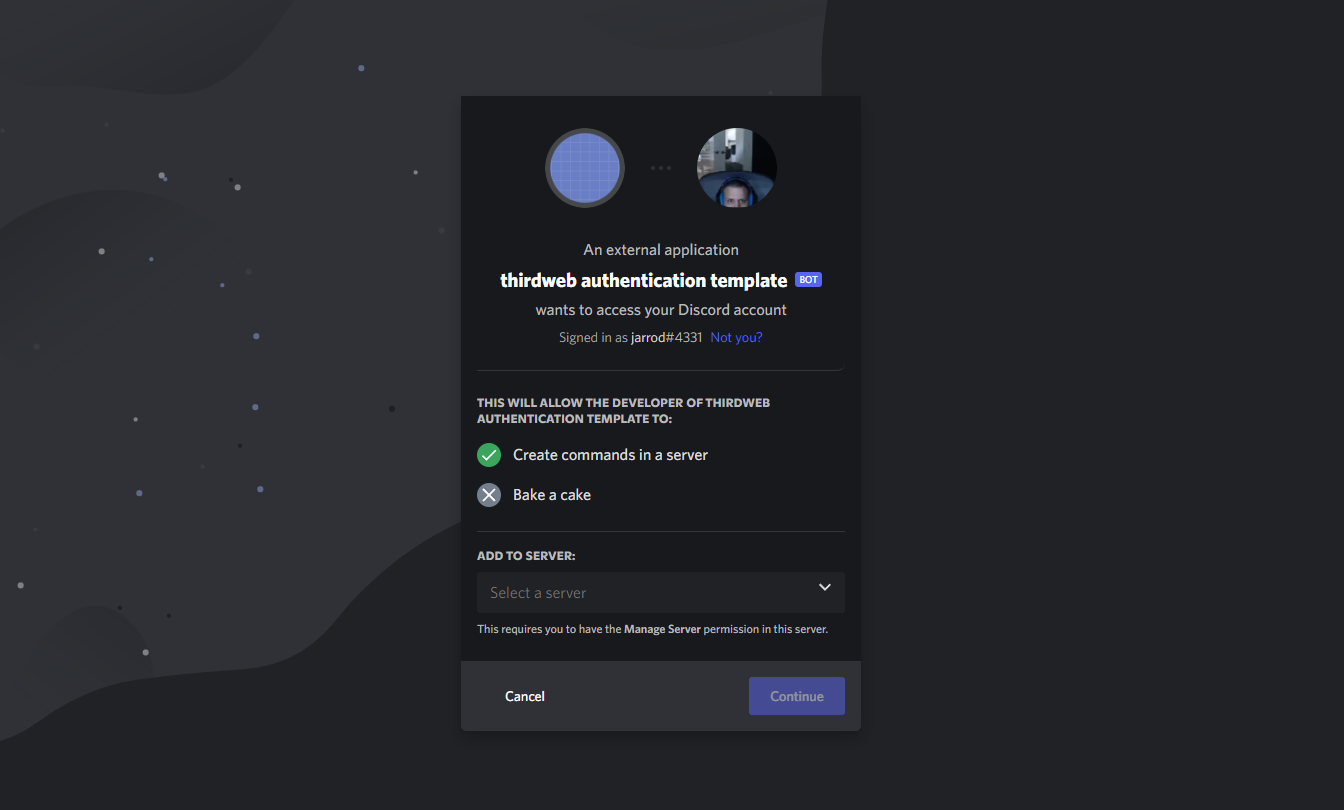
Select the server you want to add your bot to and click Continue. It will ask you to approve this bot's permissions, you should see a prompt to authorise the bot for Manage Roles permissions:
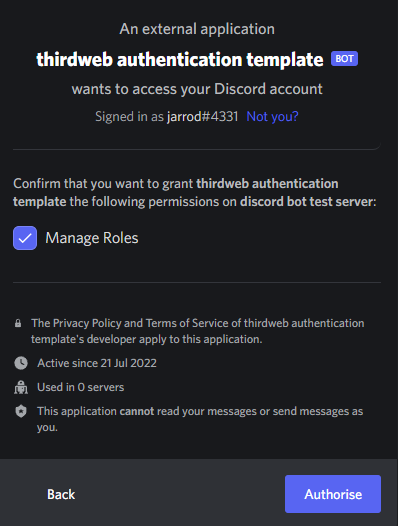
Click Authorise, once successful, you'll see an Authorised window. Your bot will be added to your server - say hi!

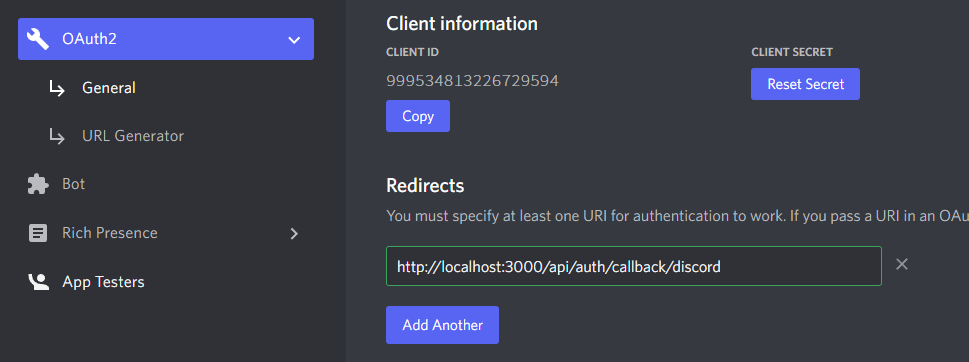
Copy across your Client ID and Client Secret into environment variables in your project, by creating a .env.local file at the root of the directory.
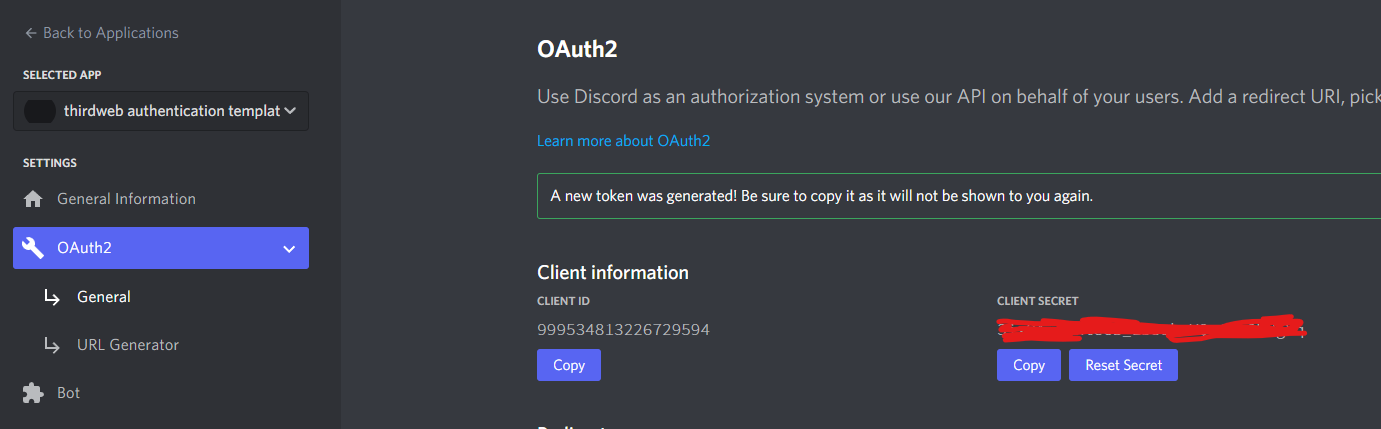
CLIENT_ID=xxxxx
CLIENT_SECRET=xxxxx
We also need to add a Redirect URL into our Application while we're here:
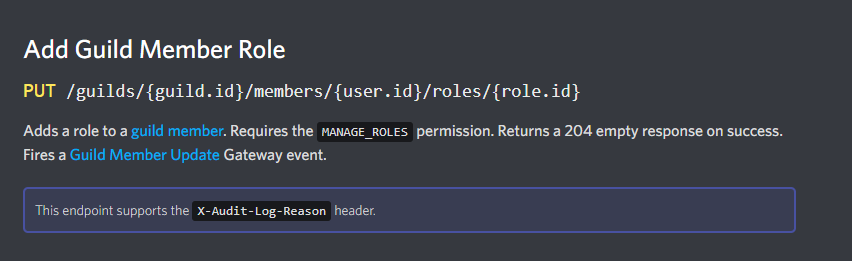
To grant a role to the connected user, we are going to use the Discord API on behalf of the bot that we created. Specifically, we'll be hitting the Add Guild Member Role API endpoint:
To make requests from our bot, we'll need a token to act on its behalf. To generate a token, head to the Bot tab from your Discord Developer portal, and click Reset Token on your bot:
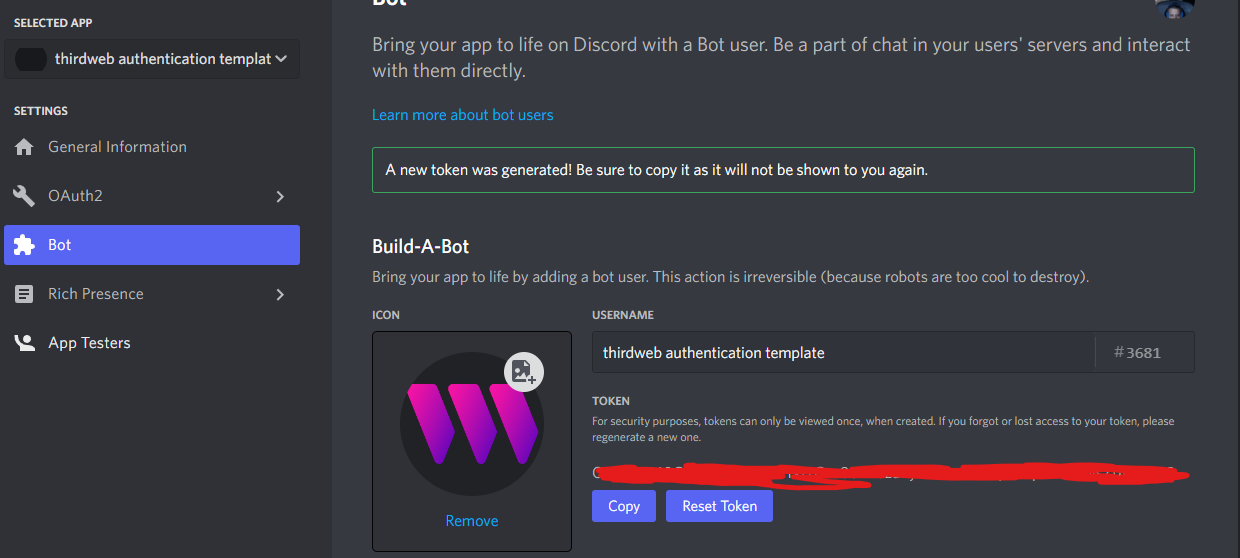
We then need to store this inside our environment variables as well securely:
BOT_TOKEN=xxxx
Finally, inside the constants/index.ts file, you need to configure your:
- Discord Server ID
- Role ID
- NFT Collection ID
You can learn how to do that from this guide.
To authenticate users with both their wallet and their Discord account, we wrap our application in two Provider components:
// This is the chain your dApp will work on.
const activeChain = "mumbai";

function MyApp({ Component, pageProps }: AppProps) {
  return (
    <ThirdwebProvider
      desiredChain={activeChain}
      authConfig={{
        domain: process.env.NEXT_PUBLIC_THIRDWEB_AUTH_DOMAIN!,
        authUrl: "/api/thirdweb-auth",
      }}
    >
      <SessionProvider session={pageProps.session}>
        <Component {...pageProps} />
        <ThirdwebGuideFooter />
      </SessionProvider>
    </ThirdwebProvider>
  );
}
This allows us to access the helpful hooks of the React SDK and NextAuth to read information about the current user and their wallet. We also configure authentication with the authConfig prop on the ThirdwebProvider component.
NextAuth handles the Oauth flow of signing in with Discord for us in the [...nextauth.ts] file. We add some additional logic to append the user ID to the information that is available to us so that we can read that inside our API route.
export default NextAuth({
  // Configure one or more authentication providers
  secret: process.env.AUTH_SECRET,

  providers: [
    DiscordProvider({
      clientId: process.env.CLIENT_ID as string,
      clientSecret: process.env.CLIENT_SECRET as string,
    }),
  ],

  // When the user signs in, get their token
  callbacks: {
    async jwt({ token, account }) {
      // Persist the user ID to the token right after signin
      if (account) {
        token.userId = account.providerAccountId;
      }
      return token;
    },

    async session({ session, token, user }) {
      session.userId = token.userId;
      return session;
    },
  },
});We have a component called SignIn that shows the user different buttons depending on whether they have their wallet connected and Discord account connected.
In this component, three states can occur:
- The user is connected to both
walletandDiscord=> We show them theGive me the rolebutton. - The user is not connected to
wallet=> We ask them to connect their wallet. - The user is not connected to
Discord=> We ask them to authenticate with Discord.
Once users have signed in with their wallet and Discord account, they are shown a button that makes an API request to grant them a role in the Discord server.
First, we need to prove that the user owns the wallet by using the authentication SDK.
Sign in with ethereum:
const { isLoggedIn } = useUser();
const login = useLogin();

if (!isLoggedIn) {
  return (
    <div className={`${styles.main}`}>
      <h2 className={styles.noGapBottom}>Sign using your wallet</h2>
      <p>
        This proves that you really own the wallet that you've claimed to be
        connected.
      </p>

      <button
        onClick={async () => {
          await login.login();
        }}
        className={`${styles.mainButton} ${styles.spacerTop}`}
      >
        Sign message!
      </button>
    </div>
  );
}
Make the request to the API route
async function requestGrantRole() {
  // Then make a request to our API endpoint.
  try {
    const response = await fetch("/api/grant-role", {
      method: "POST",
    });
    const data = await response.json();
    console.log(data);
    alert("Check the console for the response!");
  } catch (e) {
    console.error(e);
  }
}Using the TypeScript SDK, we can check the balance of the wallet for a specific ERC-1155 token in a specific collection.
// Check if this user owns an NFT
const editionDrop = sdk.getContract(
  "0x1fCbA150F05Bbe1C9D21d3ab08E35D682a4c41bF",
  "edition-drop"
);

// Get addresses' balance of token ID 0
const balance = await editionDrop.balanceOf(verifiedWalletAddress, 0);Using our Discord bot's token as the authorization header, we can grant the user a role in the Discord server if they own an NFT in the collection.
if (balance.toNumber() > 0) {
  // If the user is verified and has an NFT, return the content

  // Make a request to the Discord API to get the servers this user is a part of
  const discordServerId = "999533680663998485";
  const { userId } = session;
  const roleId = "999851736028172298";
  const response = await fetch(
    // Discord Developer Docs for this API Request: https://discord.com/developers/docs/resources/guild#add-guild-member-role
    `https://discordapp.com/api/guilds/${discordServerId}/members/${userId}/roles/${roleId}`,
    {
      headers: {
        // Use the bot token to grant the role
        Authorization: `Bot ${process.env.BOT_TOKEN}`,
      },
      method: "PUT",
    }
  );

  // If the role was granted, return the content
  if (response.ok) {
    res.status(200).json({ message: "Role granted" });
  }

  // Something went wrong granting the role, but they do have an NFT
  else {
    const resp = await response.json();
    console.error(resp);
    res
      .status(500)
      .json({ error: "Error granting role, are you in the server?" });
  }
}For any questions, suggestions, join our discord at https://discord.gg/thirdweb.