Drivers and code for two very low cost LCD displays with instructions on how to setup each with python on a Raspberry Pi. This github repo has plenty of demo files I've collected from others or written myself to display some possibilities.
##Requirements 📝
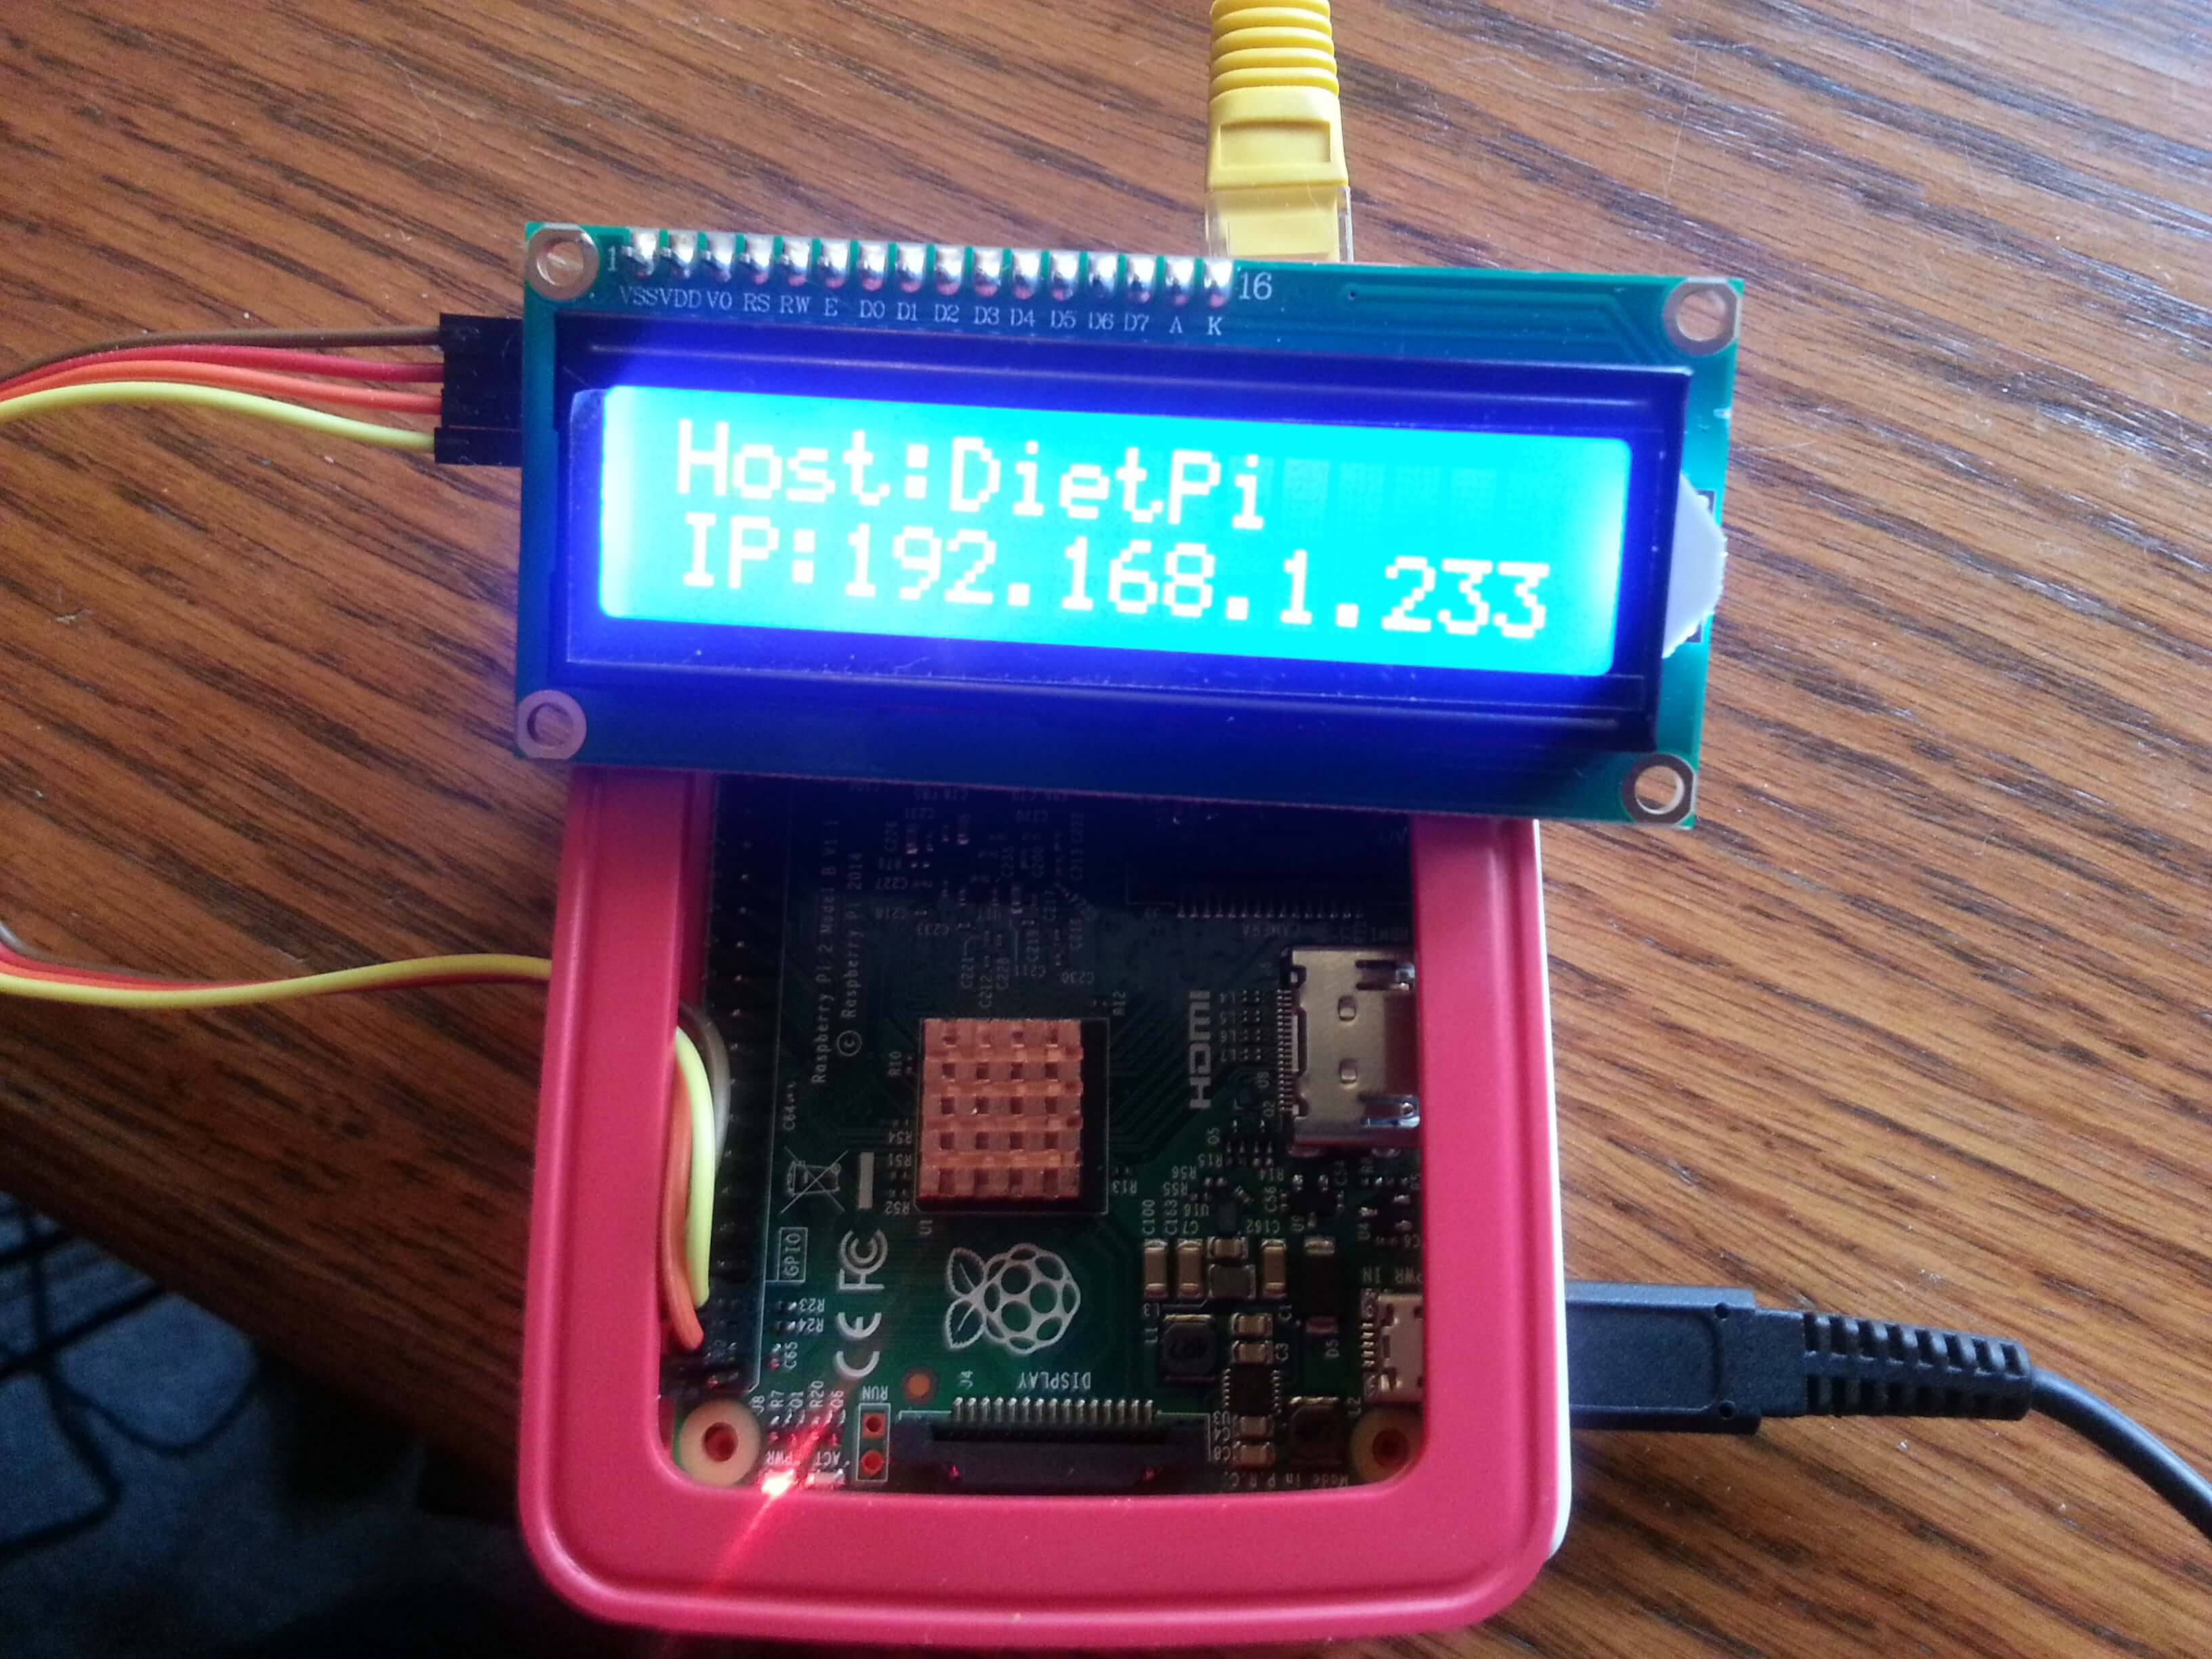
16x2 LCD Screen
20x4 LCD Screen
http://www.dx.com/p/5v-iic-i2c-3-1-blue-screen-lcd-display-module-for-arduino-green-black-232993
Any raspbian based operating system will work. I recommend DietPi for beginning your projects to reduce on overhead but novice users should use raspbian.
##Connect LCD to Pi 🔌
Step 1️⃣: Connect GND to GROUND. Pin 6
Step 2️⃣: Connect VCC to 5V. Pin 2
Step 3️⃣: Connect SDA to GPIO. Pin 3
Step 4️⃣: Connect SCL to GPIO. Pin 5
Reference GPIO

###Software Setup 🍷 We need to do a few things before you can begin running demo python scripts to display things on the LCD screen. Just follow the steps and you should be fine. If you are using the root account, you can ignore the sudo command. You only need to do these steps once.
We first need to enable the GPIO pins on the raspberrypi
Step 1️⃣: Login to your pi through terminal or ssh and install the following packages.
sudo apt-get update -y && sudo apt-get install python-smbus git i2c-tools -y
Step 2️⃣: Run this command to edit the modules file.
sudo nano /etc/modules
Step 3️⃣: On the last line enter the following. If they already exist then just skip this step.
# /etc/modules: kernel modules to load at boot time.
#
# This file contains the names of kernel modules that should be loaded
# at boot time, one per line. Lines beginning with "#" are ignored.
# Parameters can be specified after the module name.

snd-bcm2835     # This enables GPIO pins on the pi.
i2c-dev         # This enables i2c communication.
ctrl+o to save
Step 4️⃣: i2c-bcm2708 is what we are using so it's important not to blacklist.
sudo nano /etc/modprobe.d/raspi-blacklist.conf
Step 5️⃣: Notice the second line where we have commented out i2c
blacklist spi-bcm2708
#blacklist i2c-bcm2708
blacklist snd-soc-pcm512x
blacklist snd-soc-wm8804
ctrl+o to save
Step 6️⃣: Now we need to also turn on i2c everytime the pi boots.
sudo nano /boot/config.txt
Step 7️⃣: Find the section for i2c and change the lines so they look like this. If you don't see these lines, go ahead and add them now.
❗ Dietpi users: Use dietpi-config and enable RPI i2c under advanced options.
❗ Raspbian users: Use raspi-config and enable RPI i2c under advanced options. If asked about Arm says YES.
In either case your /boot/config.txt should look like this.
#-------i2c-------------
dtparam=i2c_arm=on
dtparam=i2c1=on
i2c_arm_baudrate=100000
ctrl+o to save
Step 8️⃣: clone this repository to your home directory.
cd ~
git clone https://github.com/bradgillap/I2C-LCD-Display
Step 9️⃣: That's it! Now you can run any of the demo files. Just remember, each script requires lcddriver.py and i2c_lib.py to run.
Example 16x2 Display
sudo python ~/I2C-LCD-Display/16x2LCD/demo_lcd.py
Run the script in the background
sudo python ~/I2C-LCD-Display/16x2LCD/demo_lcd.py &
Run your script at boot every time
sudo nano /etc/rc.local
#add this line with a path to your script. Don't forget the and symbol
python /root/YOURLCDSCRIPT.py &
ctrl+o to save
##Troubleshooting 🙋
❓ : I have an older revision of pi with 256mb ram.
👍 : You may have to change the i2c_lib.py to use GPIO port 0 instead of the default port 1.See line 5 in the i2c_lib.py file. Make sure to delete any previous compiled pyc files from the directory rm *.pyc before you try again.
❓ : My /boot/config.txt keeps being overwritten with the wrong values.
👍 : Use raspi-config or dietpi-config to make the change in the advanced options section instead.
❓ :Can't you just write an installer script with whiptail?
👍 : I sure can like others have but I ran into that same scenario and it took me 5x as long to decipher how others had done these tasks. In many cases a script is better but the use cases here are pretty well only tinkerers like yourself.


