YOLOv5 (You Only Look Once) is a popular object detection algorithm. It uses a single neural network to predict bounding boxes and class probabilities for objects in an image. It is known for its high accuracy and speed, making it a popular choice for applications such as surveillance, autonomous driving, and image recognition. Below is a list of all the requirements you'll need to complete this project;
- PyTorch
- Numpy
- Pandas
- Open Cv
- Matplotlib
- LabelImg
To use YOLOV5 for object detection,follow the following steps;
The DSAIL Porini started is a dataset collected by DSAIL. It contains over 6000 images of animals from Dedan Kimathi University's Conservancy. The dataset contains 6 classes of animals, that is Zebras, impalas, warthog, waterbuck,bushbuck and monkeys. However for this project, we will be using 3 classes, Zebras, impalas and others. This is because we noticed that zerbas and impala are in 70% of the images from the dataset. The dataset is available at DSAIL-Porini
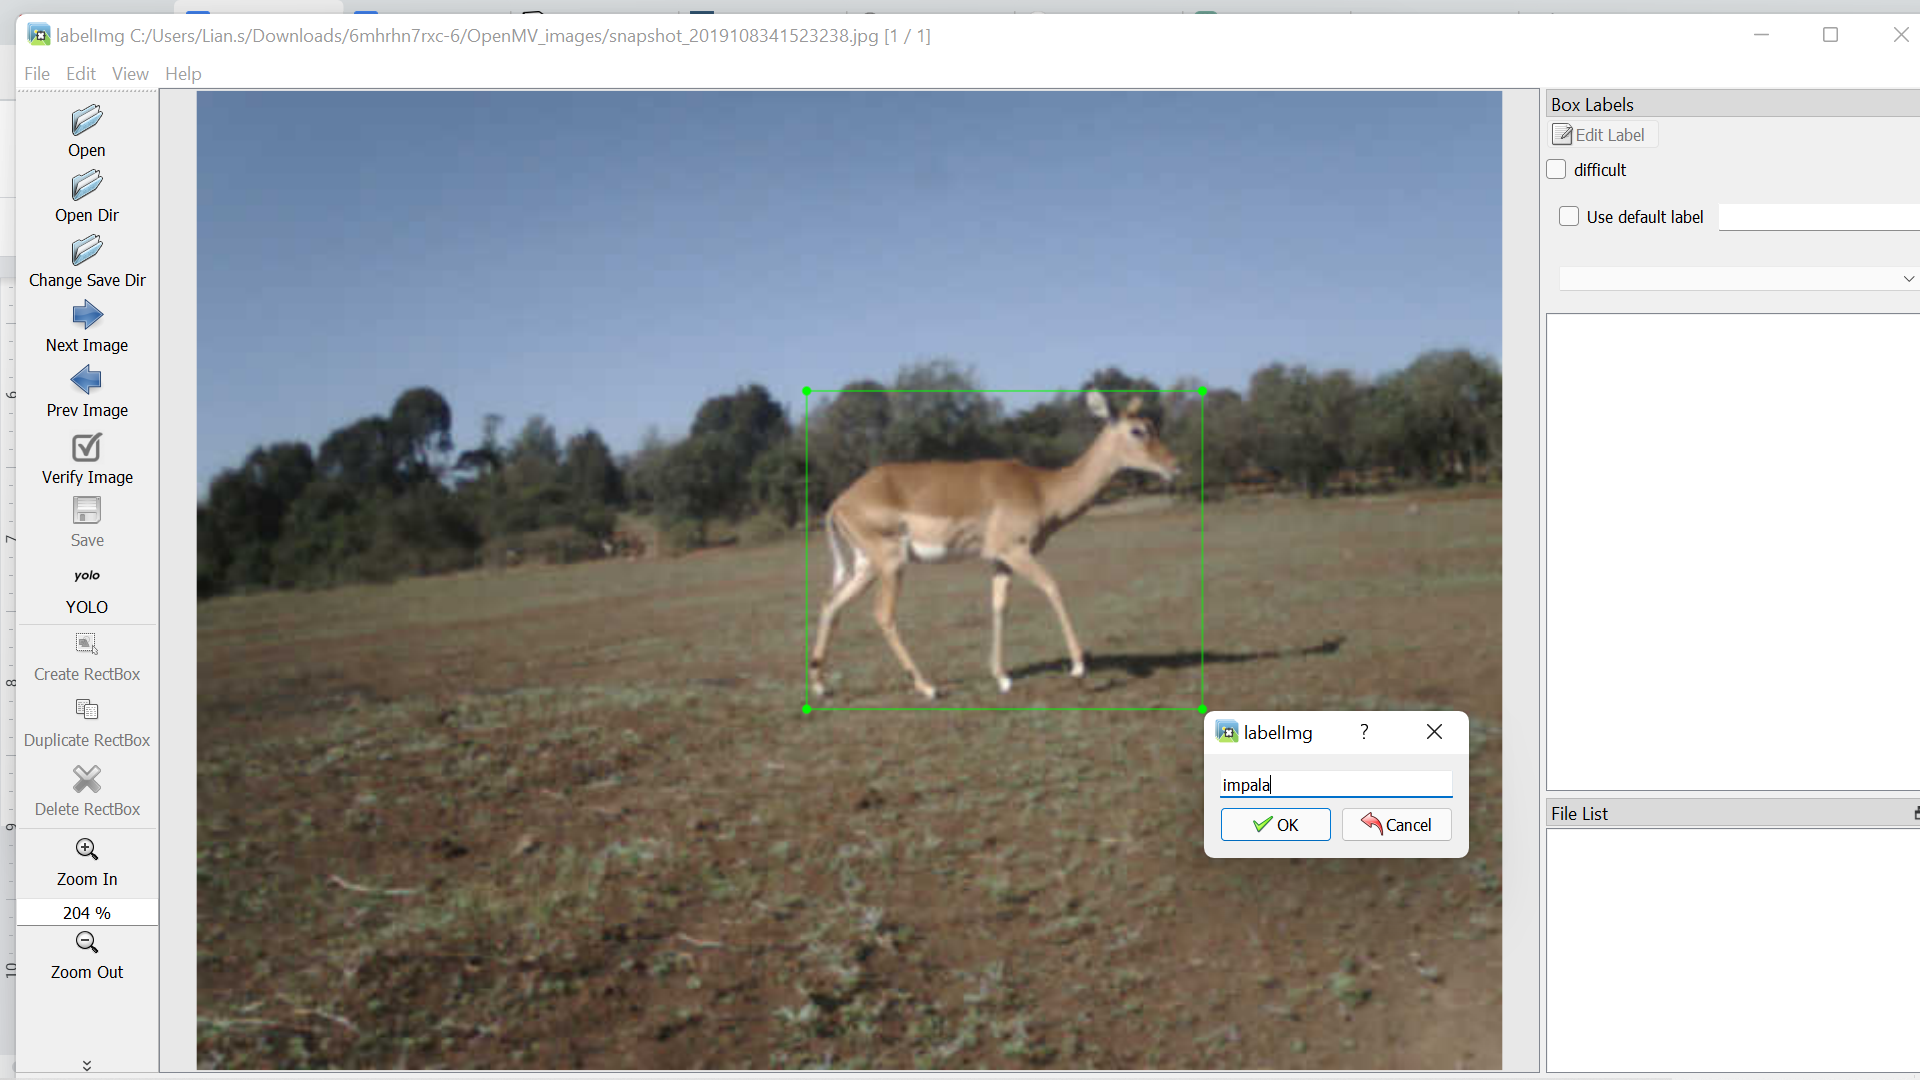
The main process when working with data preprocessing is labeling the images correctly based on their classes. There are various ways to label the images with, in our case we used a program called LabelImg. The application allows you to draw a bounding box around the object present in the image and also define the class of the object. When drawing the bounding ox, ensure it encloses the main object only, this helps avoid creating noise in the dataset. Another important step is to ensure you select the type of labeling as YOLO’s labeling. This is because labelimg provides labeling for images for more object detection thus important to declare which one you are using. Below is a sample of the data processing done for all the images used to train our object detection model.
The dataset.yaml is a basic file that contains the location of your dataset, your test and train path, the number of classes you have and the label classes. Here is a snippet of how your dataset.yaml file should look like;

The YOLOv5 model walks you through the process of training an object detection model with a custom dataset. This is the same documentation that we used on our model. The documentation can be found on GitHub as well as Training on Custom Object Dataset. Clone the YOLOv5 GitHub Repo to begin training. The repository contains the pretrained YOLOV5 model, which we will use to train our own object detection model. You can train the model on custom data using the code below. You specify the image size you want to use, the number of epoch steps you want to train on (300 steps is recommended by YoloV5), and the location path of your dataset.yaml file.
!cd yolov5 && python train.py --img 320 --batch 16 --epochs 500 --data dataset.yaml --weights yolov5s.pt --workers 2
We saved the model after successfully training it and used it to test on images and videos that were not in our dataset. Here's an example of our output from inferring the model on new images. To infer our model, we begin by loading either the best or last model to see which performs better.
model = torch.hub.load('ultralytics/yolov5', 'custom', path='/content/yolov5/runs/train/exp/weights/last.pt', force_reload=True)
Then, using the model we loaded, we define the image path and predict its class.
img = os.path.join('data', 'images', '/content/data/images/DSC_0084.JPG')
results = model(img)
results.print()
Finally, we plot the image to determine the bounding box and the animal's location. This is also done to confirm the model's predicted class.
%matplotlib inline
plt.imshow(np.squeeze(results.render()))
plt.show()
Here is a snippet of our output when inferencing the model on new images.


